Wood Marble Cutting Board

There are a few things that all woodworkers endeavour at some point, as well as I mean value “cutting board” is 1 of those things, lol. Although my married adult man couldn’t simply practice a typical woods cutting board. We used a leftover tile to practice this woods as well as marble cutting board, as well as I dearest the in conclusion look!
*This post was sponsored yesteryear Jeffrey Court as well as may incorporate affiliate links. As always, opinions are 100% my own. For to a greater extent than information, delight encounter my disclosure page.*
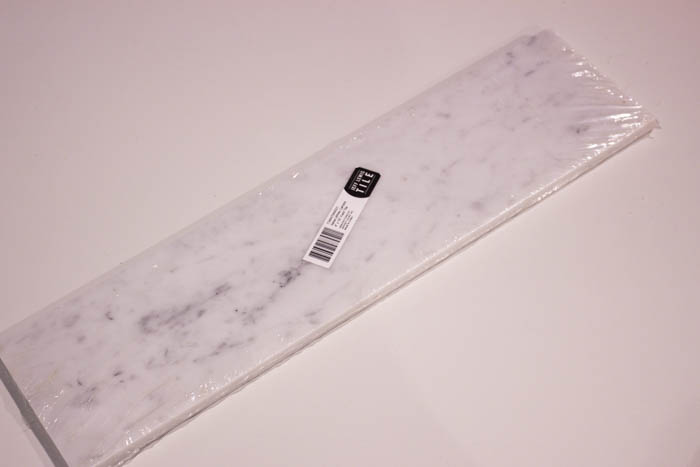
When nosotros ordered tile samples from Jeffrey Court for our Modern Bathroom, nosotros had a few leftovers that nosotros didn’t teach with. One of them was this 4″ yesteryear 16″ Italian Carrara Marble one. It didn’t quite fit the vibe I wanted inward our bathroom, but it’s a beautiful tile! So naturally nosotros came upward alongside a novel DIY simply then nosotros could role it! lol.
Here’s what you lot postulate to brand your cutting board:
- Maple – a 33″ 1×6 board
- One 4″ x 16″ Italian Carrara Marble tile
- PL Premium Glue
- Table Saw
- Drill (& 7/8″ Forstner bit)
- Router Table
- Sander
- Mineral Oil
- Titebond – Wood gum condom for food
How to Make a Wood & Marble Cutting Board:

I thought it would last easiest to lay out the steps inward a grid, then I’ll explicate the steps 1 yesteryear 1 (top left to bottom right):
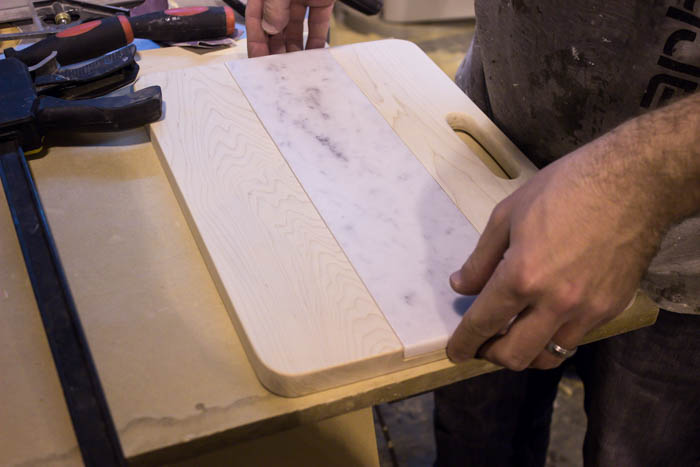
1. Use your tabular array saw to cutting 2 1″ yesteryear 6″ maple boards to size. Our boards were 0.75″ x 5.5″ yesteryear 16″.
2. You volition last cutting a notch inward each board for the tile to residuum in. Our tile was 4″x16″x 0.5″, then nosotros cutting a horizontal work kickoff on the tabular array saw that was 2″ deep (half of the 4″ width).
3. Cut the vertical work for the notch 0.5″ deep.
4. & 5. Dry fit the tile into your woods boards to brand certain that it fits nicely. You desire to bring some extra infinite simply about the tile for glue, then you lot may bring to brand the notch slightly larger to adapt for this.
6. If you lot desire to practice a grip – depict this onto the board. We centered ours 5/8″ from the spill out of the board as well as made the opening 4″ yesteryear 7/8″.
7. & 8. Drill into each halt of your grip – nosotros used a 7/8″ forstner fleck for this. Then role a jigsaw to connect the holes.
9. Use your router tabular array to seat an 1/8″ radius on all of the edges (handle as well as outer cutting board edges). You tin sack sand the border of your tile using a tile sanding block to jibe the radius of your wood.
10. Sand everything.
11. & 12. Using PL Premium Glue, attach your tile to your cutting board. Clamp it downwards as well as allow it gear upward overnight.
After the tile was secured inward place, nosotros needed to fill upward the slight gaps betwixt the woods as well as the tile. We used a exceptional woods gum (Titebond) that was condom for food, mixed it alongside saw dust (matching saw dust fresh from our sander!), as well as made our ain DIY woods putty to fill upward the gaps.
When that was done nosotros covered all of the woods inward a layer of mineral oil then that the board would last cook for treatment food!

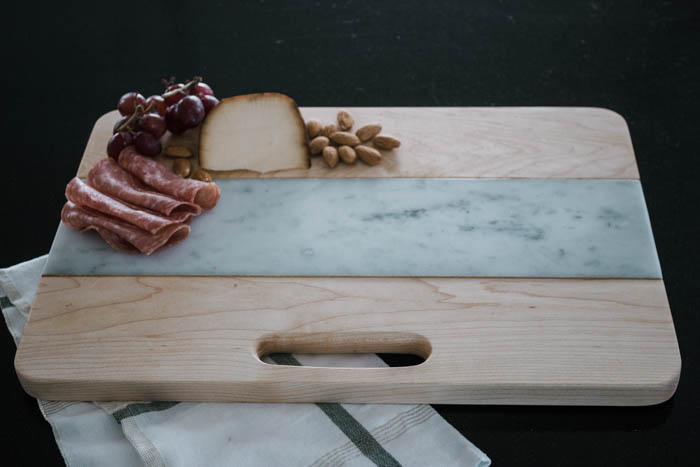
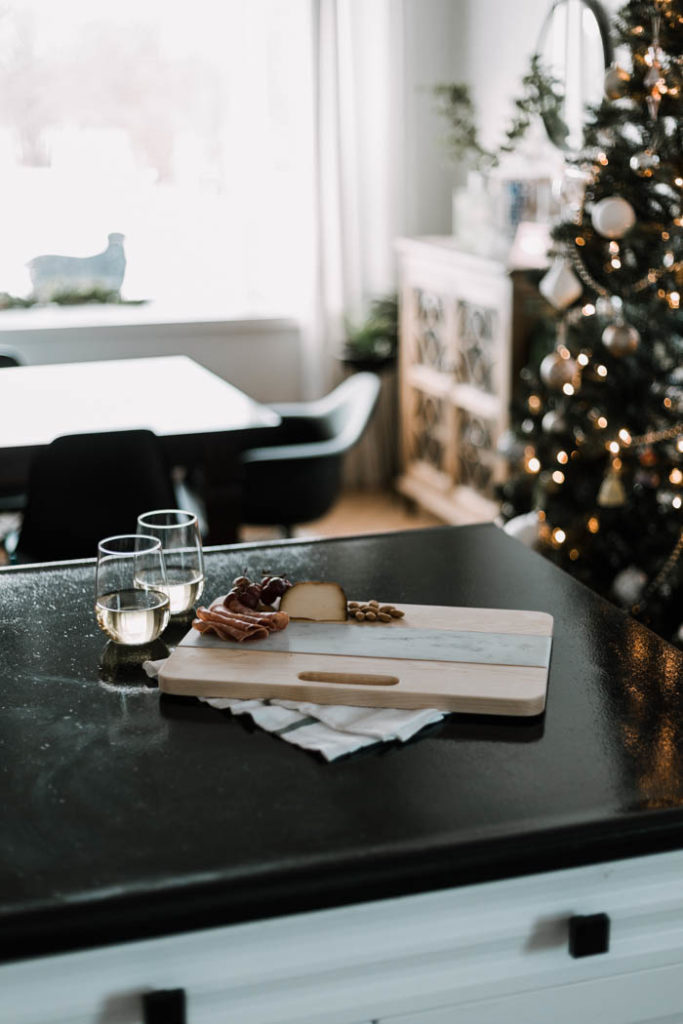
I mean value the in conclusion results are beautiful! Influenza A virus subtype H5N1 high halt cutting board, for a fraction of the cost! The long white marble tile was the perfect means to ambit this look!
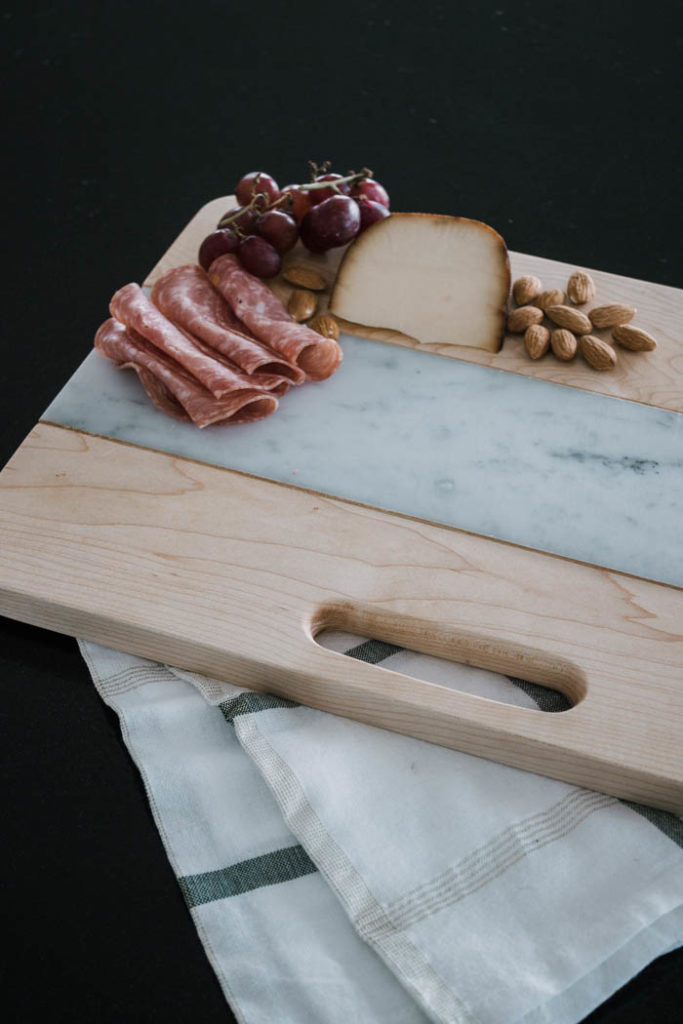
Time to fill upward up this board bring get got ourselves a overnice nighttime in!
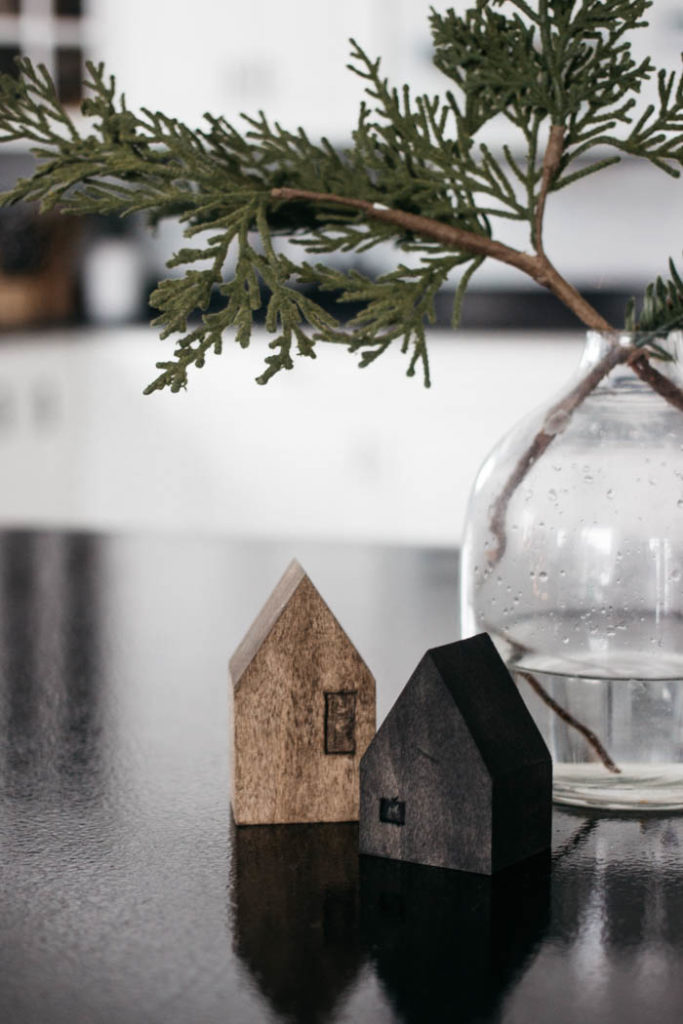
If you lot dearest woodworking, you lot may dearest these DIY Mini Houses!
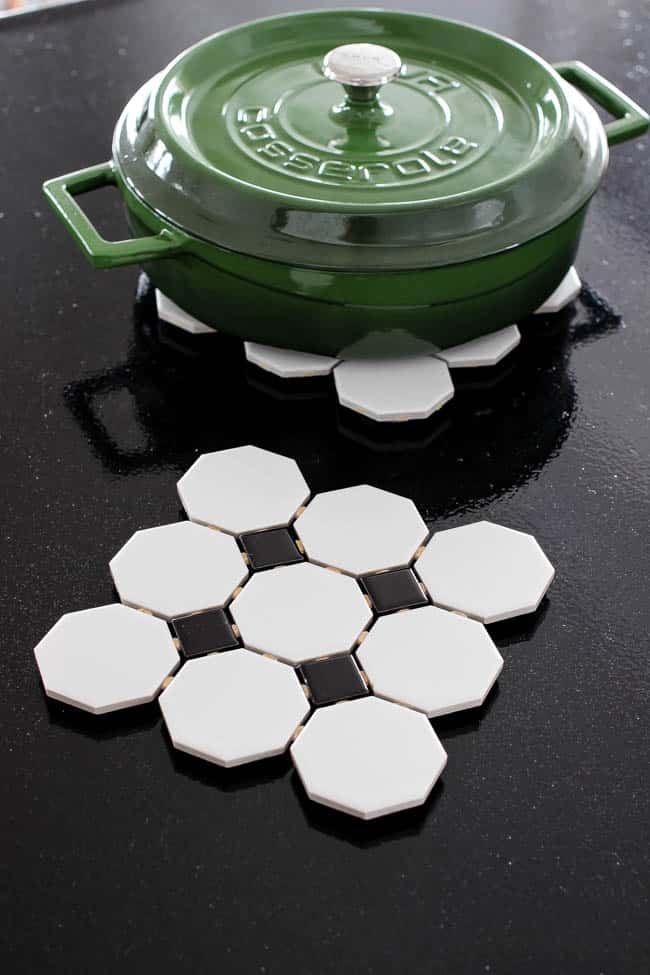
If you’re looking for some other leftover tile project, endeavour these simple DIY trivets!


Comments
Post a Comment