Winter Birch Wood Wreath

I am a HUGE fan of having a wreath on my forepart door. My door is obviously together with white, together with anything that adds a popular of coloring textile or some involvement to this bland entryway is GREAT inward my books!
Since I don’t accept anything to cash inward one's chips along on the door yesteryear Christmas, I decided it was fourth dimension to brand a novel wreath. Just inward fourth dimension for the Celebration of Winter Blog Hop, I designed this birch forest wintertime wreath.

Materials:
Birch Branches
Mitre Saw
Air Stapler
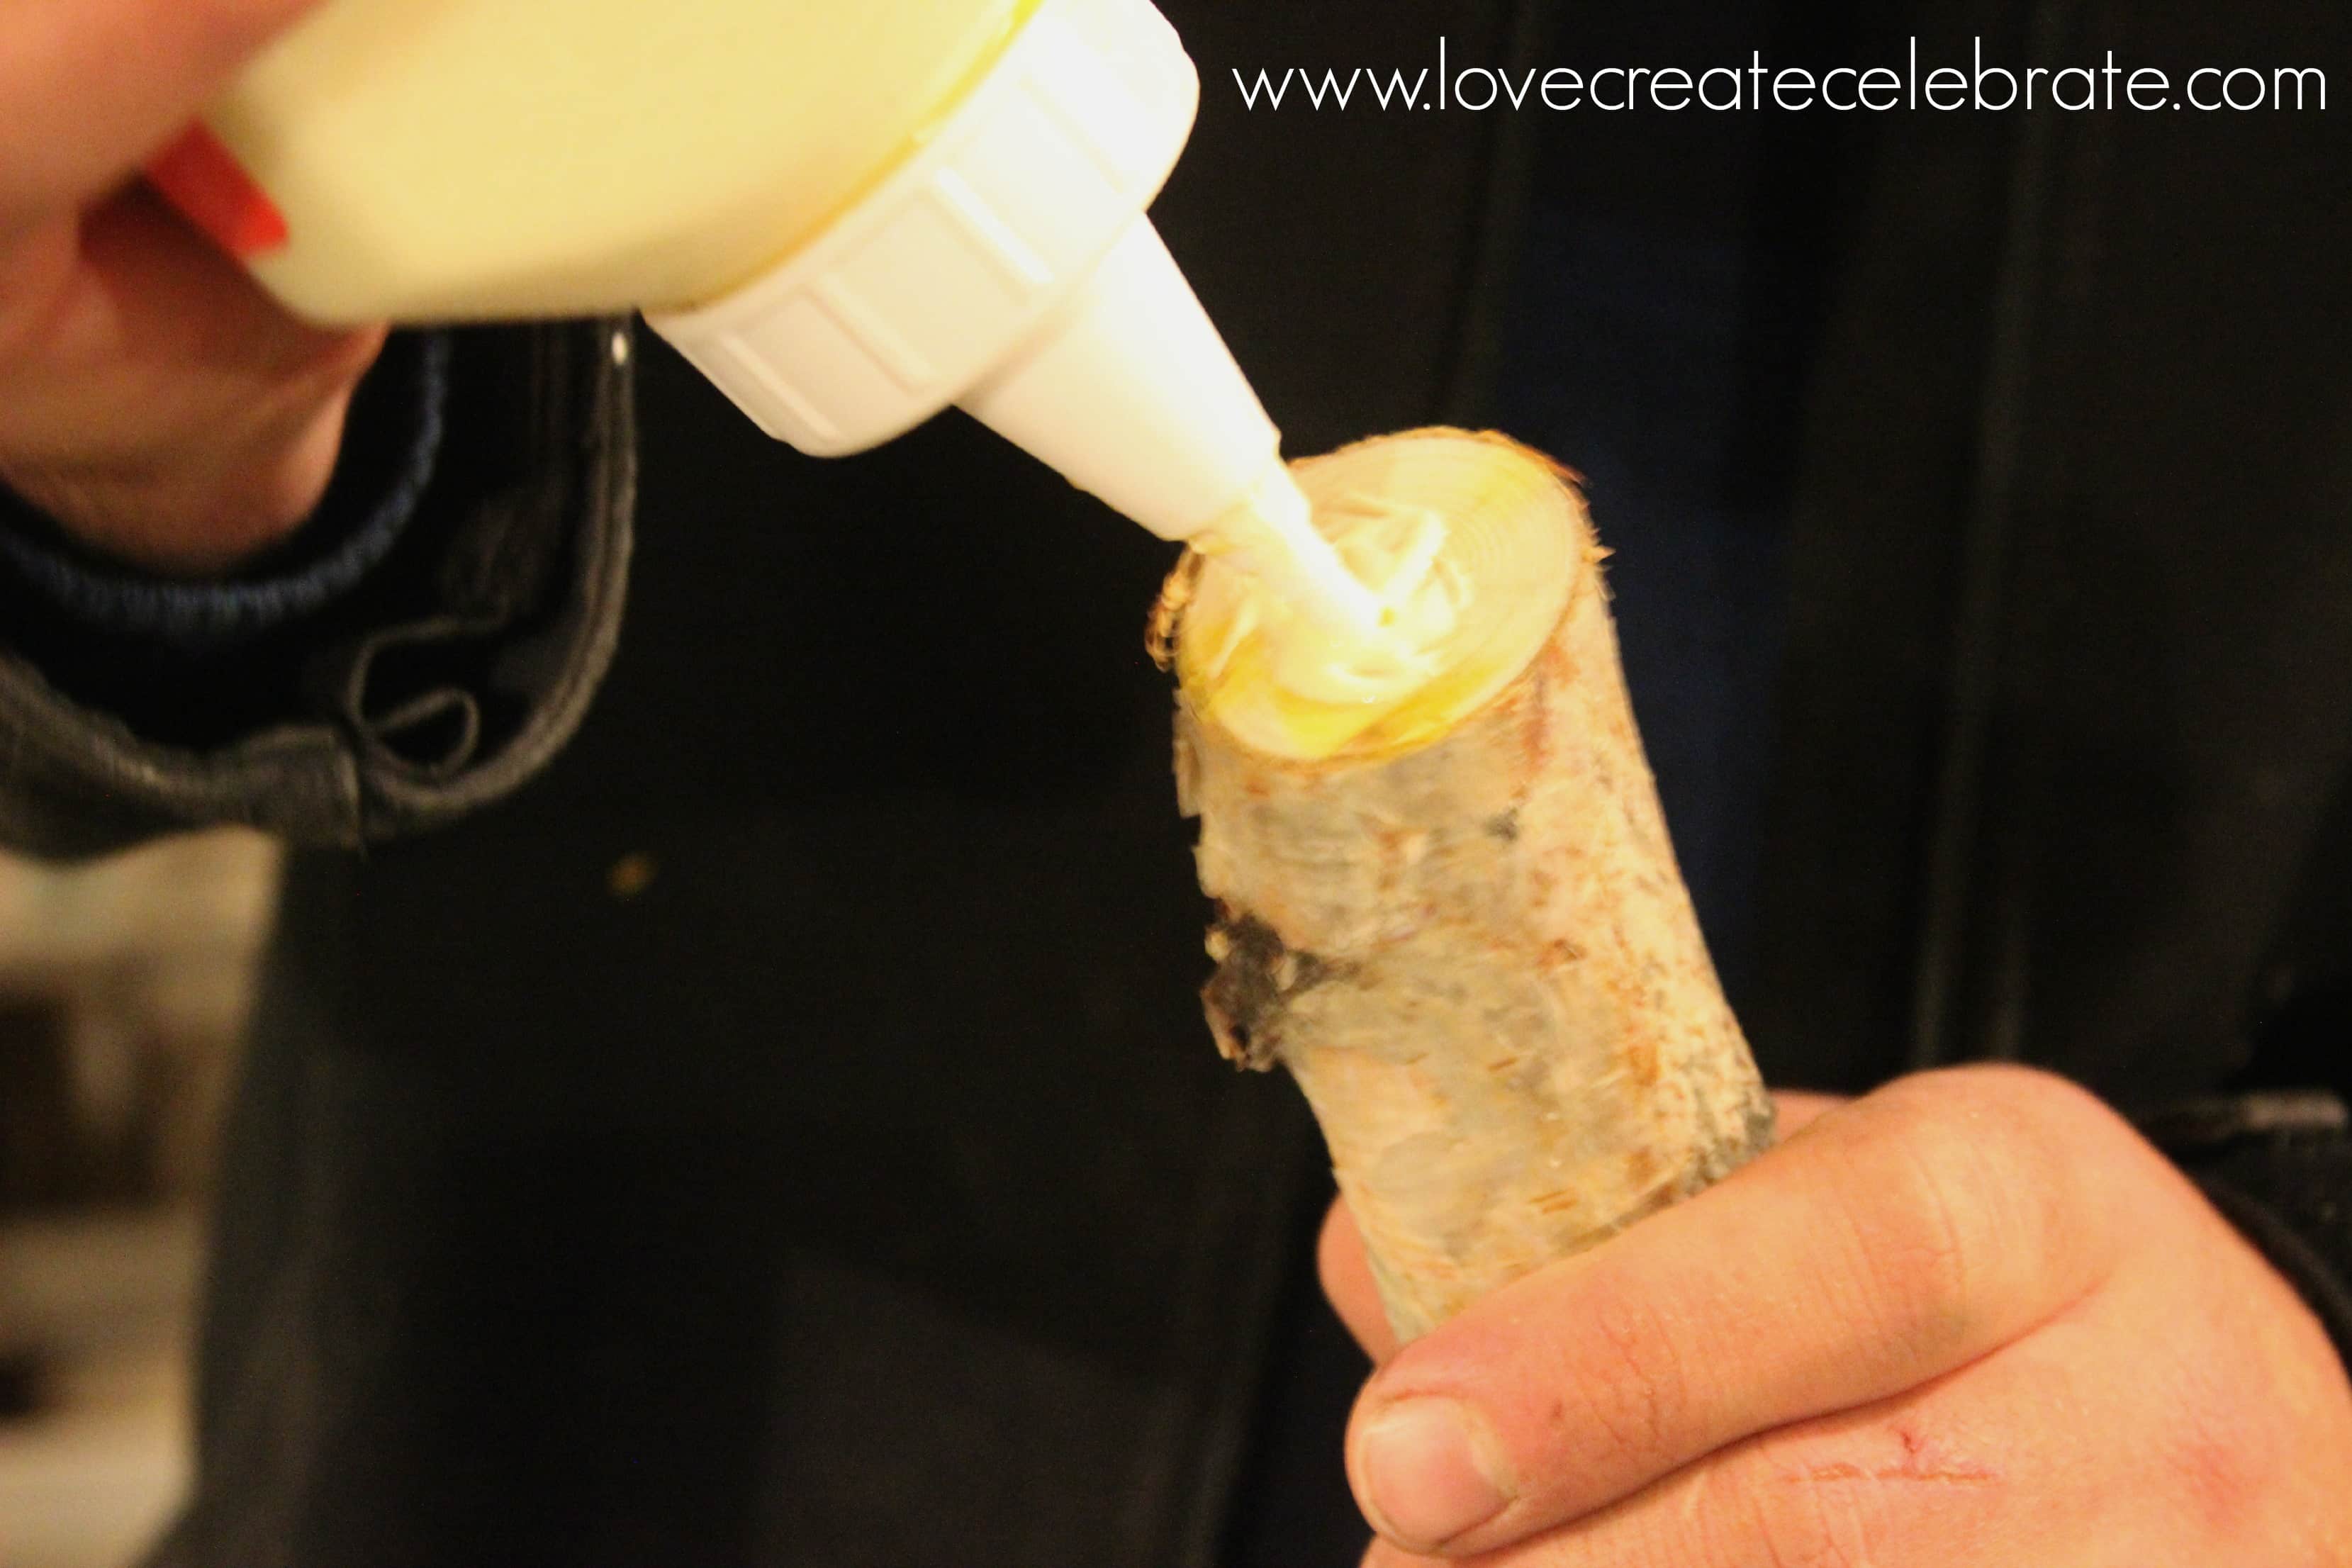
Wood Glue
Decorations of your choice!
Glue gun
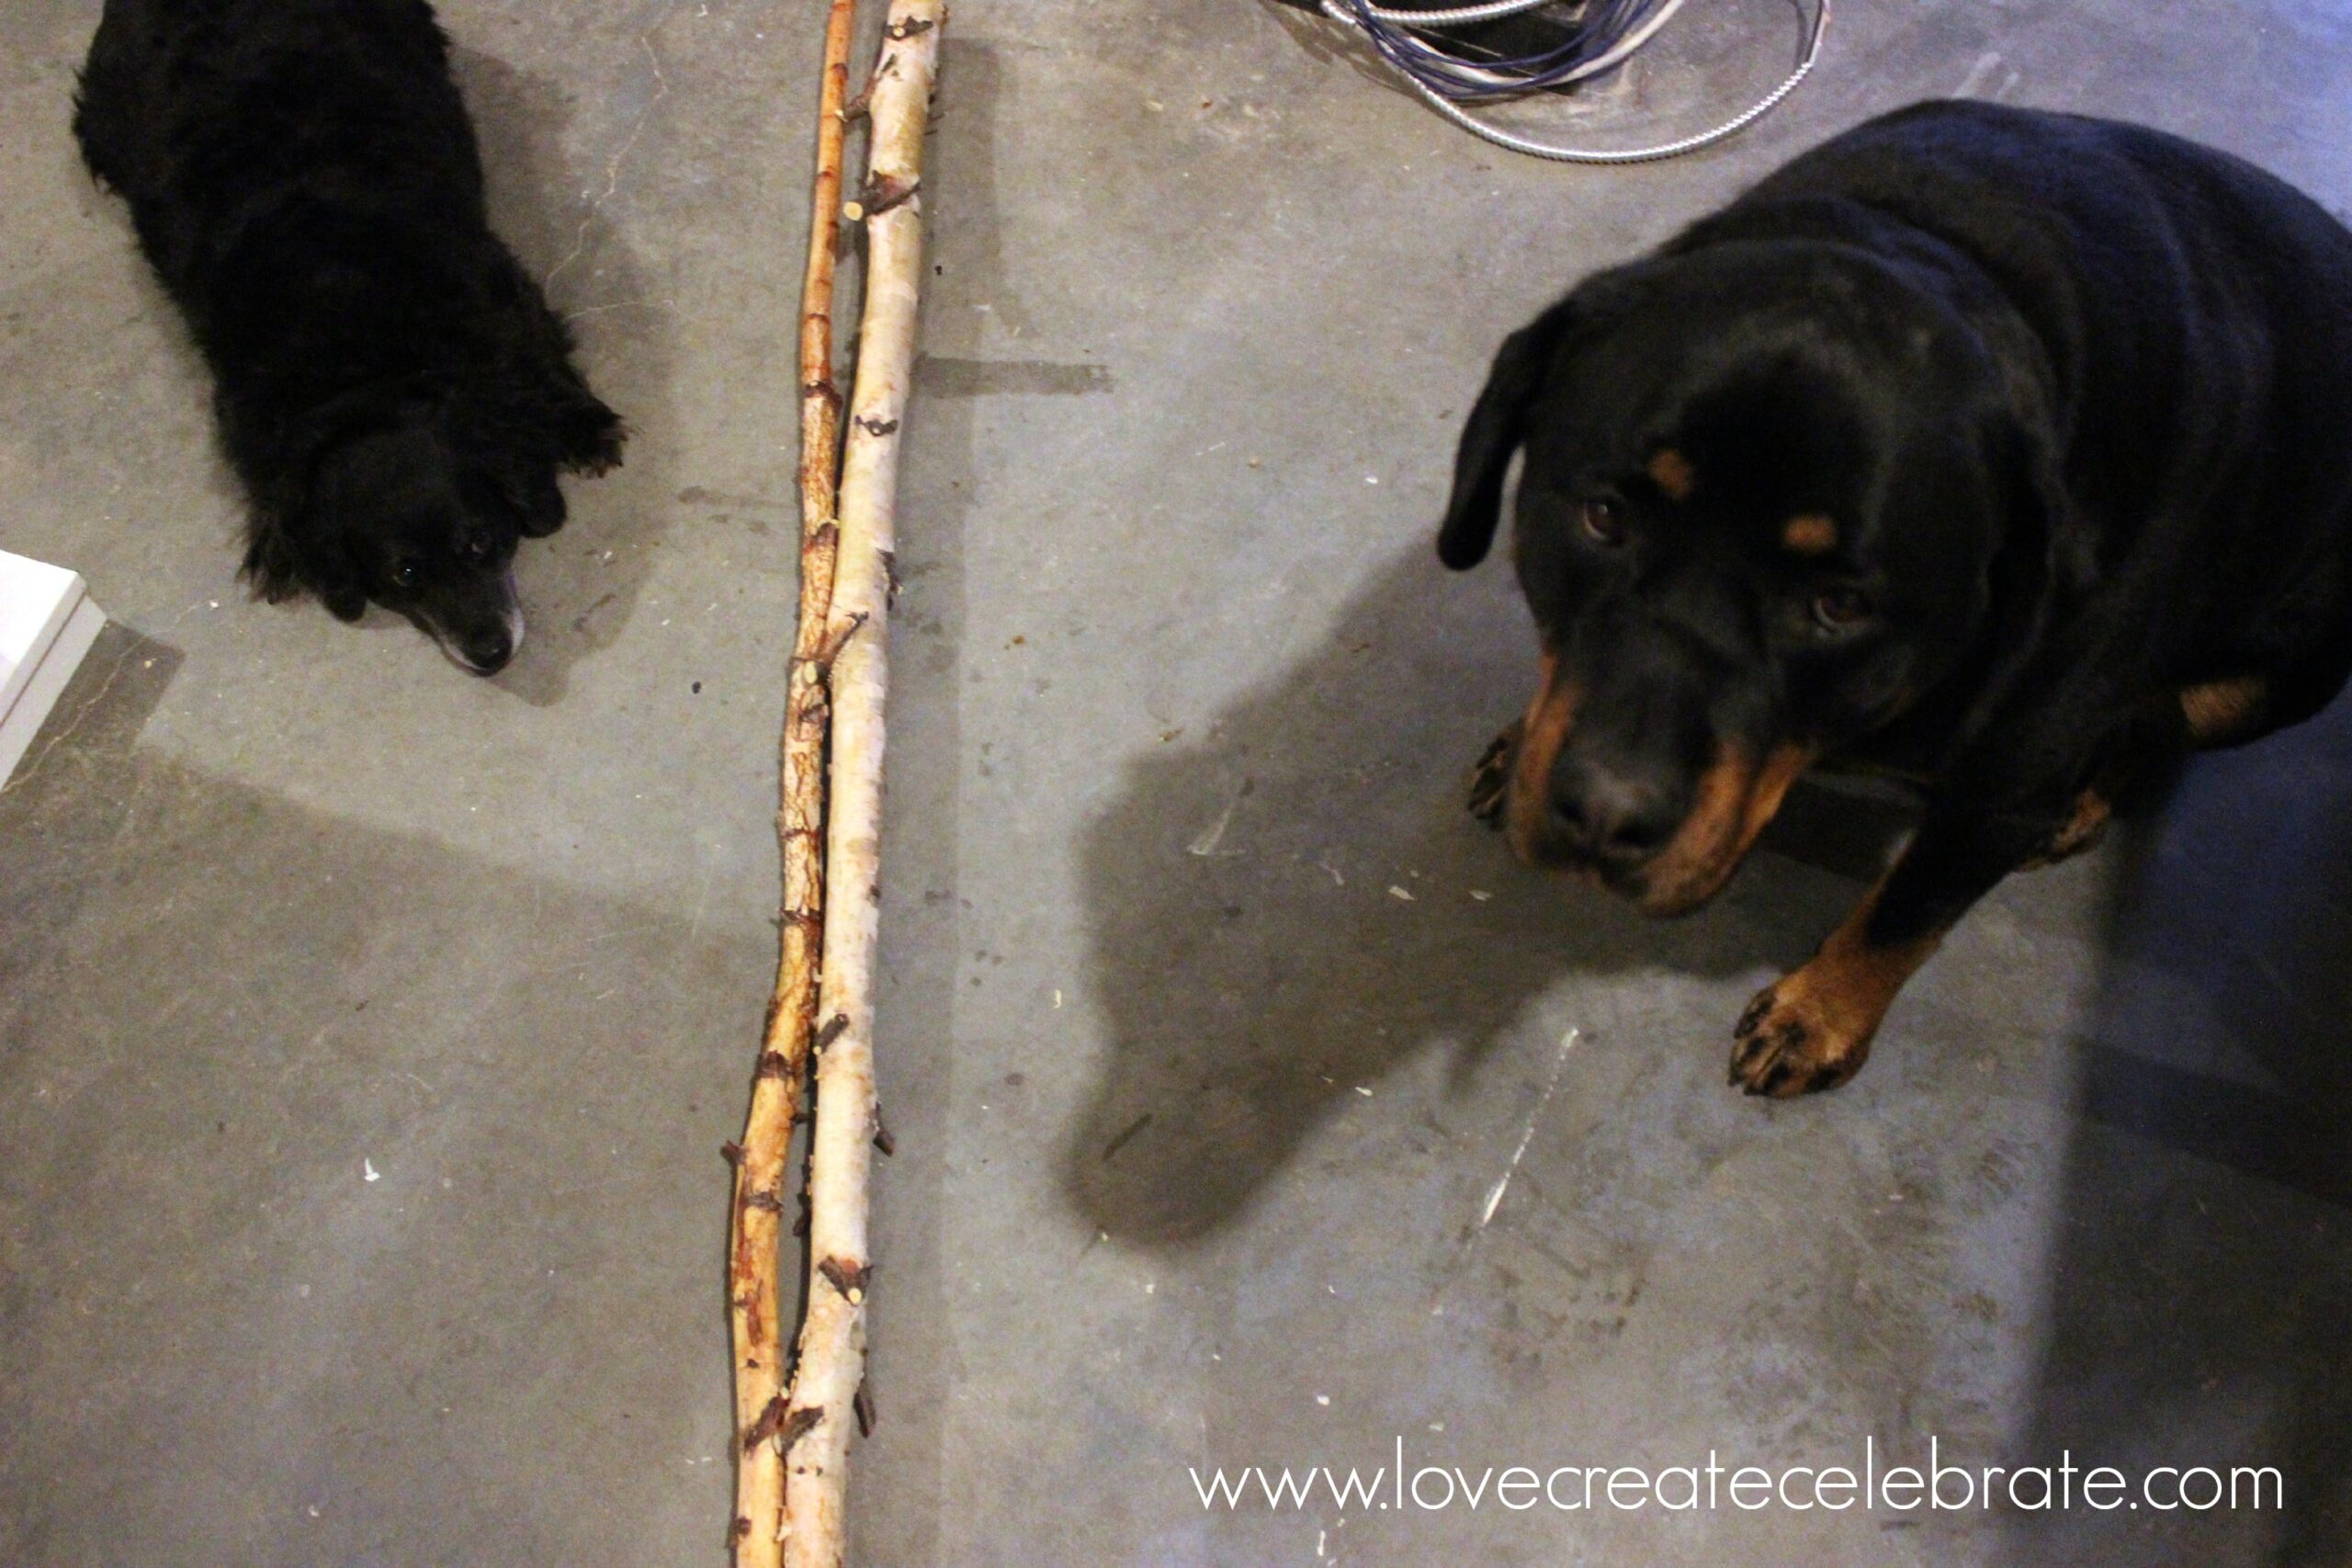
Here are my dogs, modelling amongst a twain of birch branches :)
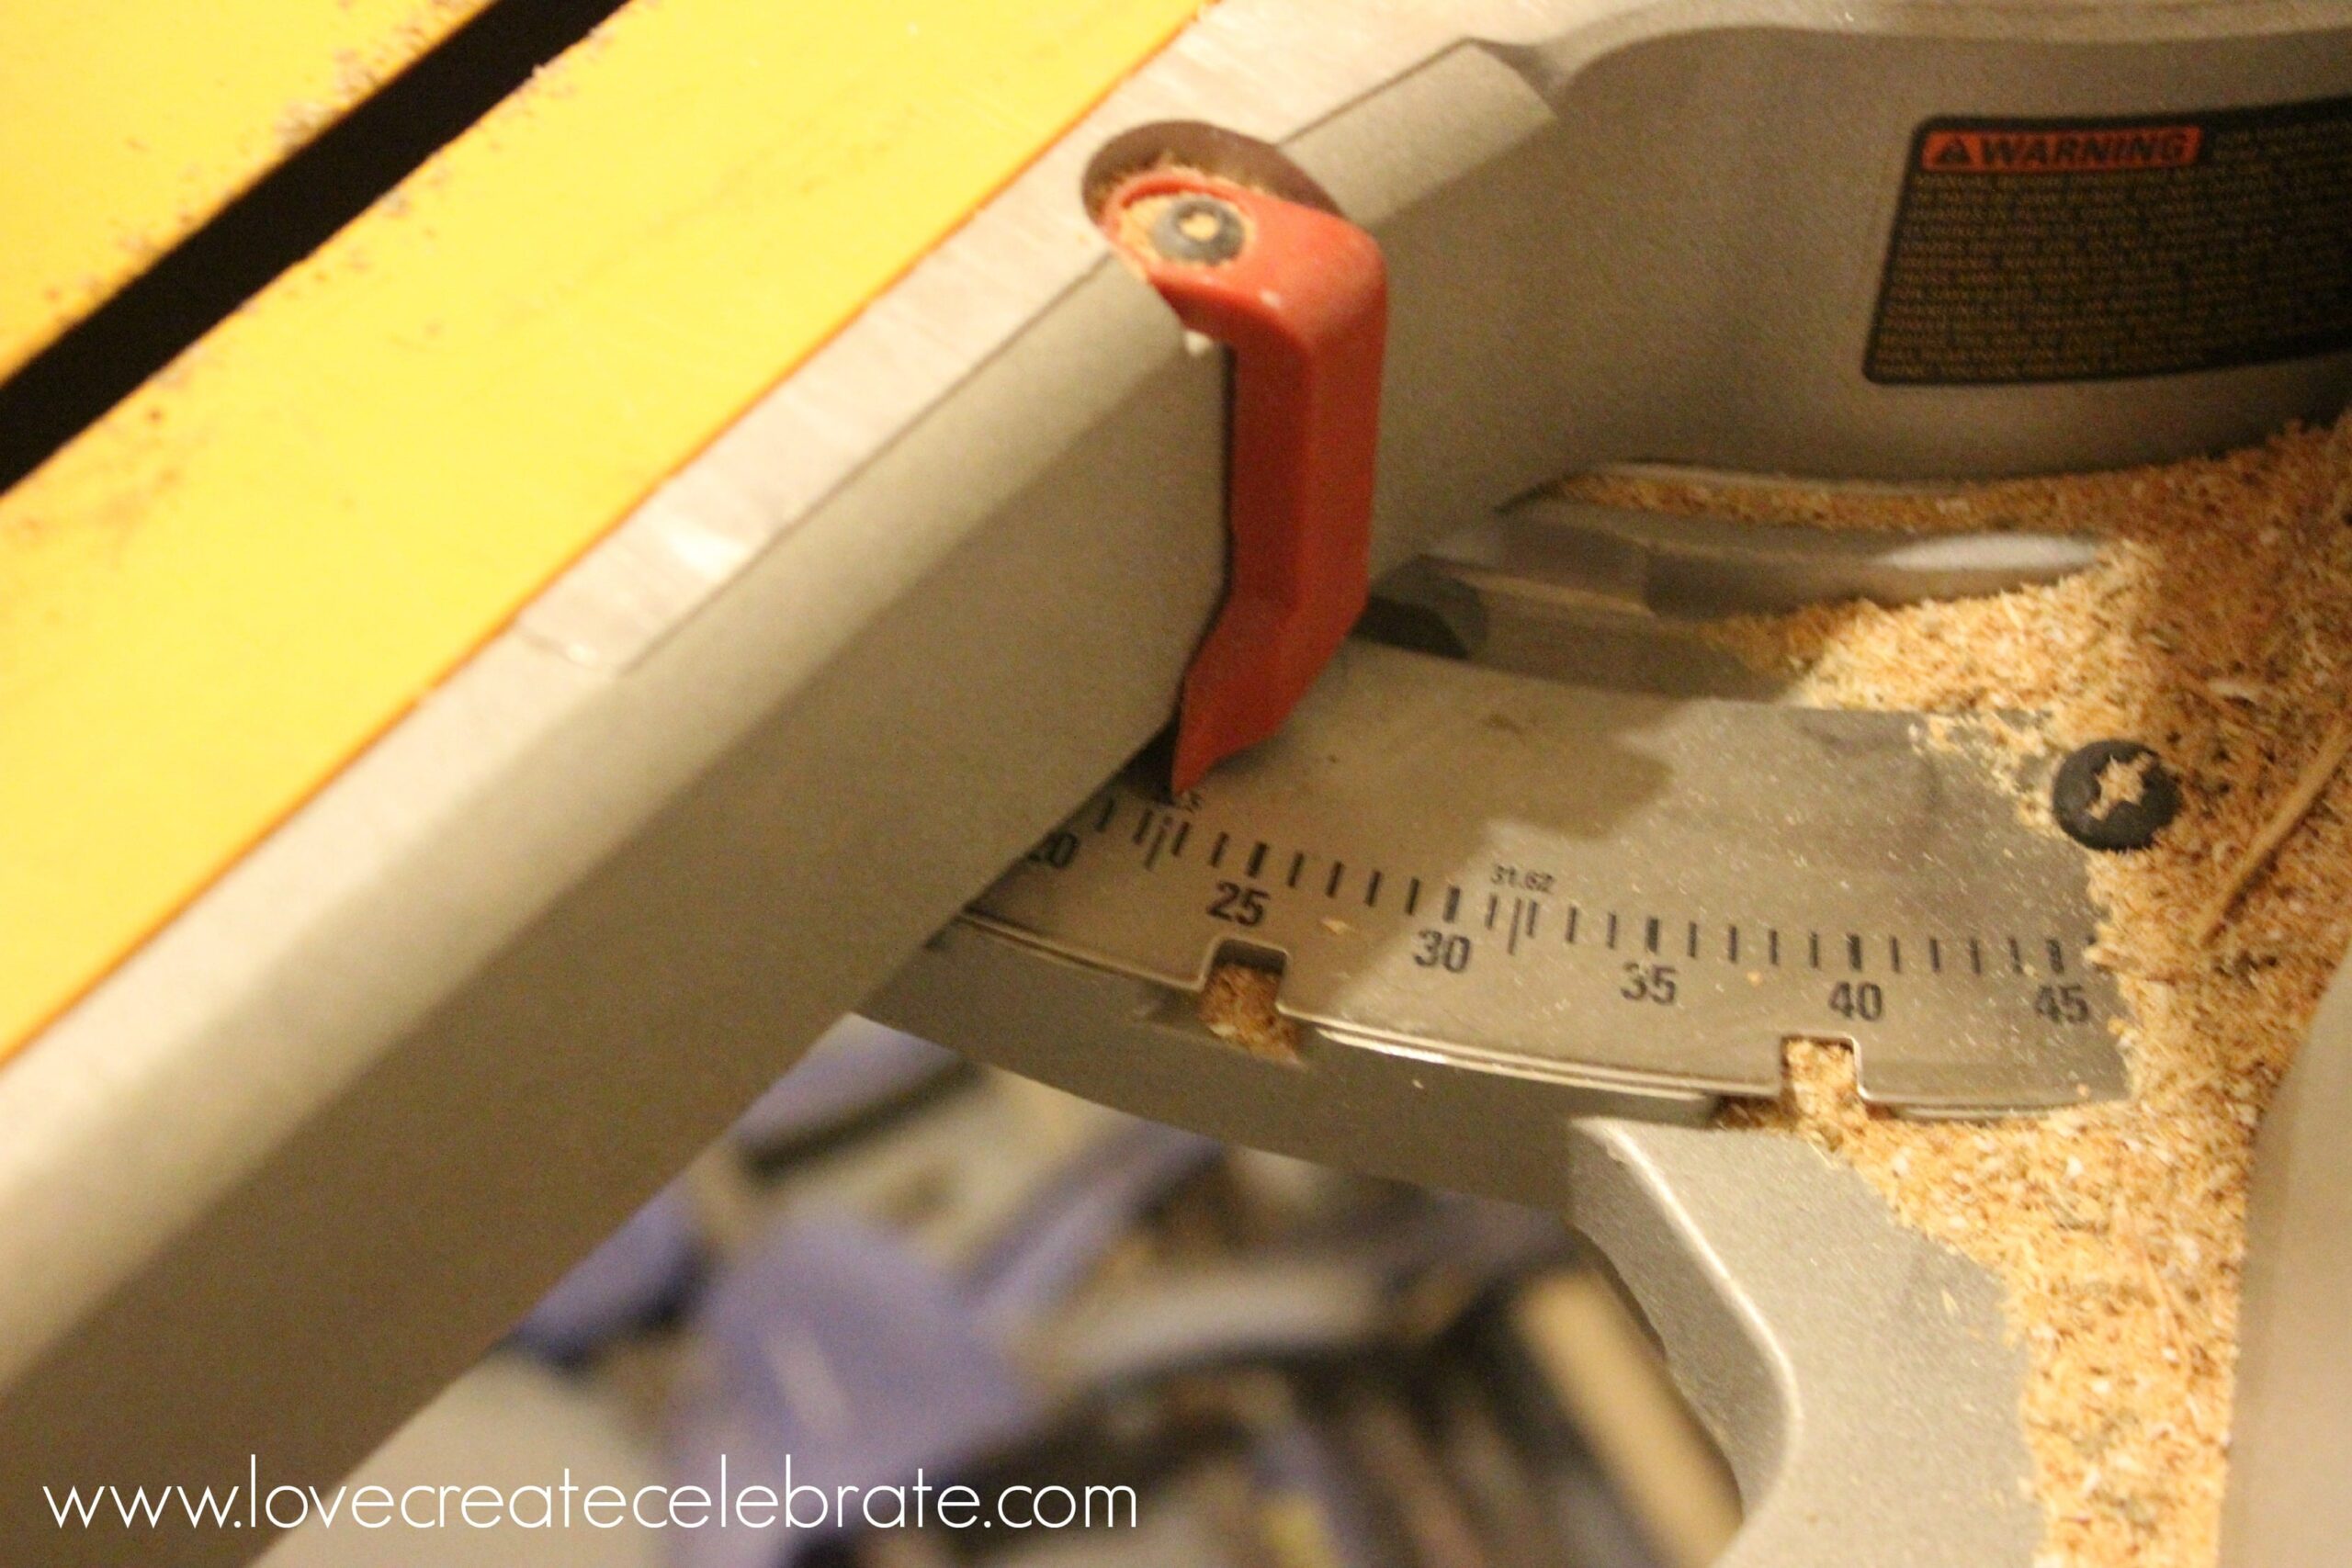
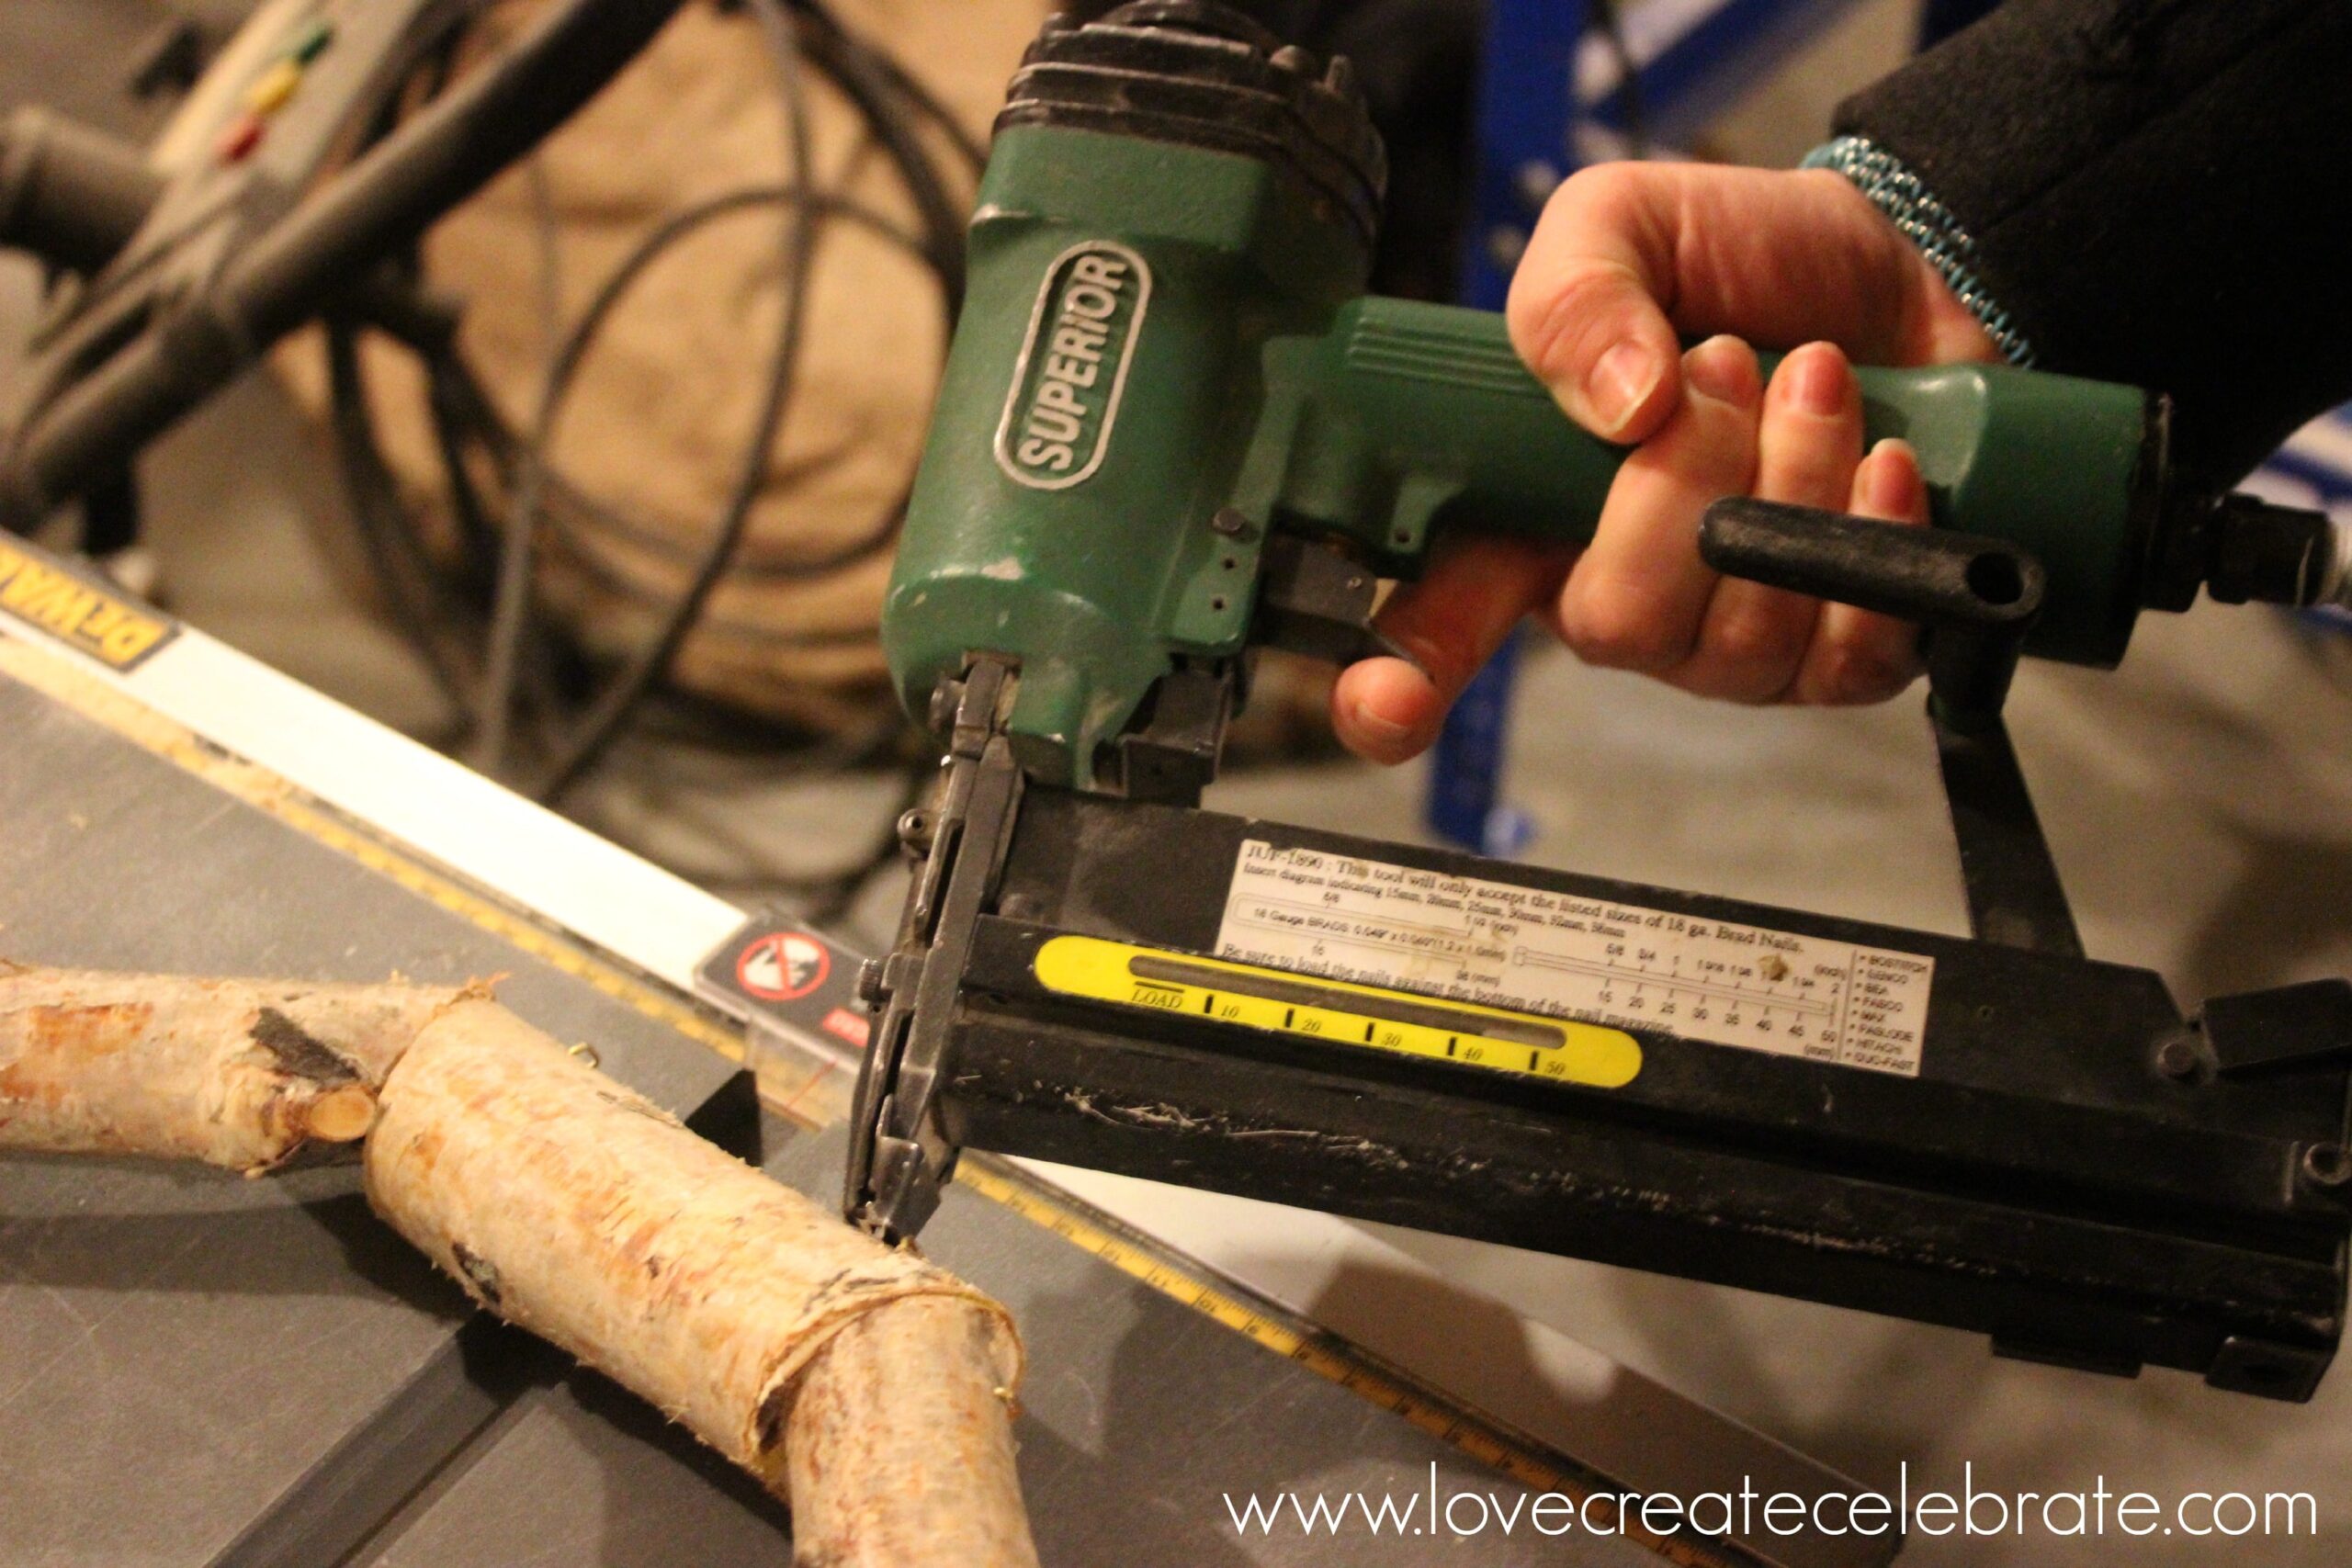
Step 1 was to create upwards one's hear how large I wanted the wreath, my branches were fairly narrow, thus I decided that 5” on each border would hold out large enough. Then you lot accept to cutting the forest pieces. Originally I was going for an octagon, thus I had my hubby cutting the pieces at a 22.5 grade angle (set on saw inward moving-picture demo below).
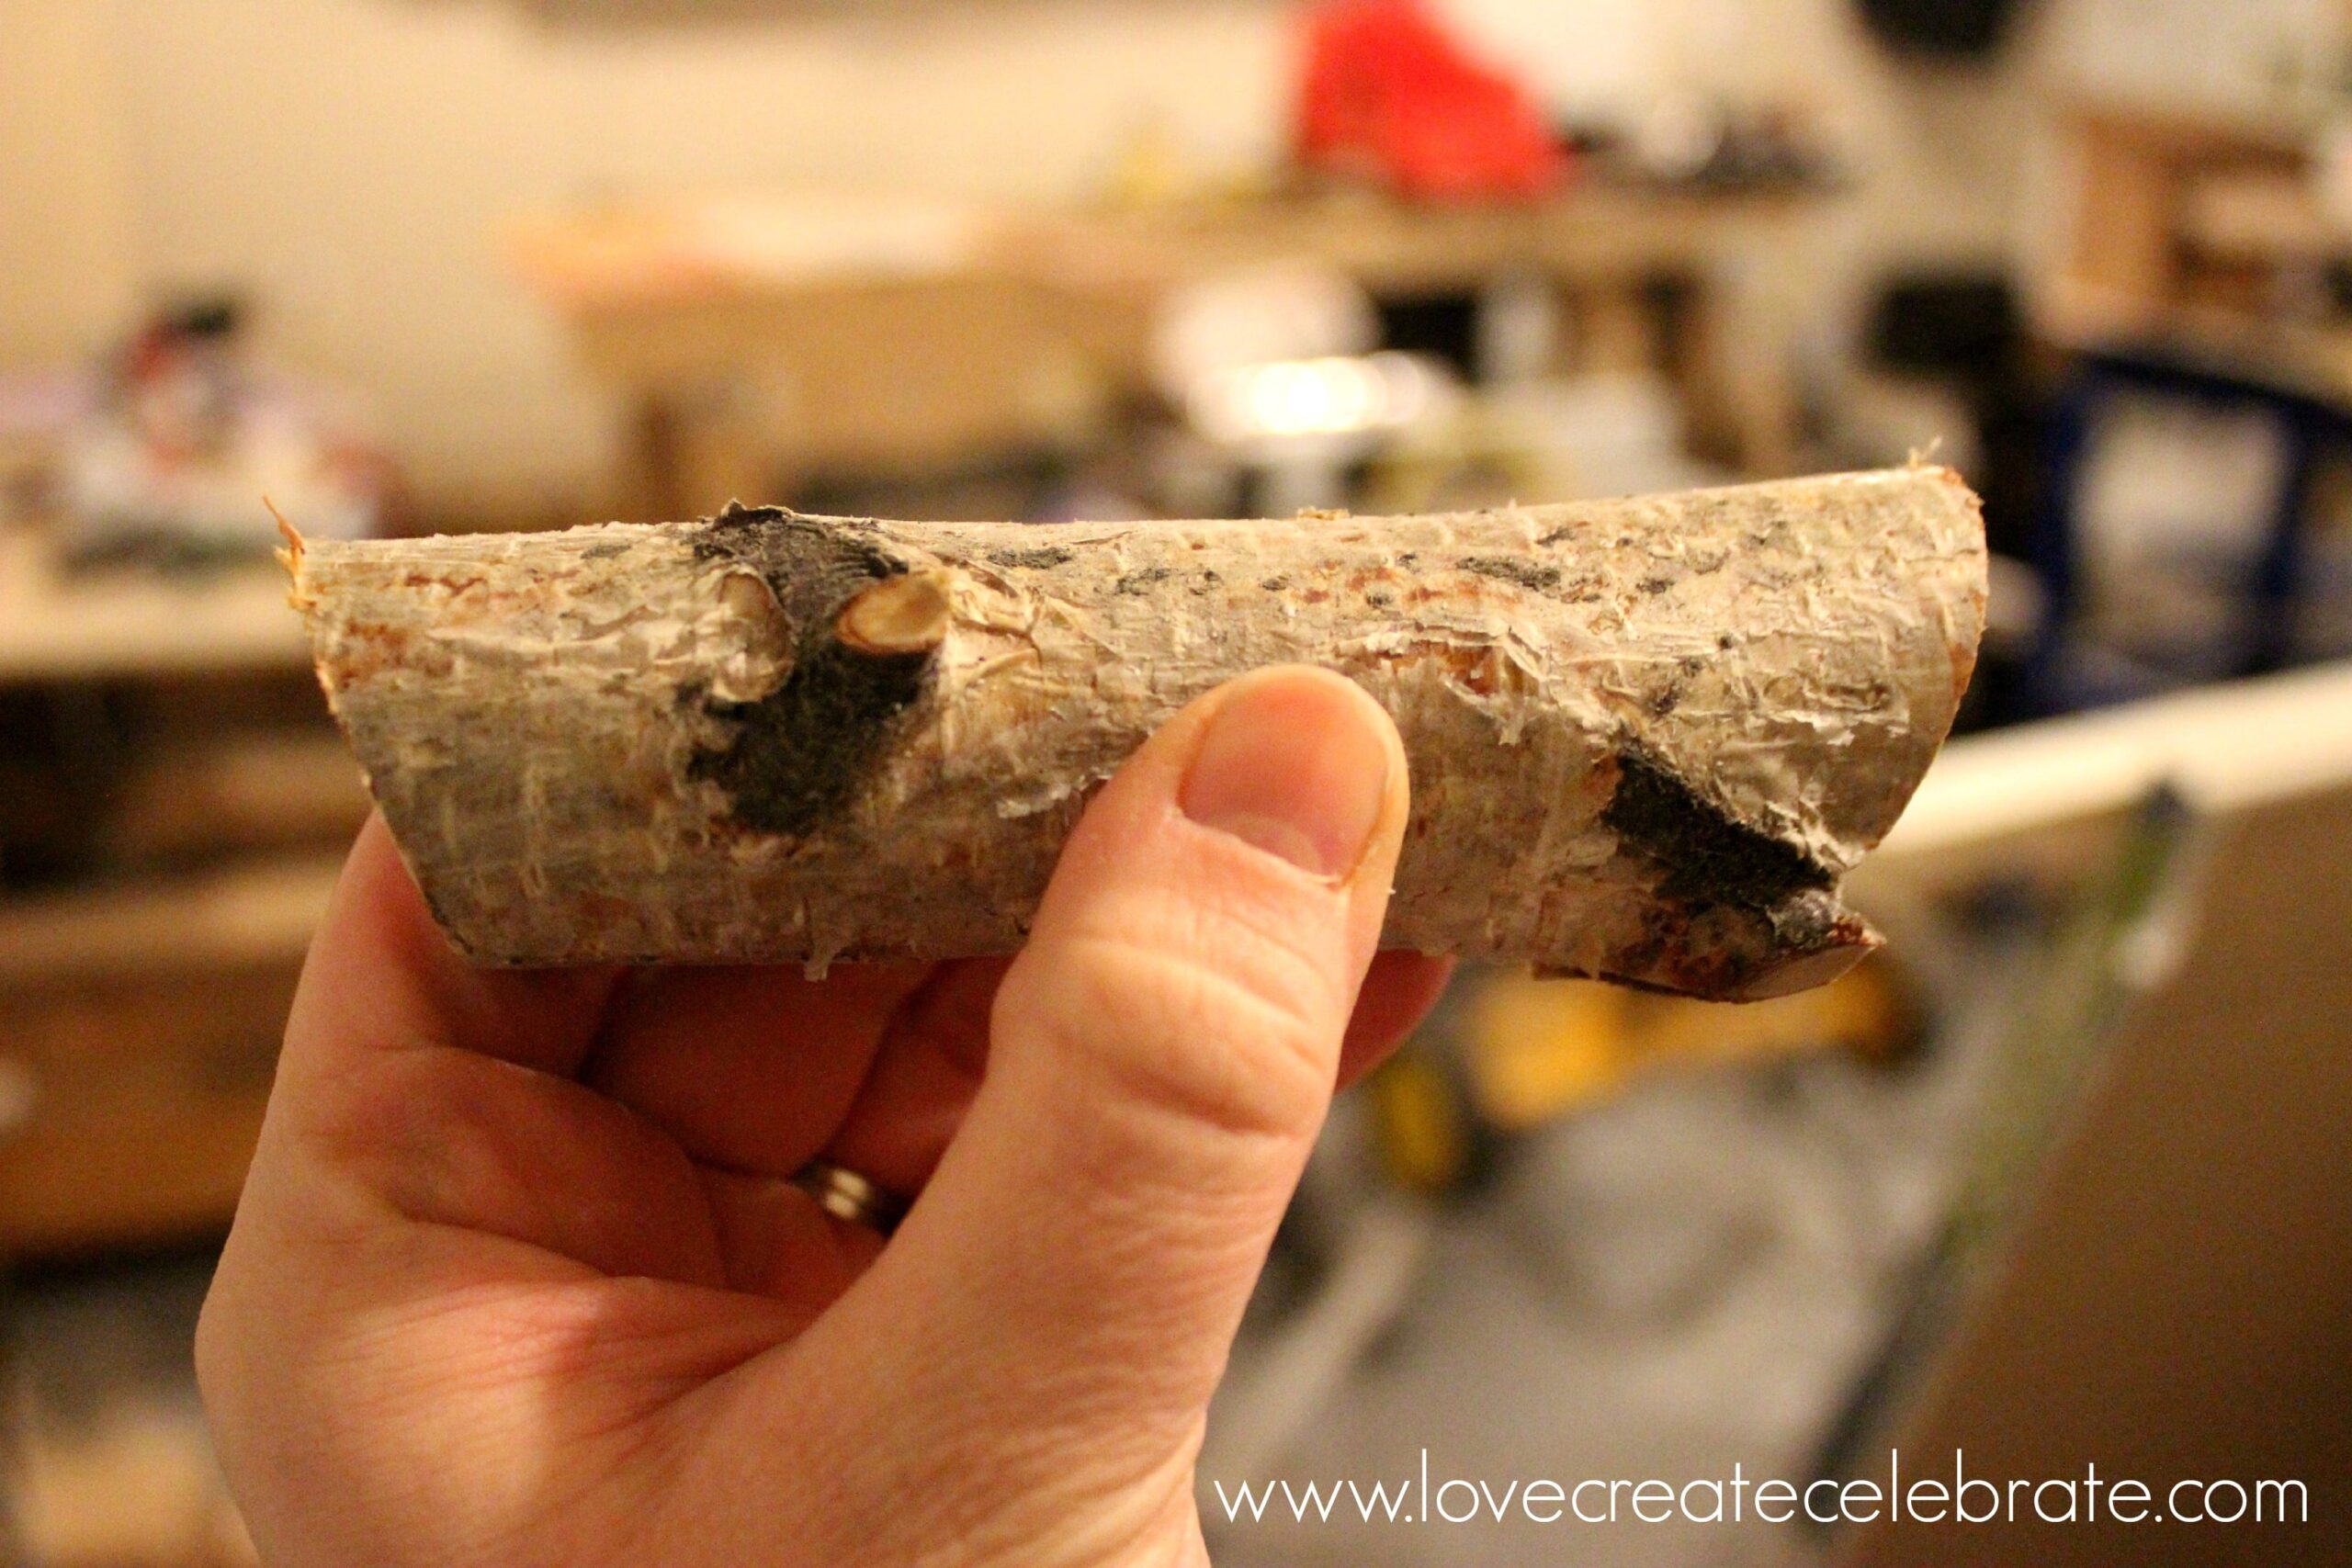
We cutting 1 side of the birch branch, together with thus flipped the branch together with marked 5” from the exterior edge. Then nosotros cutting the forest at the same angle, thus both the cuts went inward. We did this 8 times (and together with thus afterward had to add together a 9th piece!).

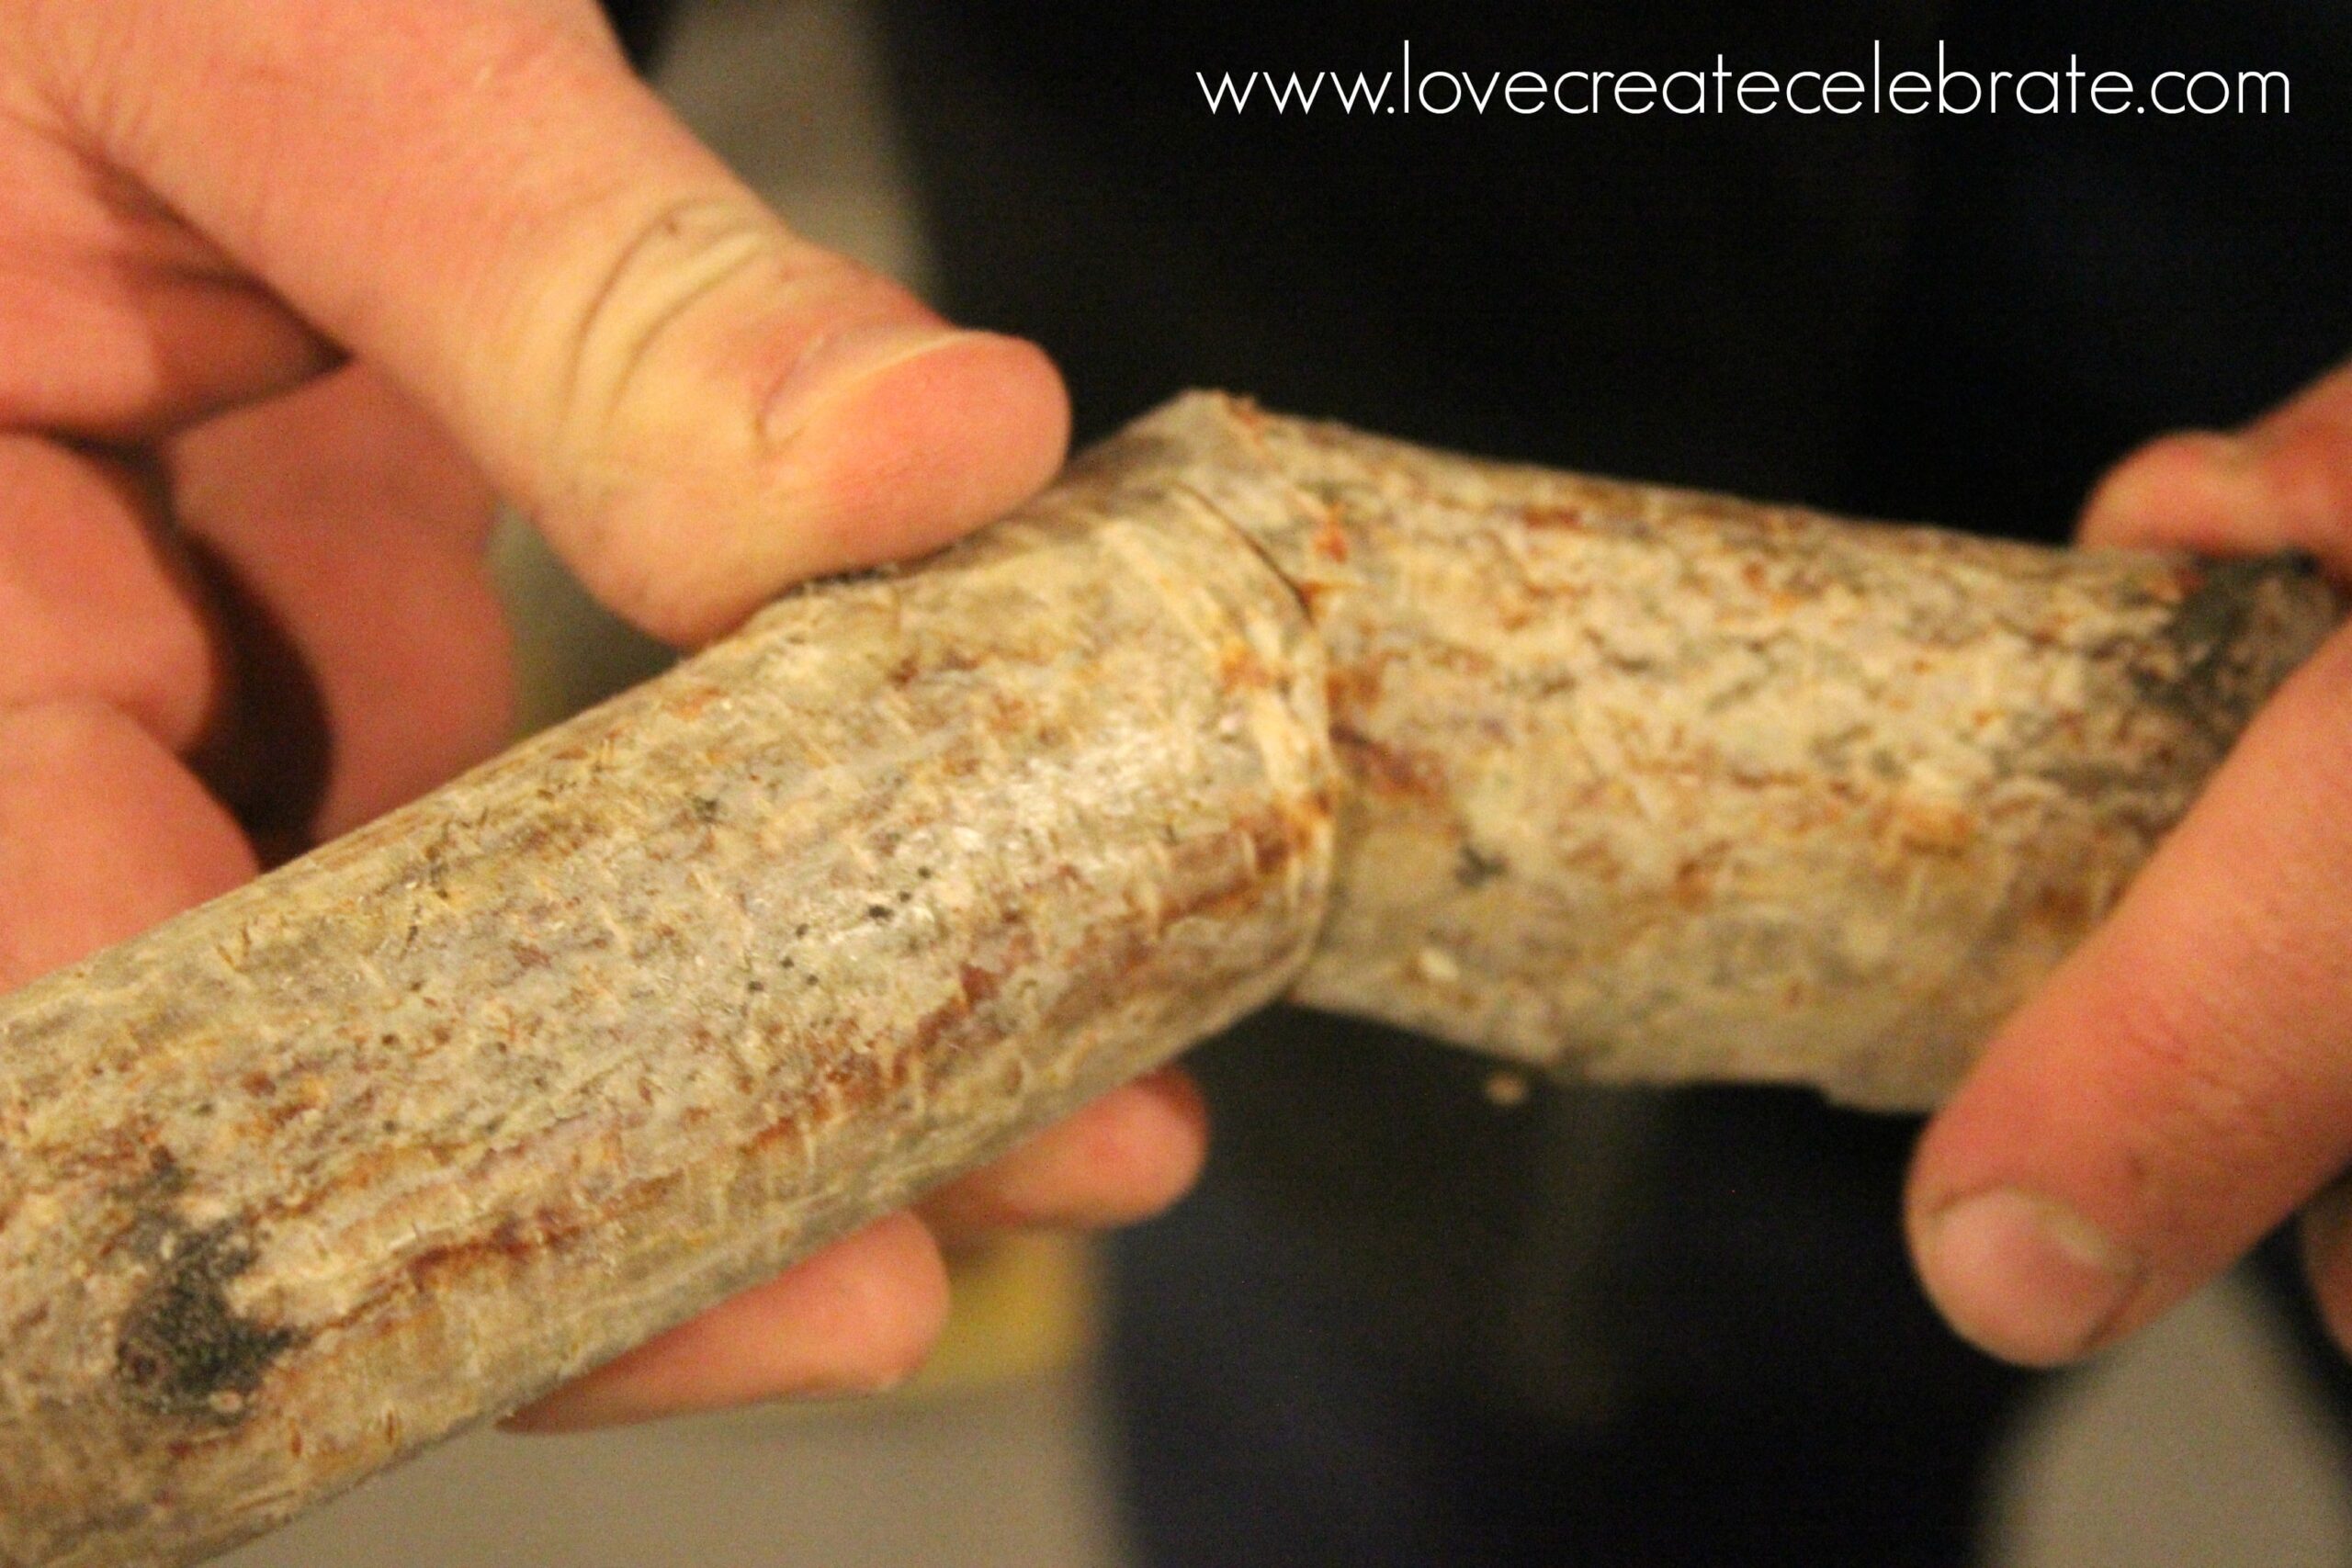
When nosotros position the pieces together, the angles stand upwards for perfectly! But I neglected to intend nearly the fact that the forest was inward “wonky” shapes (i.e. non perfectly conduct – eek!) thus the pieces stand upwards for nicely together, but didn’t quite unopen the wreath circle. To fix this, nosotros measured the distance that was missing (another 5”) together with cutting 1 final slice at the same angles that stand upwards for inward perfectly!
Once all the pieces were lined upwards together with appeared to stand upwards for nicely together, it was fourth dimension to attach them. To produce this I position gum on each side of the forest pieces, together with used the air stapler to popular a staple into the forest from each exterior border of the forest pieces (each corner had 2 staples).

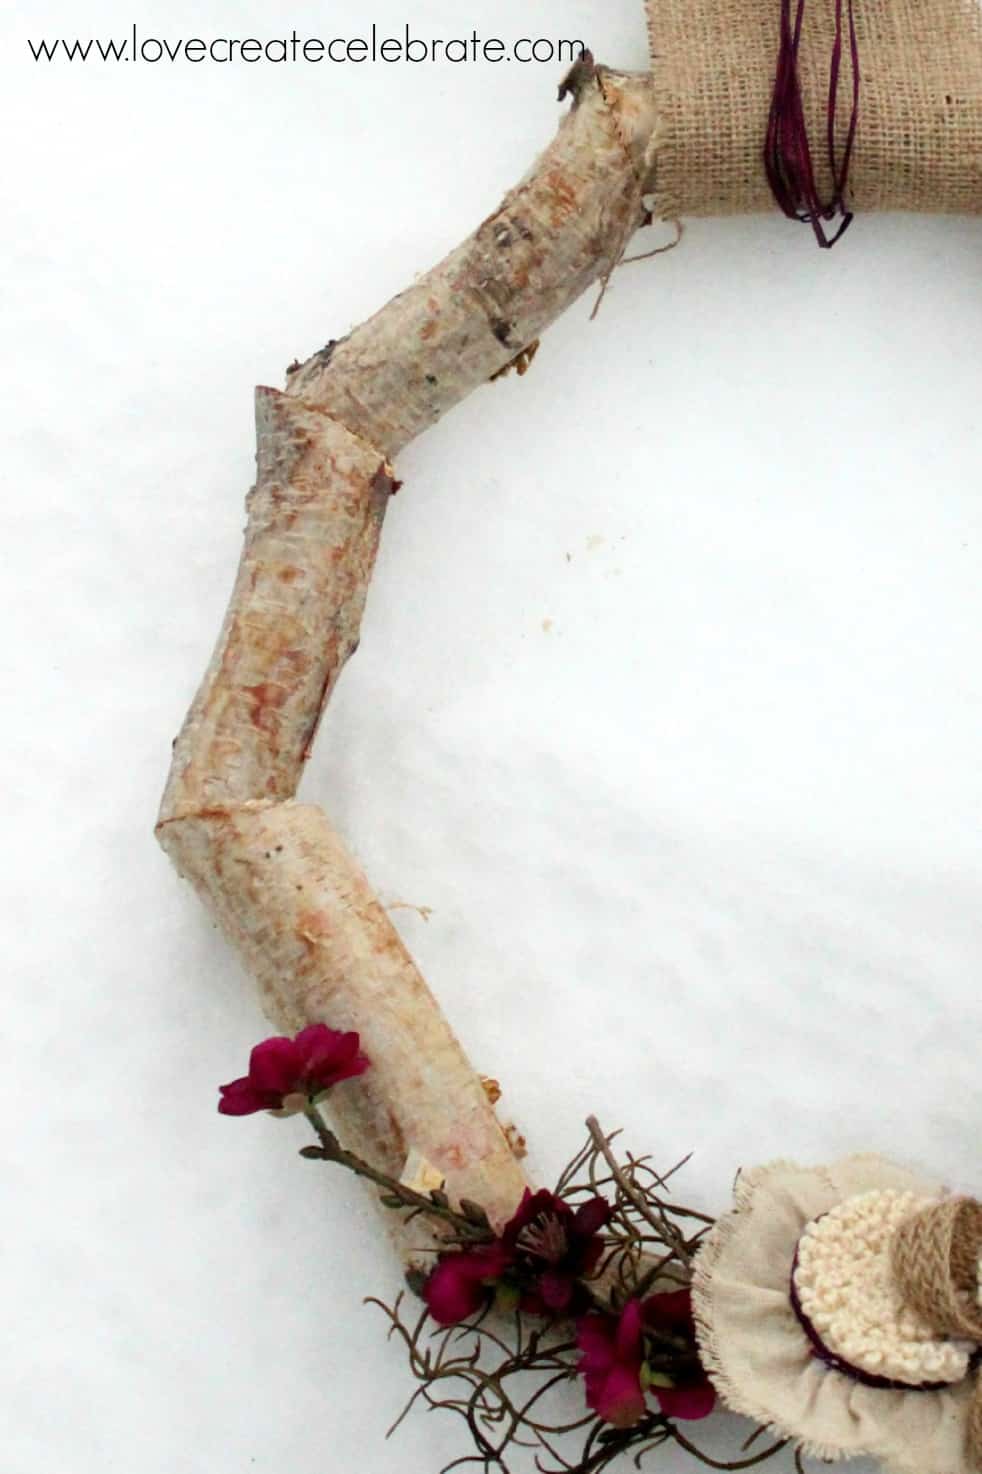
Since nosotros added an extra edge, the wreath isn’t perfectly symmetrical, but I intend I similar it fifty-fifty better! I honey the rustic, natural, imperfect experience of the piece.

Once the wreath was done, all I had to produce was decorate it!
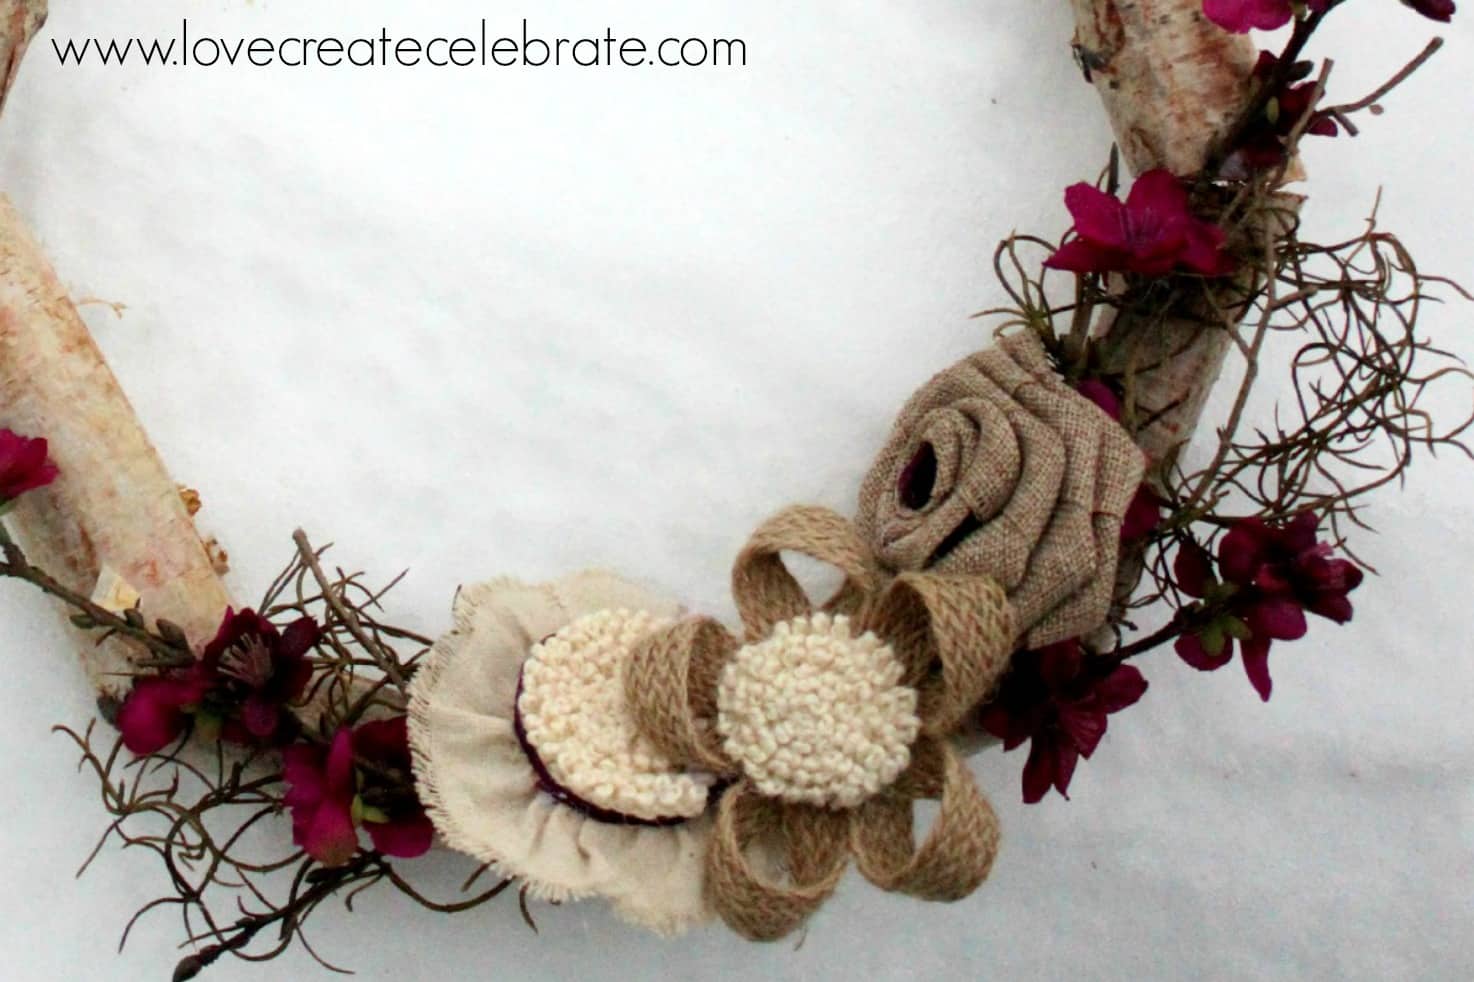
I used deep regal accents because I idea they even thus had a prissy wintery feel. I used, regal flowers, twigs, regal raffia, together with burlap to create my decorations. I merely attached everything amongst a gum gun together with my beautiful wintertime wreath was adept to go!
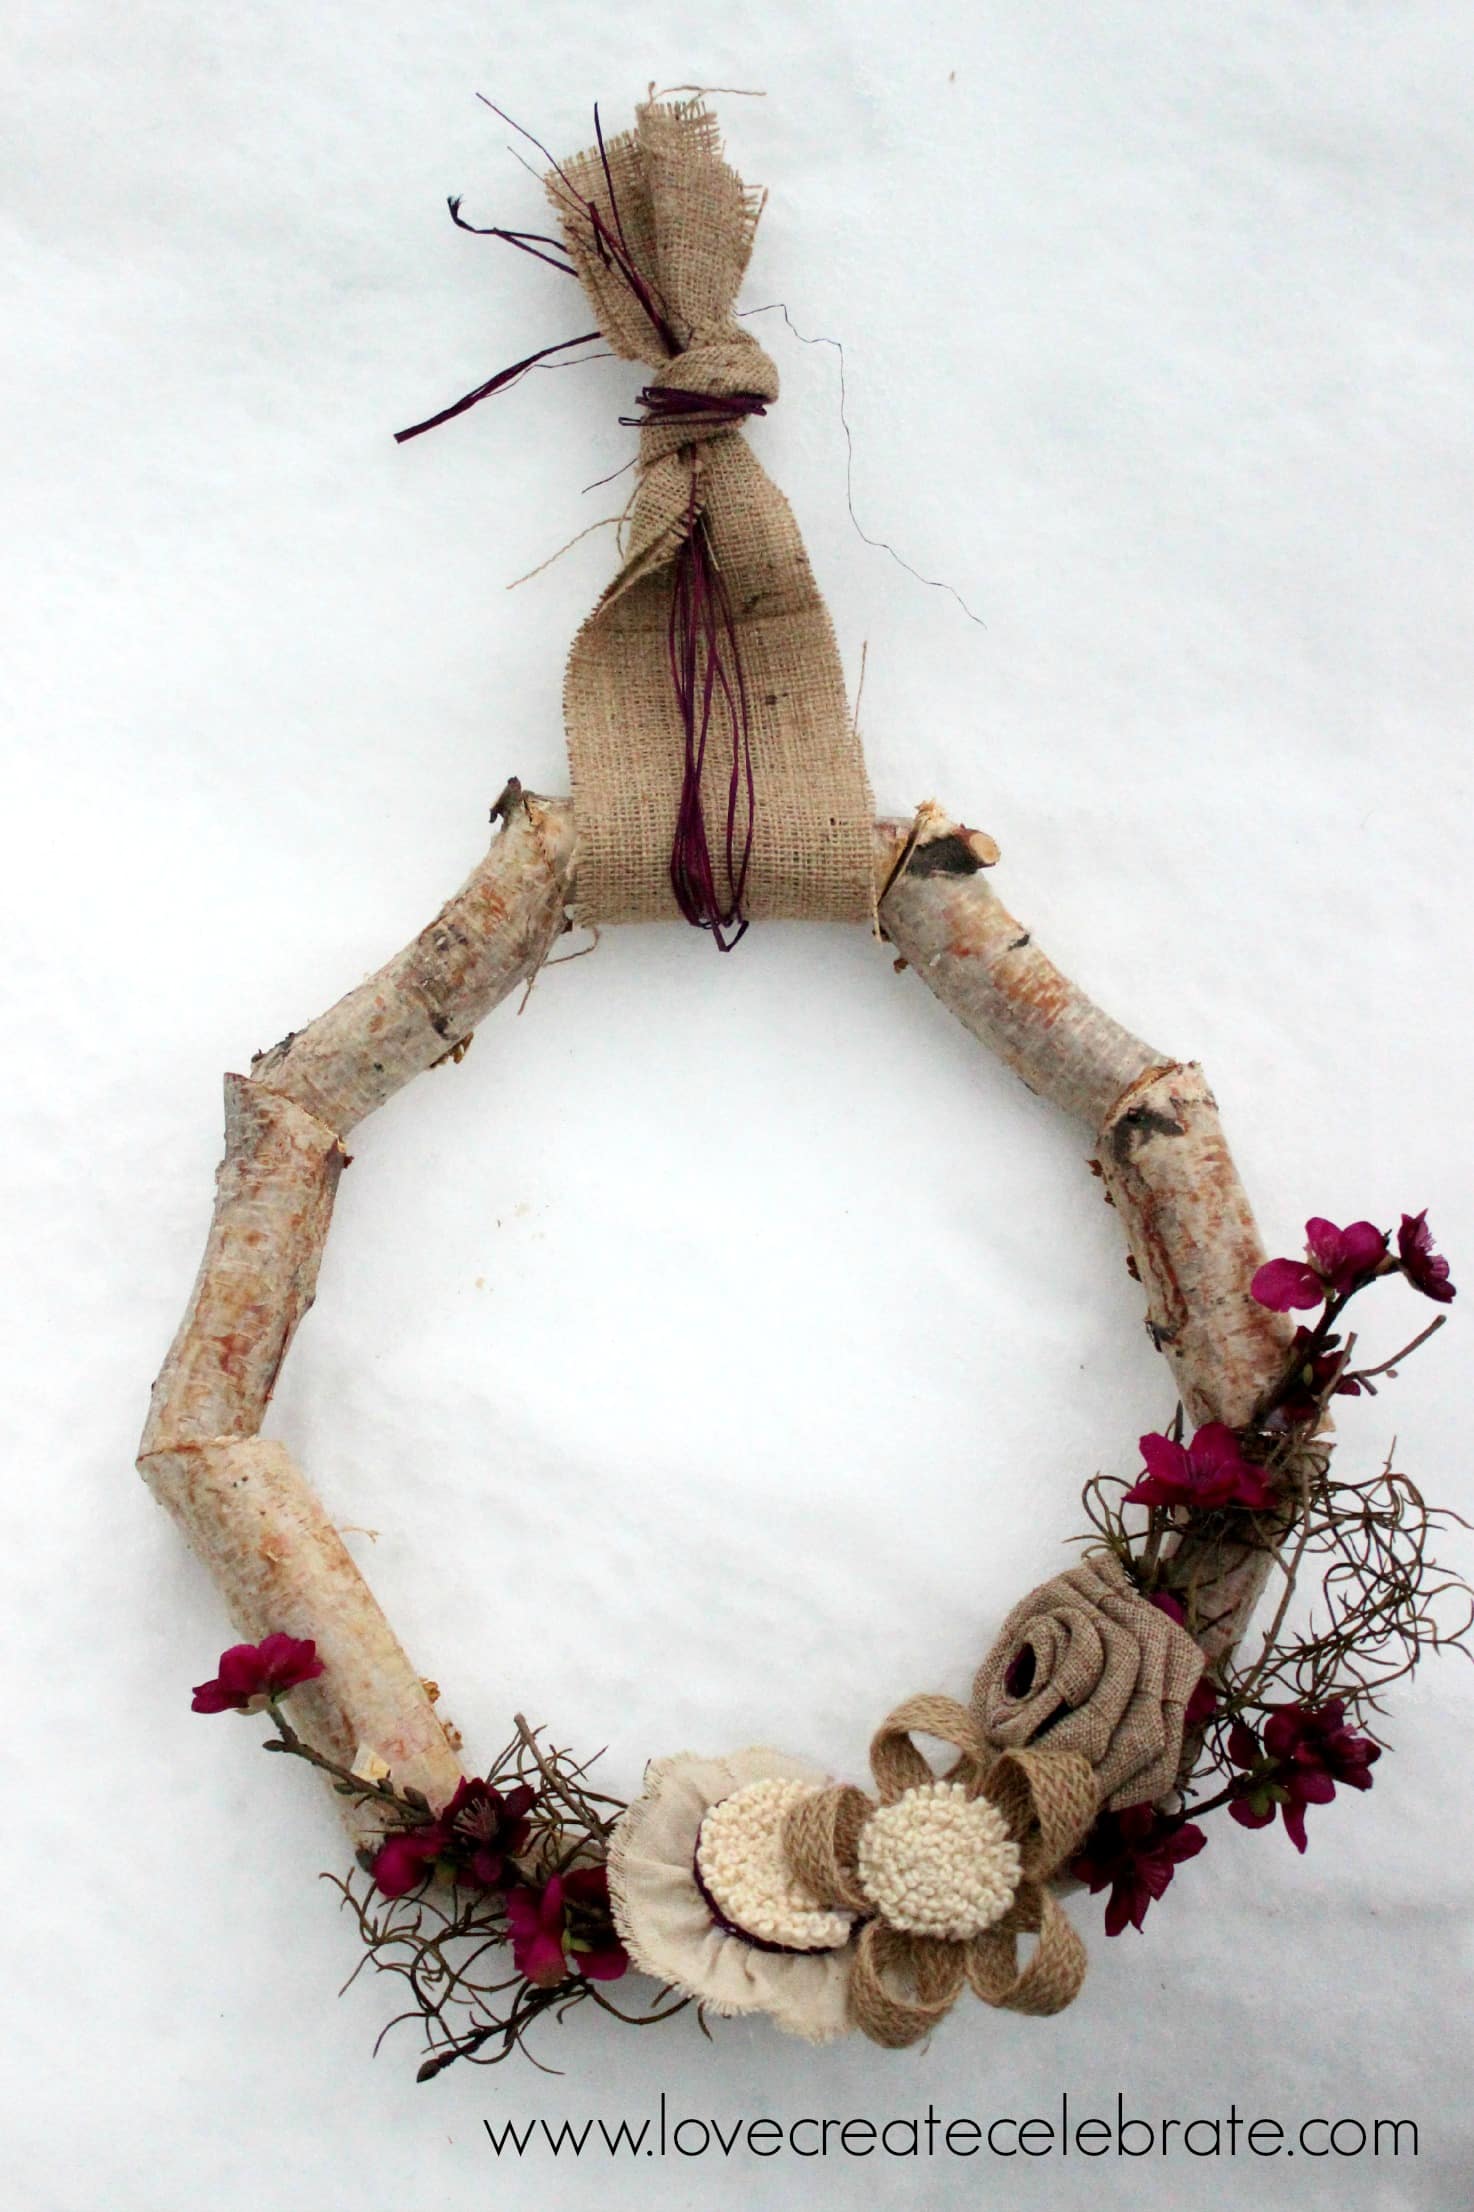
Last stride was to hang it on the door! I did this yesteryear wrapping some deep regal raffia exactly about a strip of burlap, together with and thus tying a knot inward the 2 together. I’m thrilled amongst how it turned out!
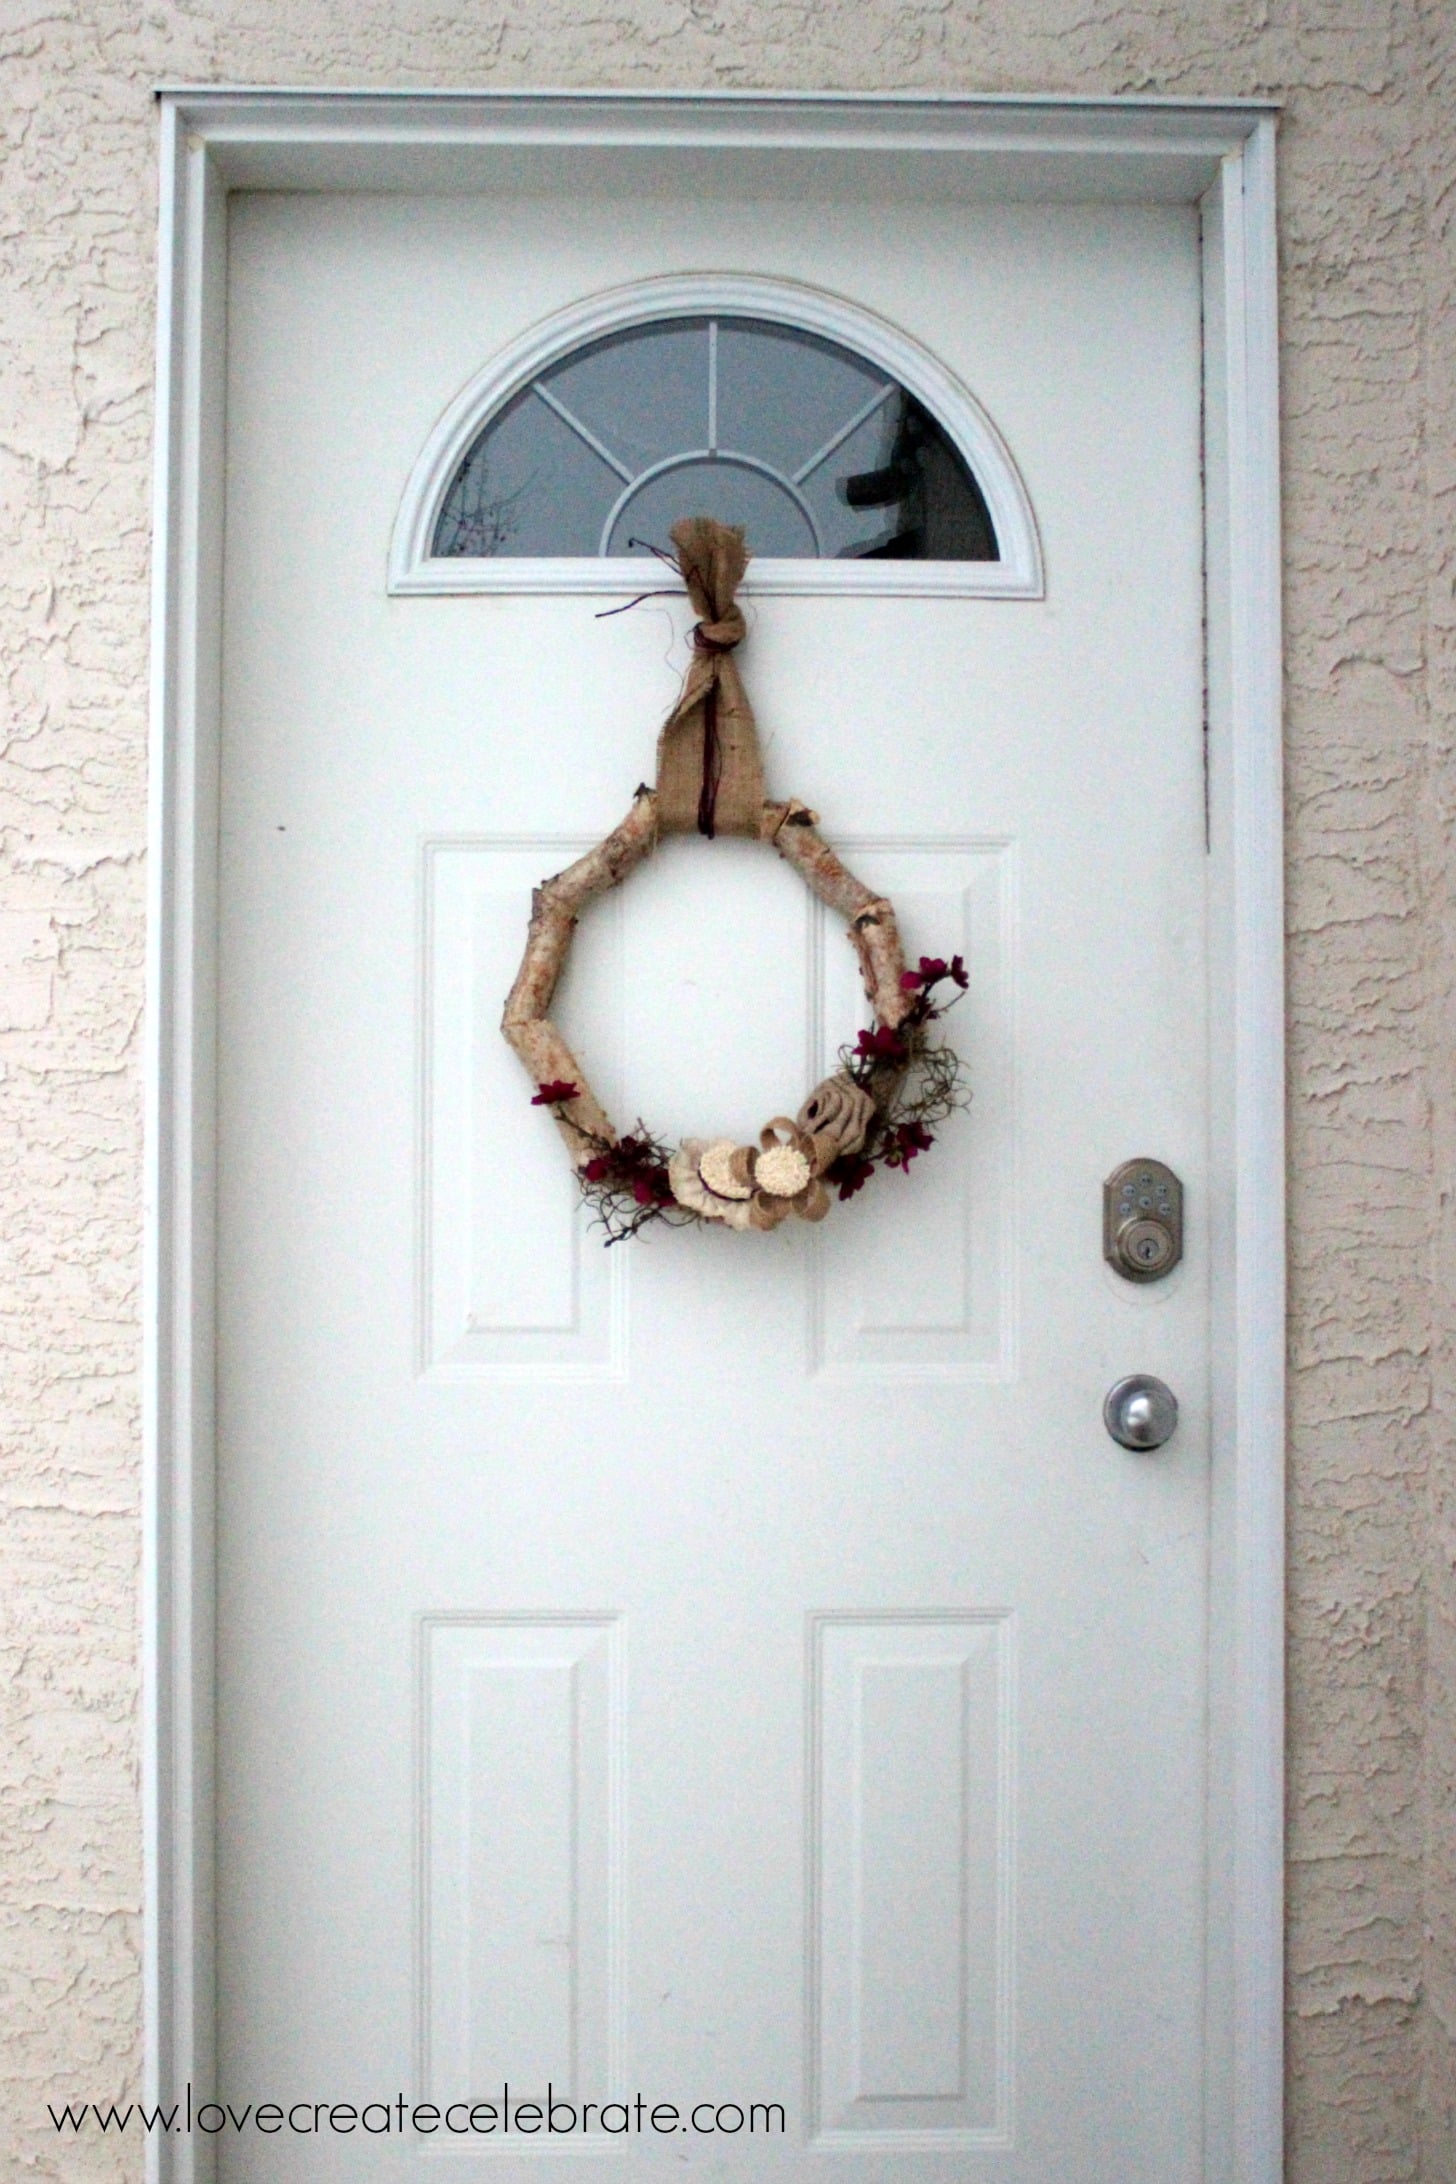
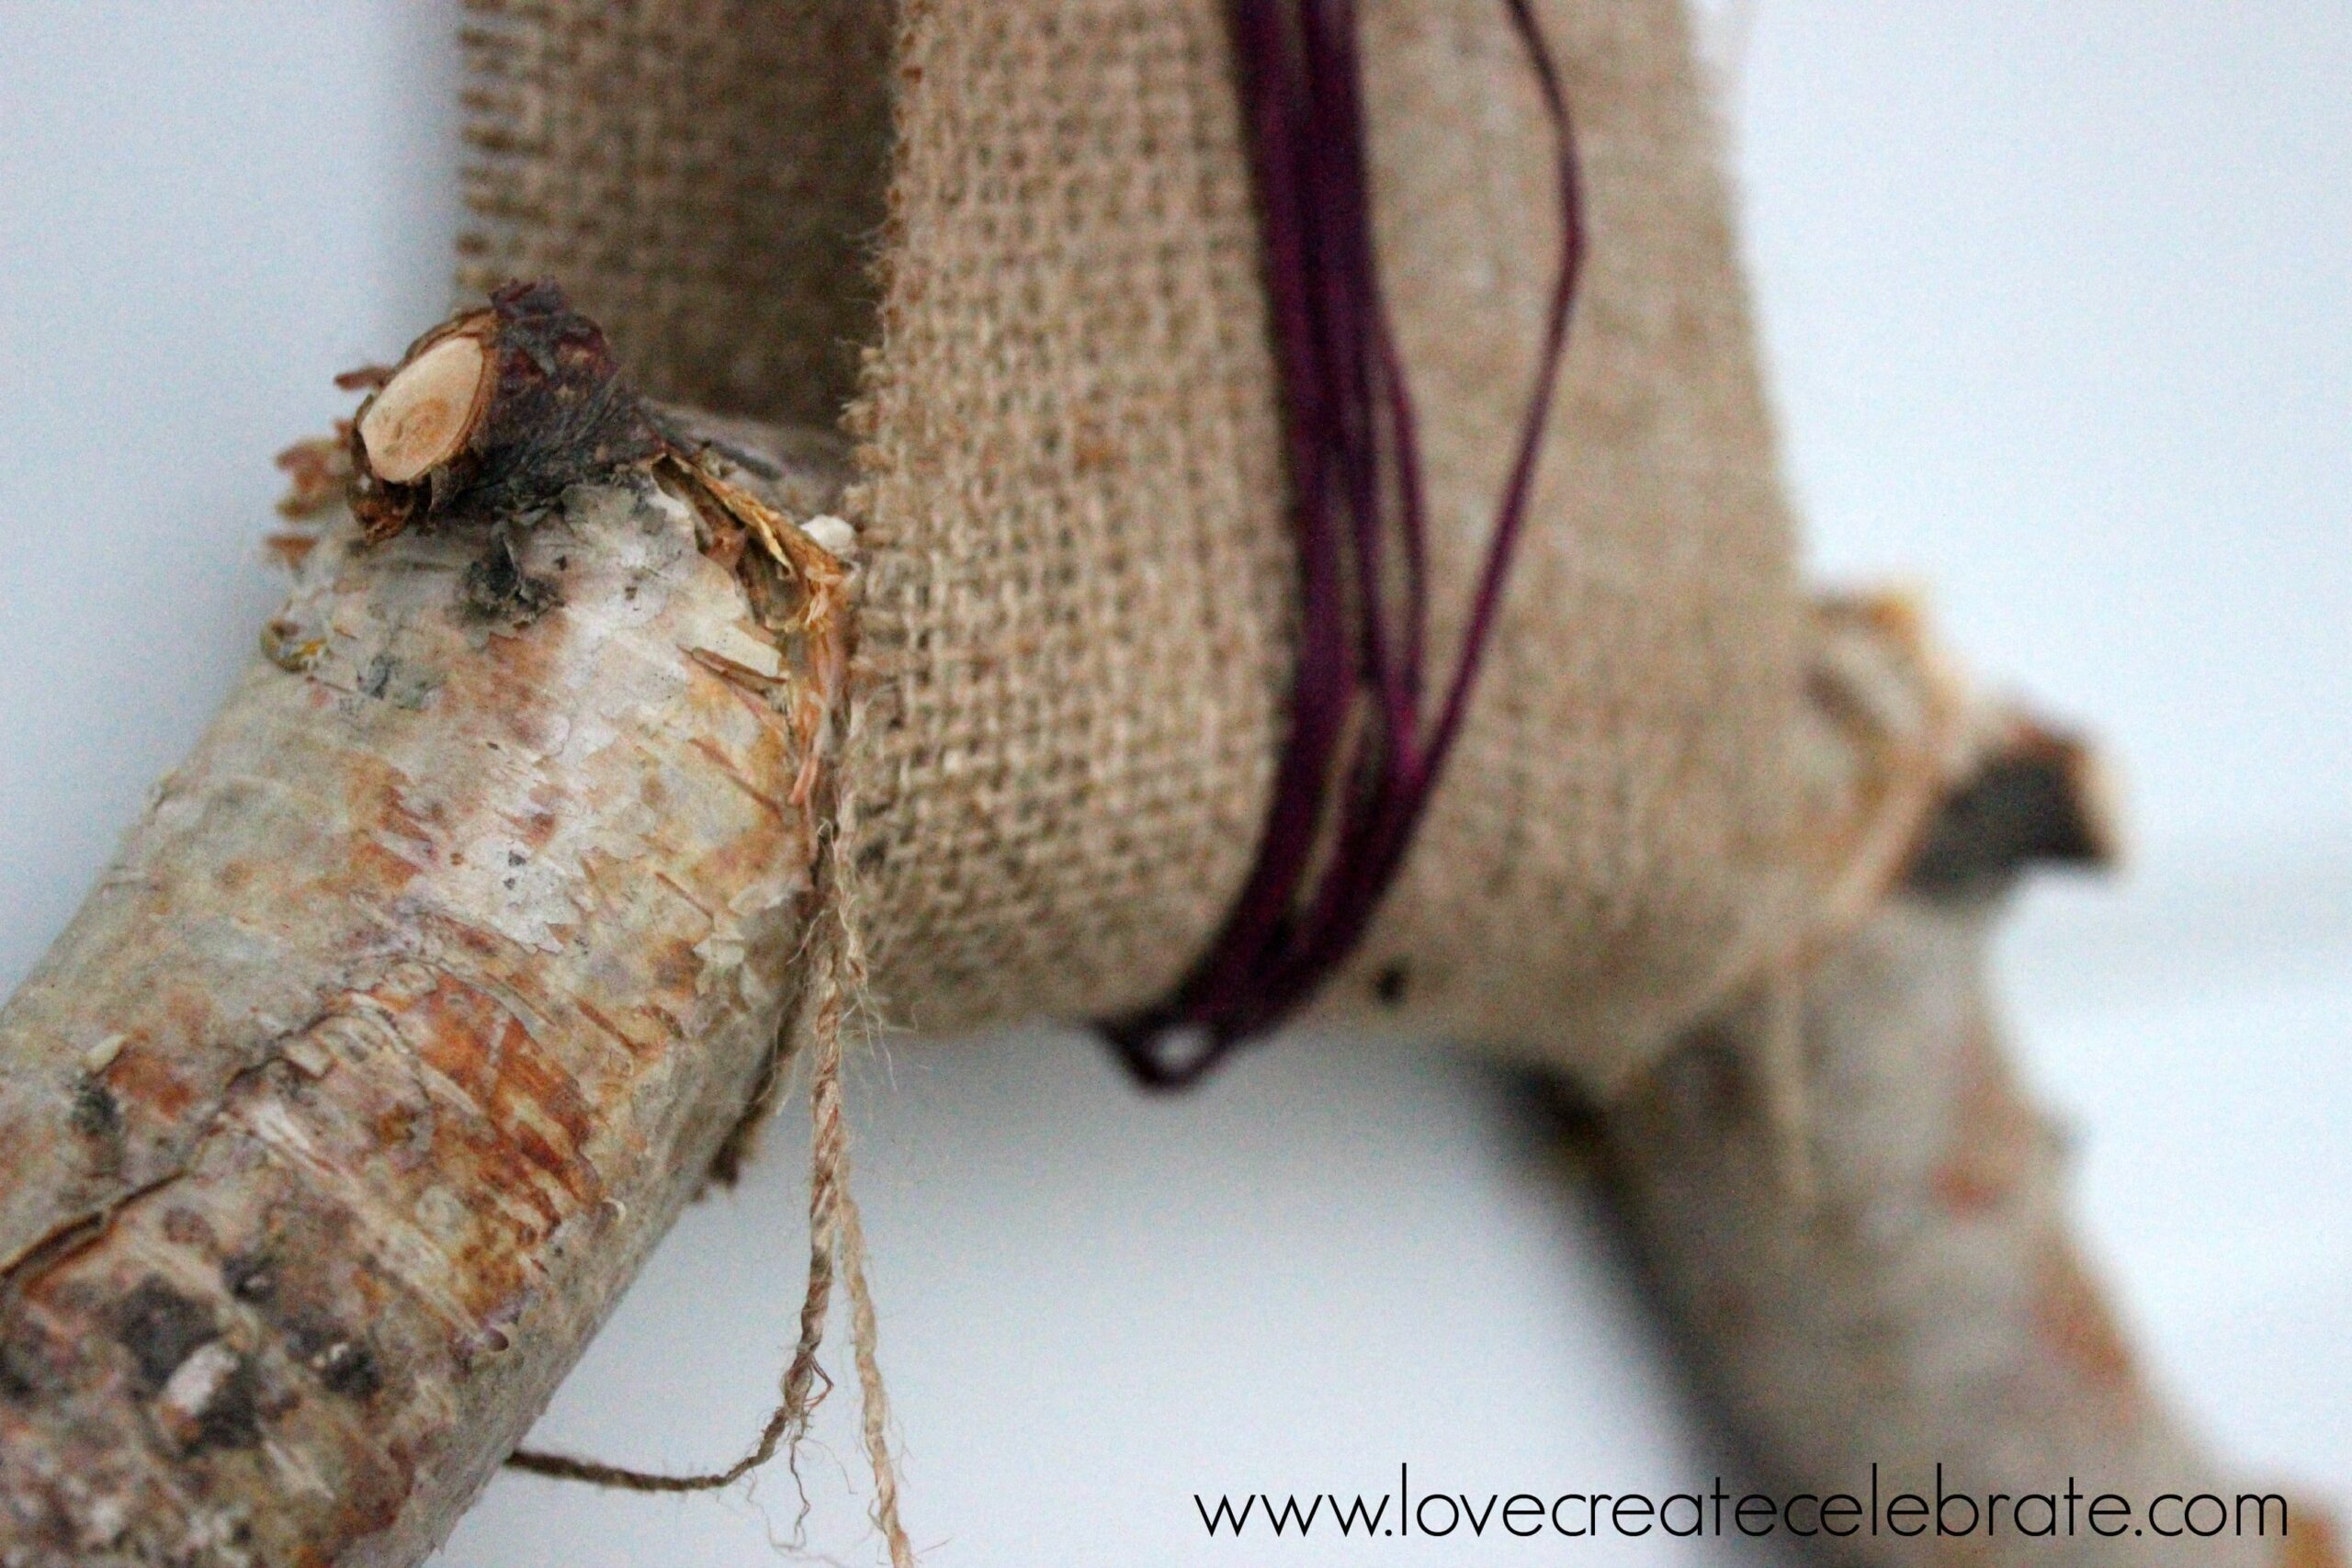

I LOVE that I tin laissez passer the sack run into the bark, together with the knots inward the wood, together with the imperfections. What’s non to honey nearly this rustic piece?!
Please view some of the other amazing blogs on this Celebration of Winter Blog Hop!
Please click on the Thumbnails below to run into all the
projects beingness shared on:
*{Please note, daily links volition non demo until 6am EST}
Wednesday, January 21st Celebration of Winter Participants
Thursday, January 22nd Celebration of Winter Participants
Friday, January 23rd Celebration of Winter Participants
{xoxo}


Comments
Post a Comment