Rustic Birch Wood Frame

I’m dorsum alongside or hence other forest project!
If you’ve been next my instagram account, y'all may convey seen a few pictures of me testing out the ability tools (like this one, or this one). My hubby has been patiently didactics me the fine art of woodworking, in addition to I’m eagerly taking inward everything I can! I’ve had projection later projection jump into my head. This Rustic Birch Wood Frame was genuinely my husband’s idea, in addition to I’m SO glad he took the fourth dimension to learn me how to larn inward :)

Materials needed to brand the frame:
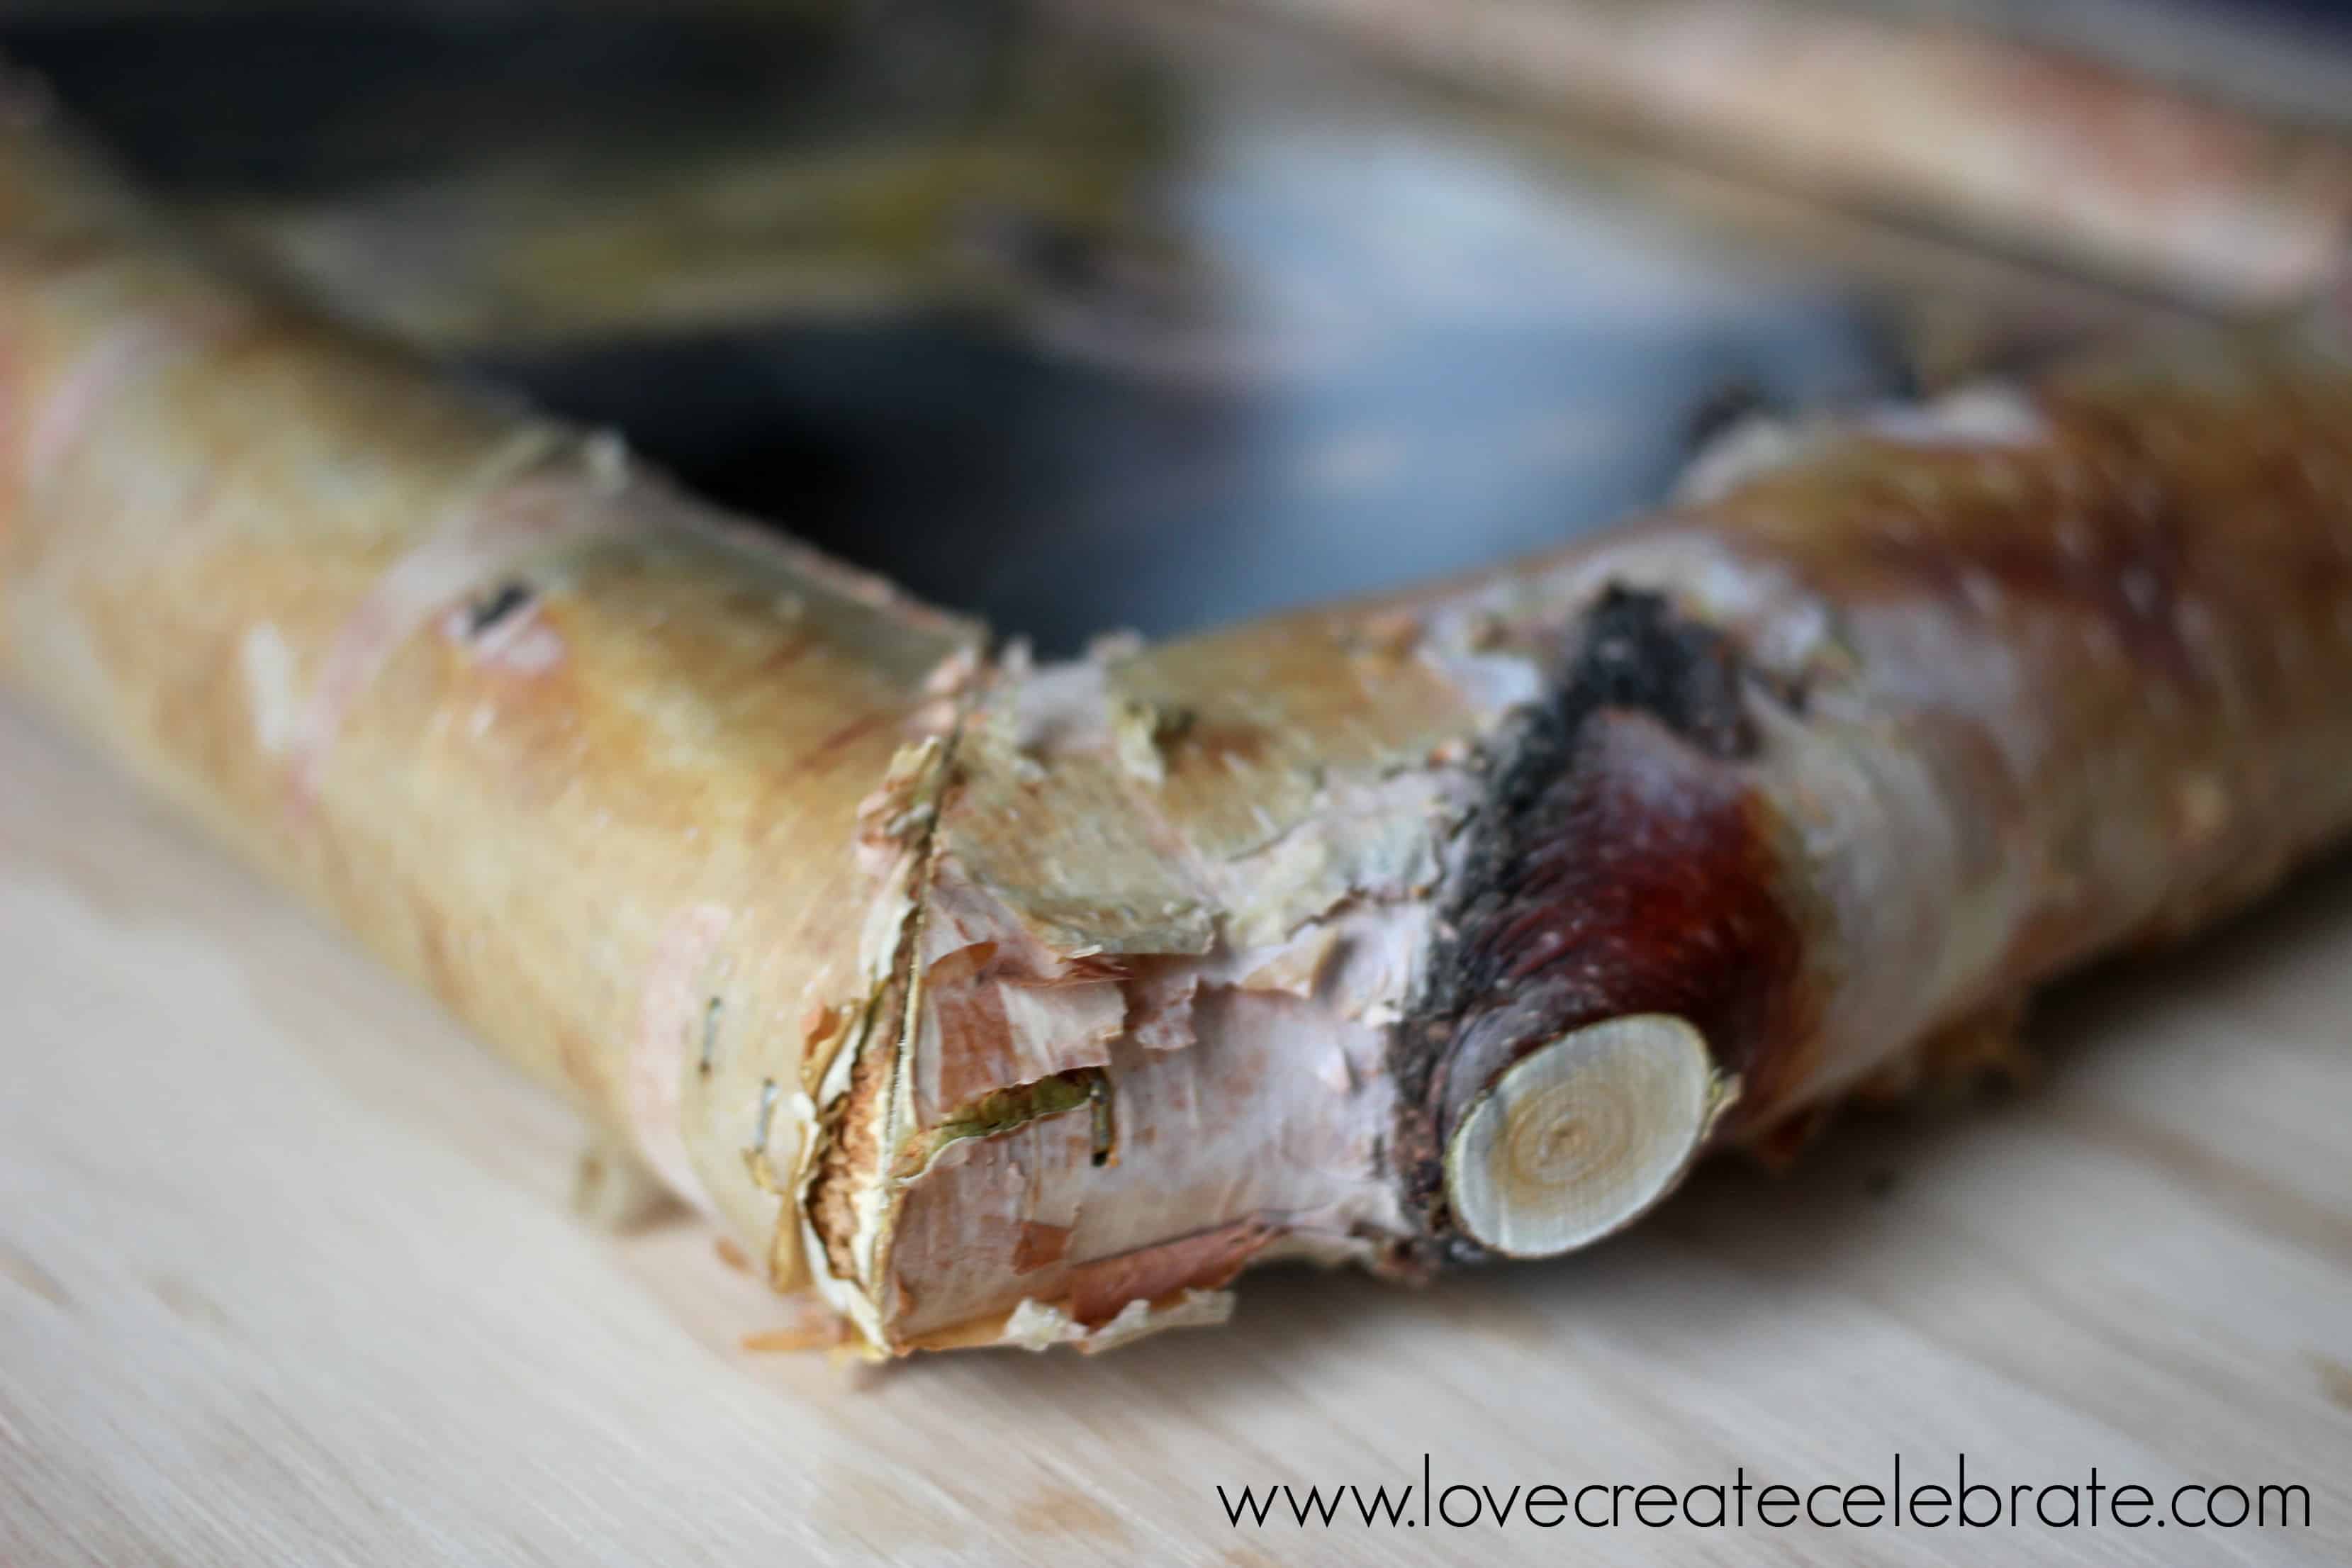
Birch forest branch
Mitre Saw
Table Saw
Chisel
Hammer
Sandpaper
Wood Glue
Staple Gun
Plexiglass
Hardboard
Hanging Hardware
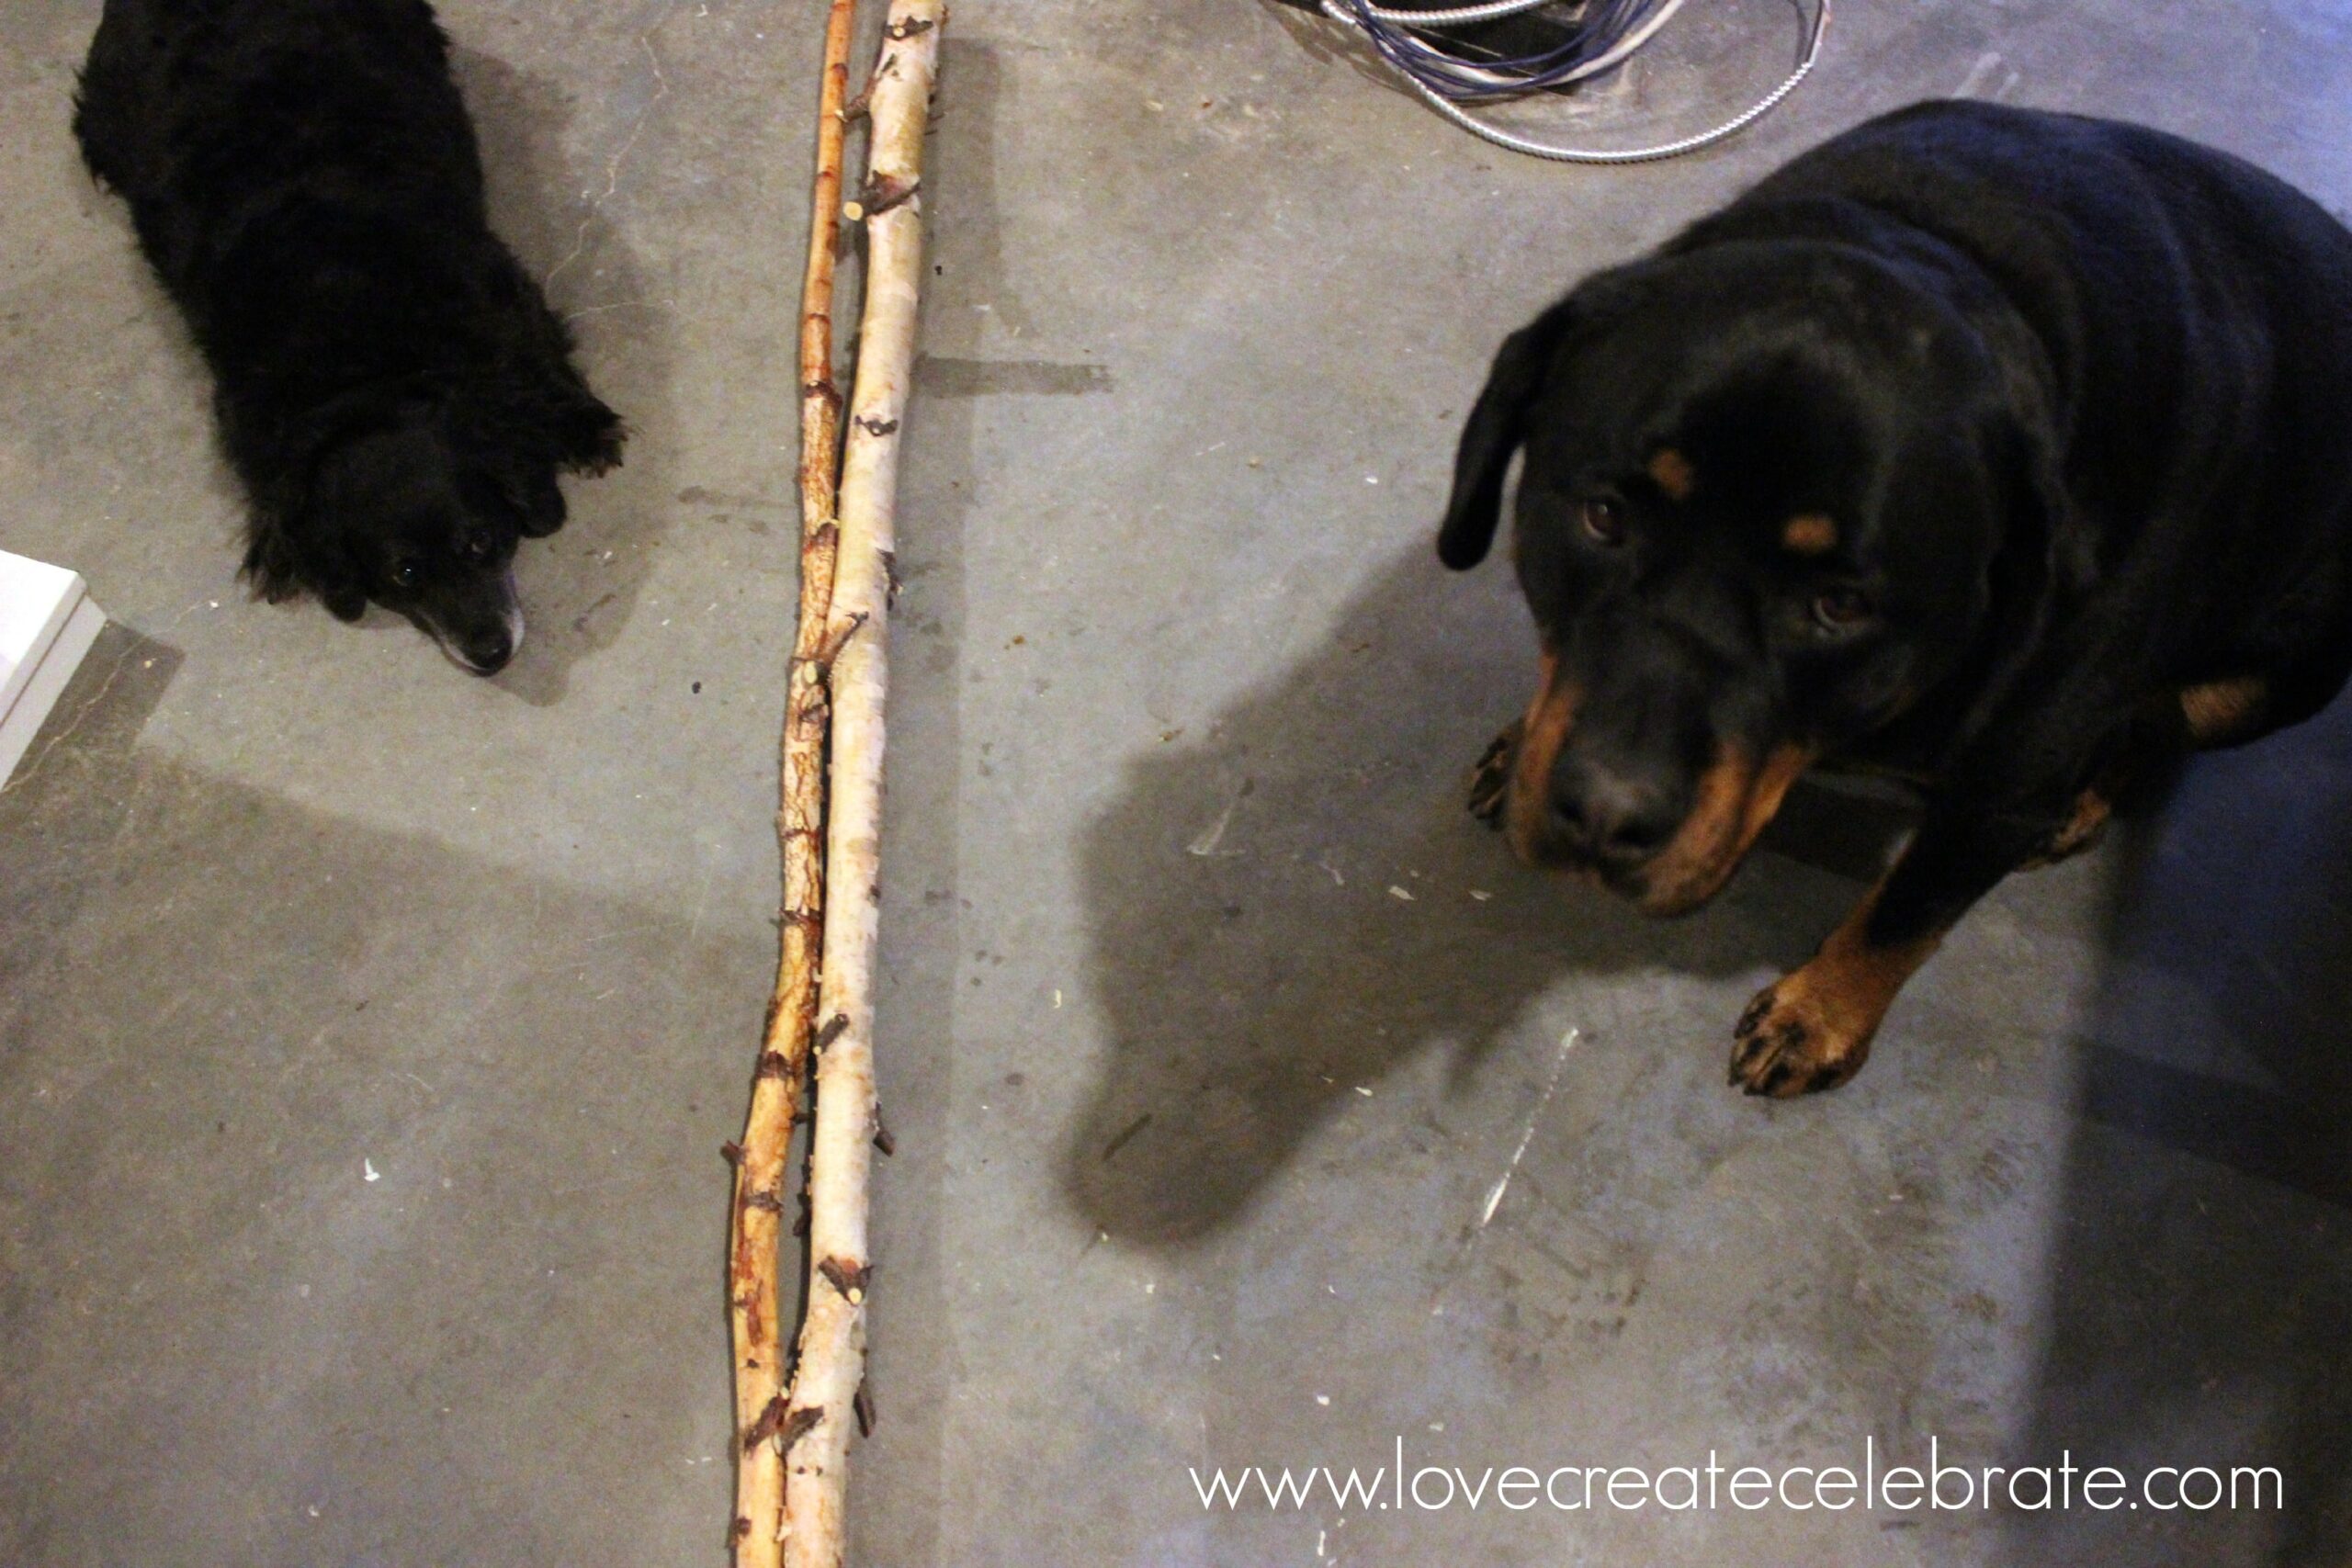
Once again, my dogs are relaxing beside our birch branches :) You may run across them popular into a garage movie hither or there!
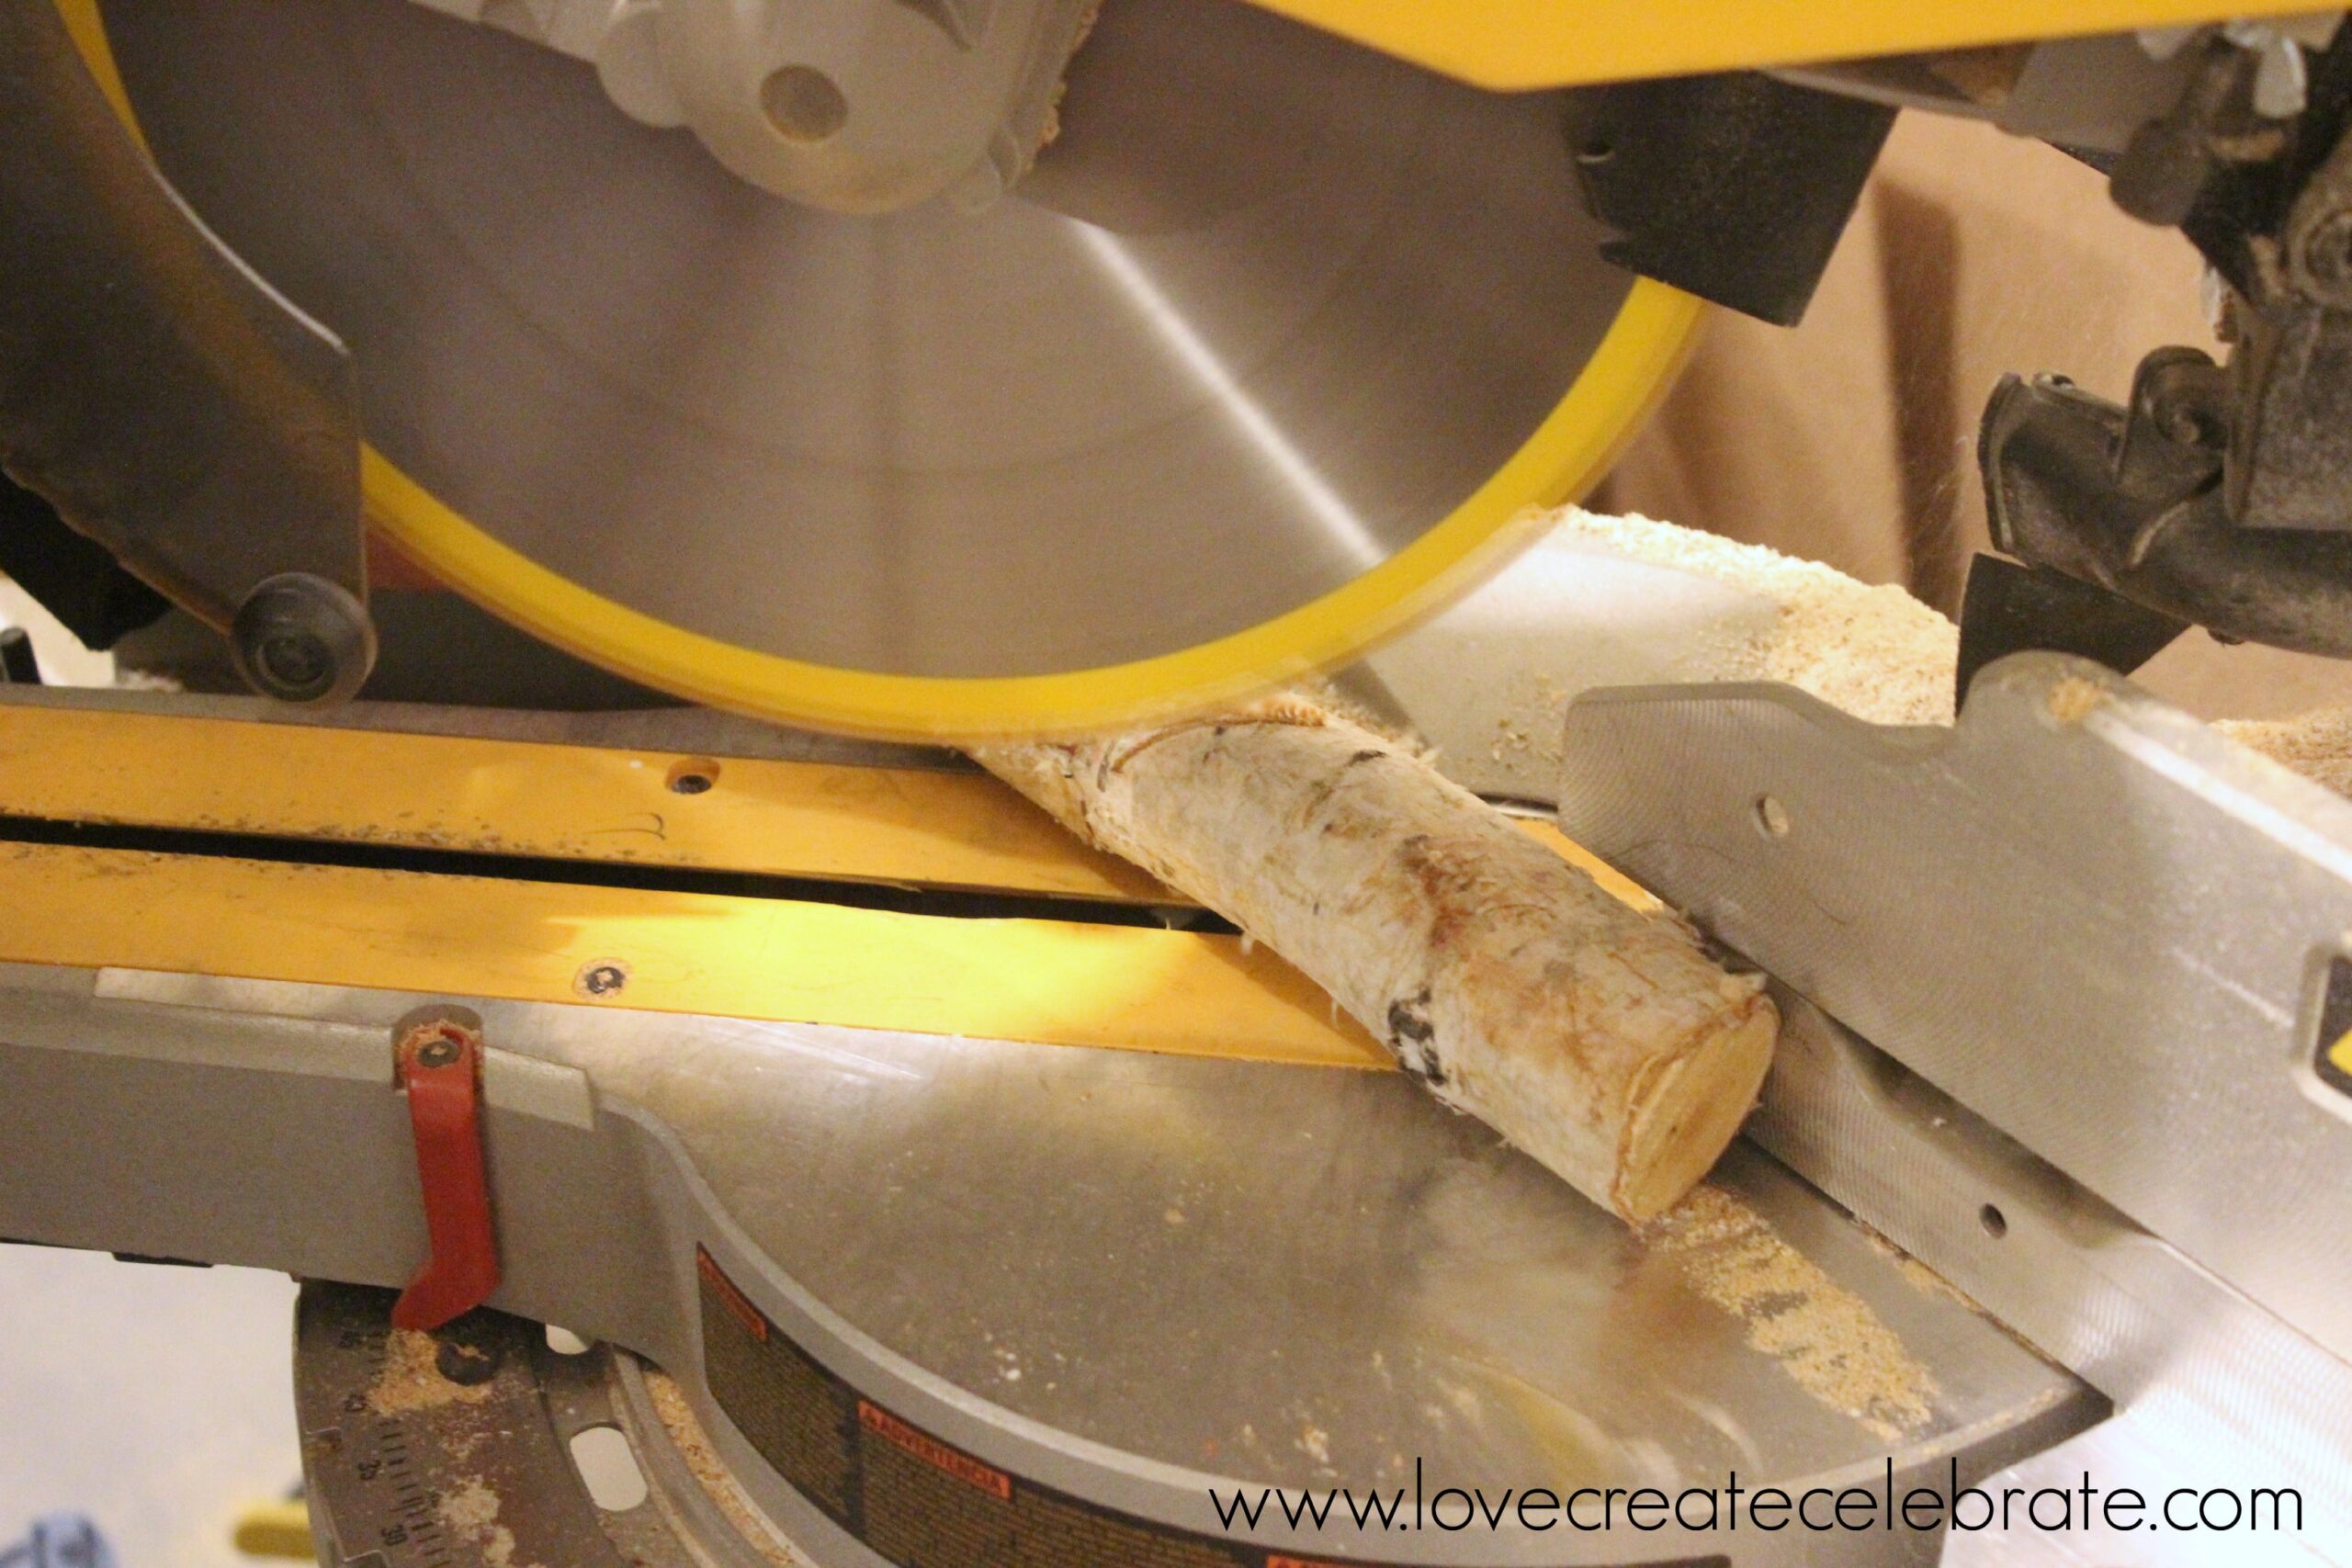
Start past times cutting 4 pieces of birch forest at 45 marking angles on your mitre saw. We cutting them hence that 2 pieces had within edges of five 7/8″ in addition to 2 pieces had within edges of seven 7/8″, but nether 6″x8″, hence that a 6″x8″ photograph tin strength out sit down inside. Make certain that your 45 marking angles both larn inward, equally shown inward the diagram below.
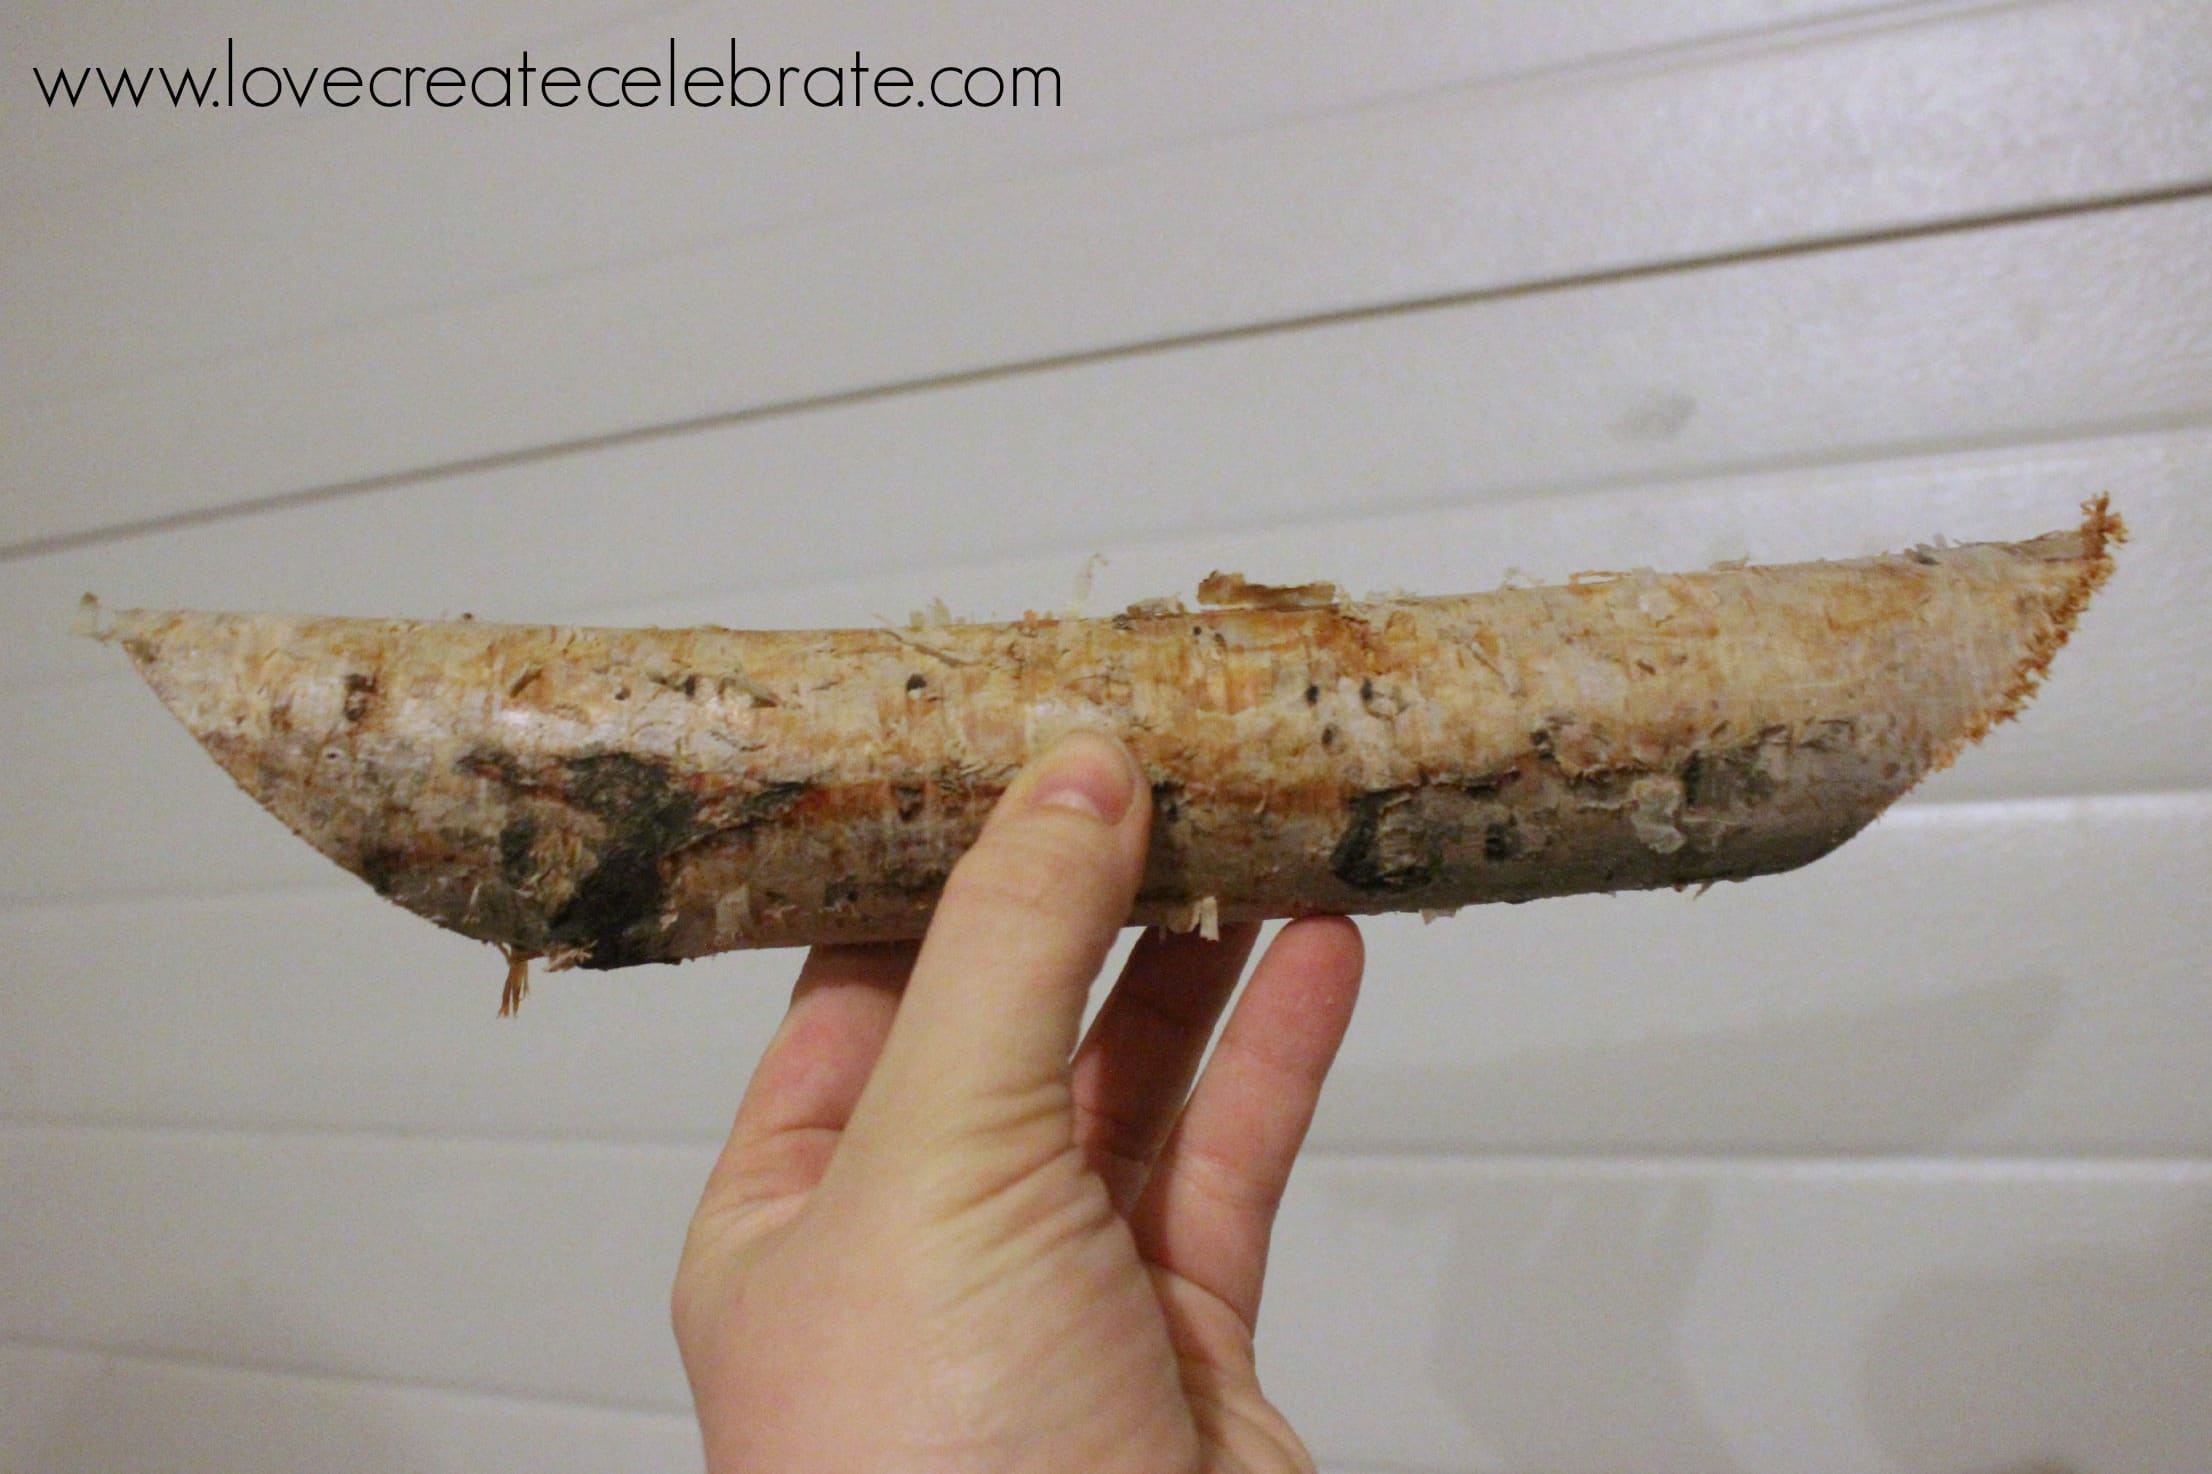
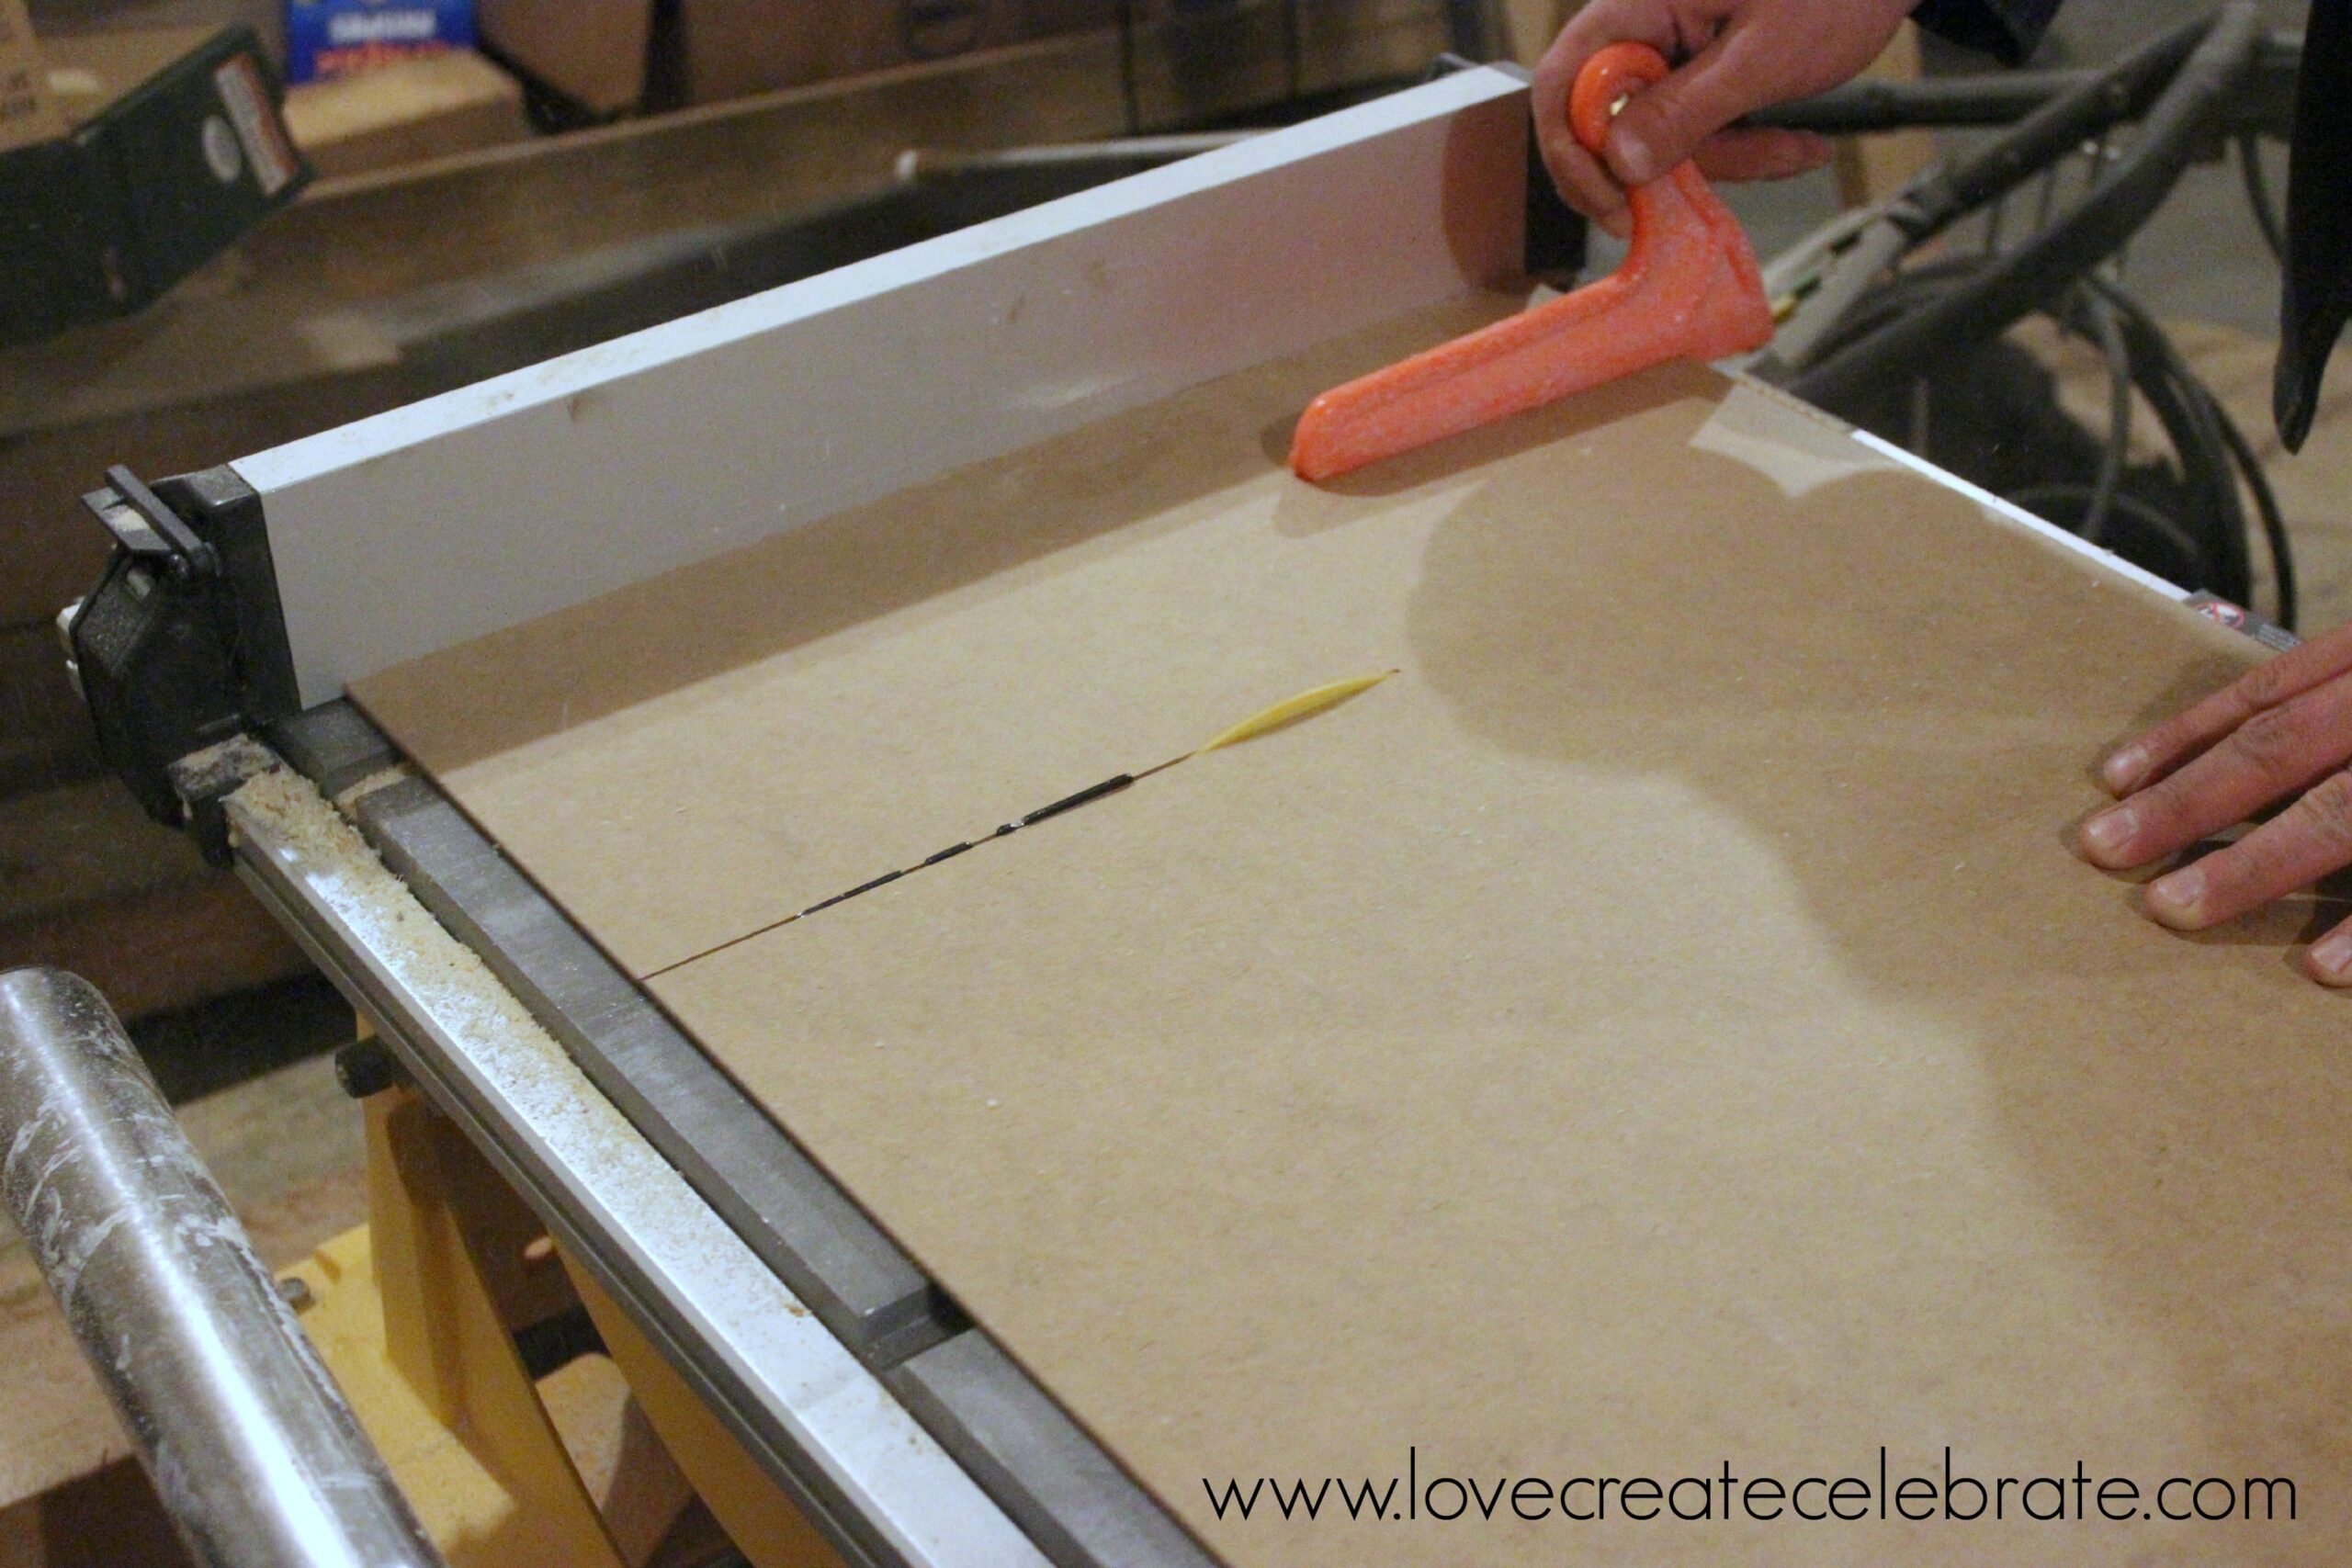
Next, nosotros lined upward the birch pieces to brand certain that the angles would sit down together nicely (not pictured – but an of import pace inward representative adjustments take away to endure made!). Then nosotros decided to cutting a 1/2″ x 1/2″ notch into the within border of each birch pieces (scroll downwards for pictures of what this volition await like!).
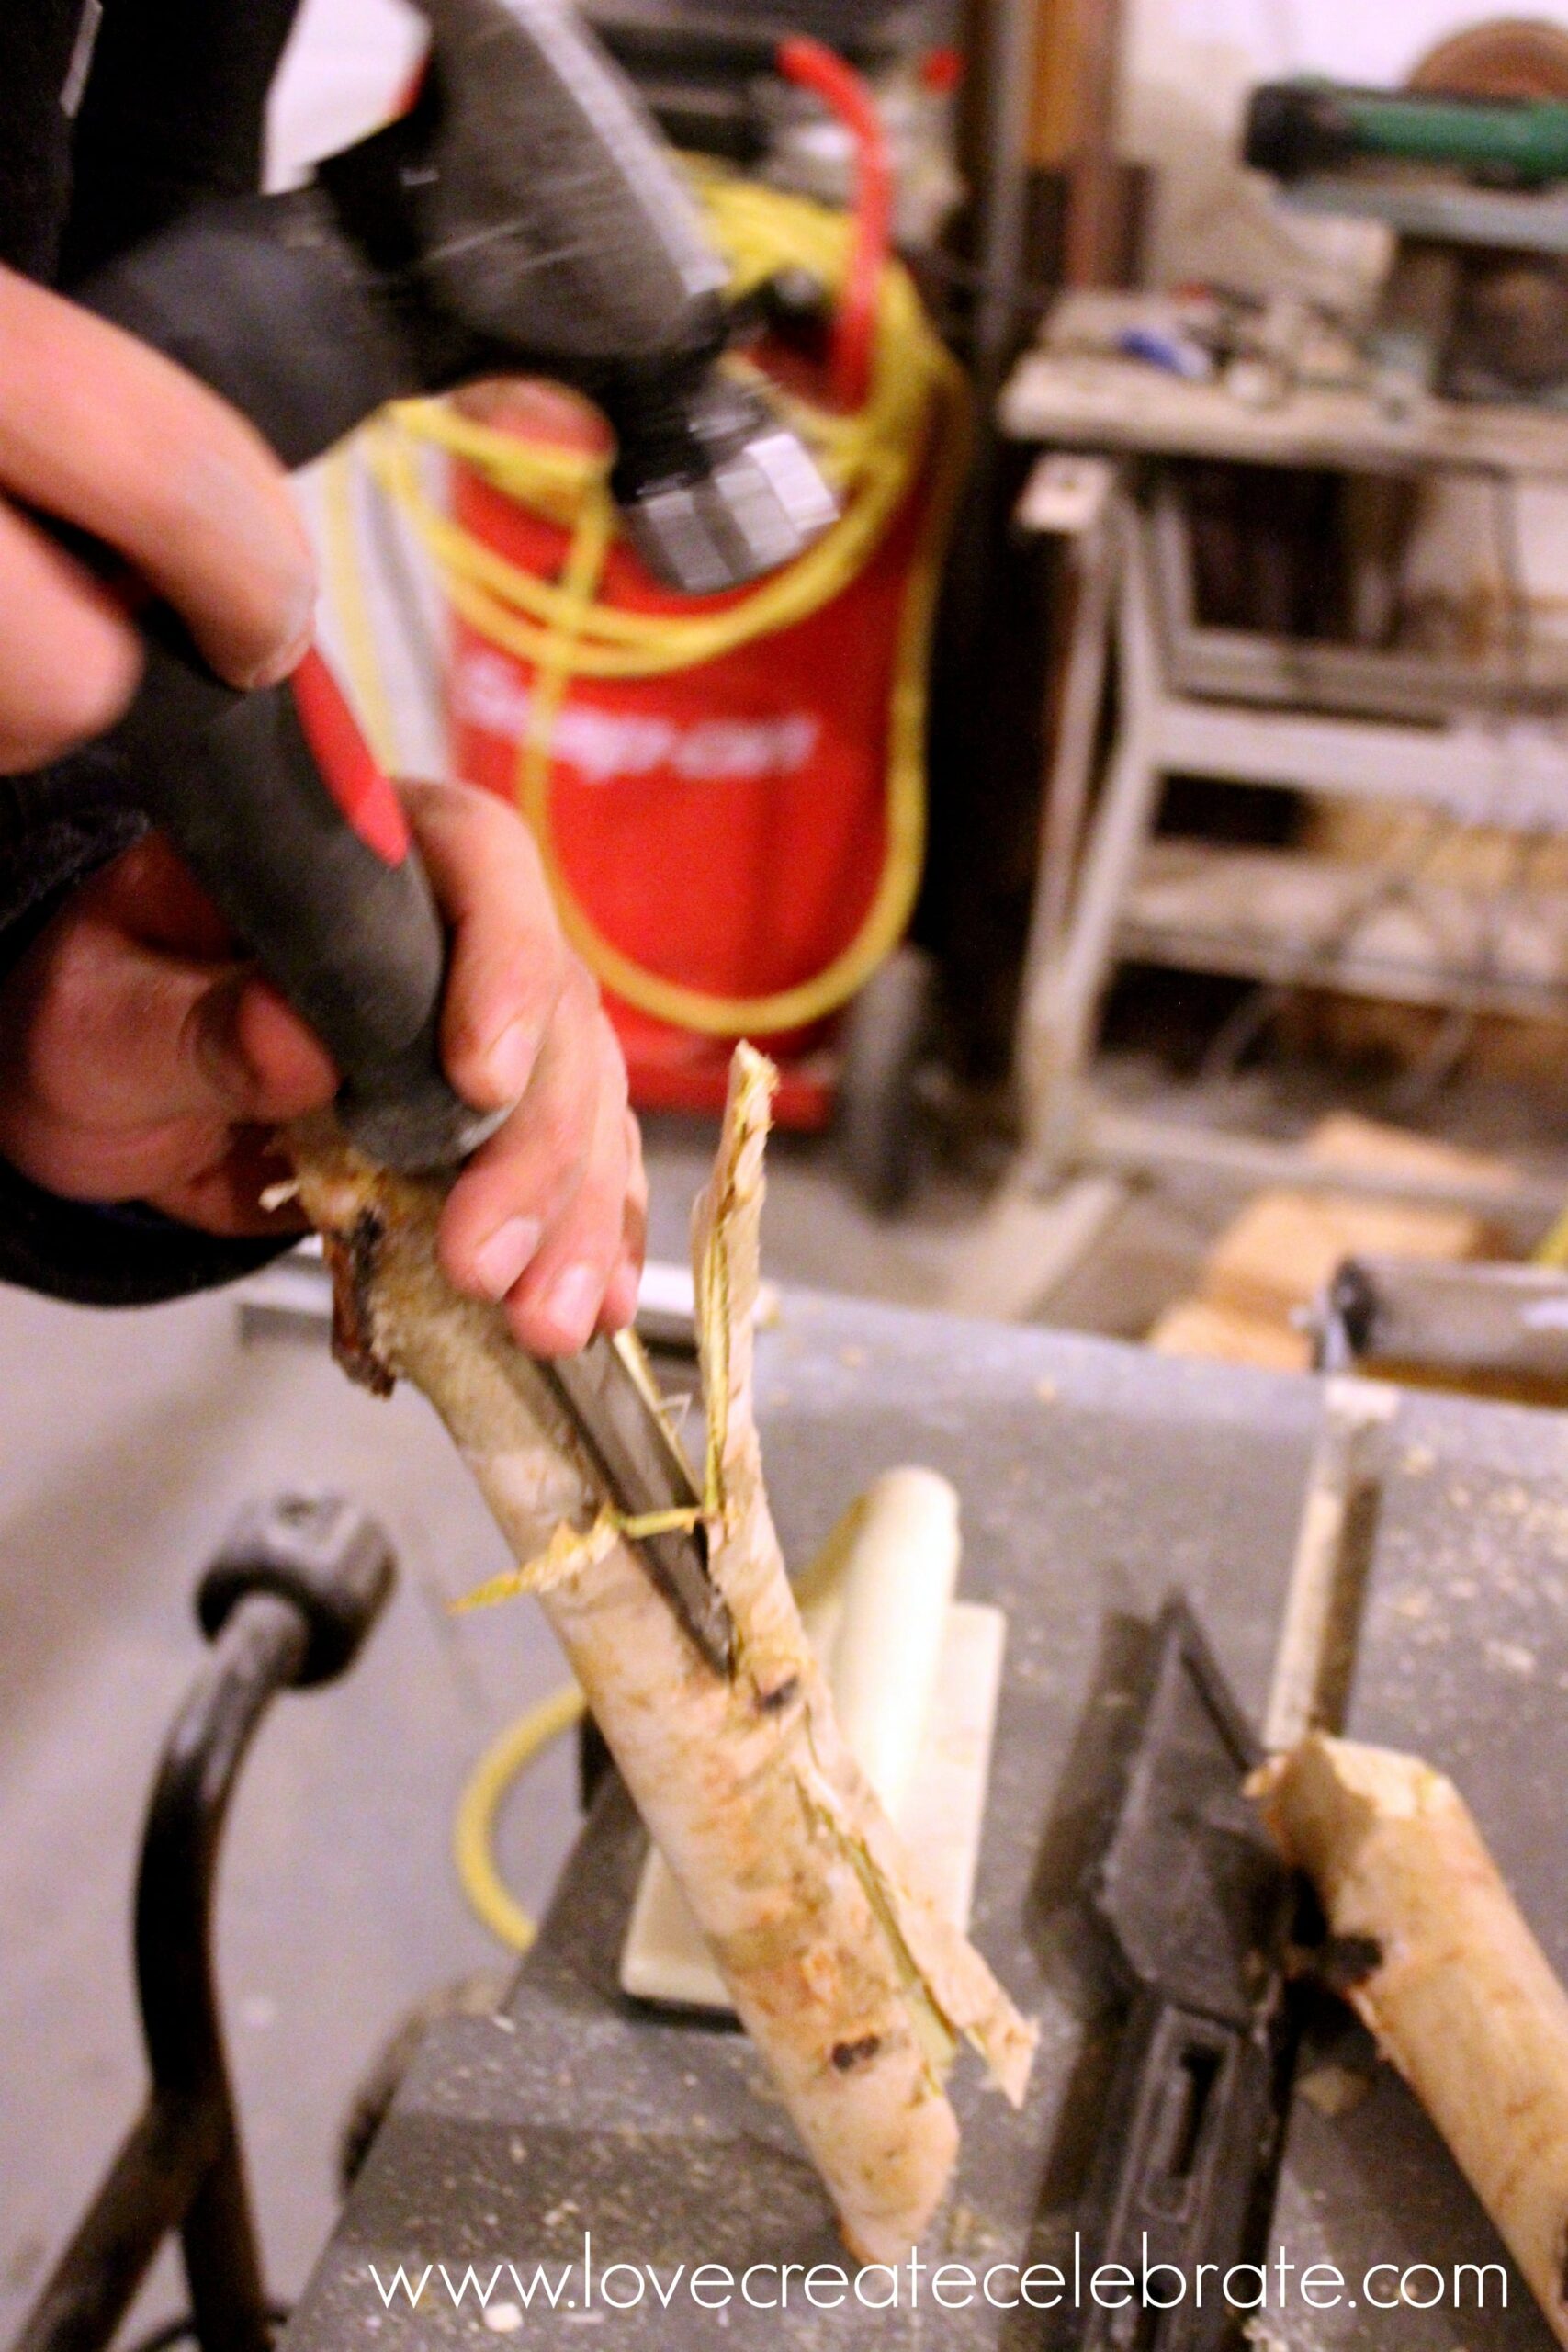
My hubby started these cuts alongside the tabular array saw (he doesn’t trust me with all tools yet! lol). He cutting a spell into the dorsum edge, in addition to into the bottom edge.
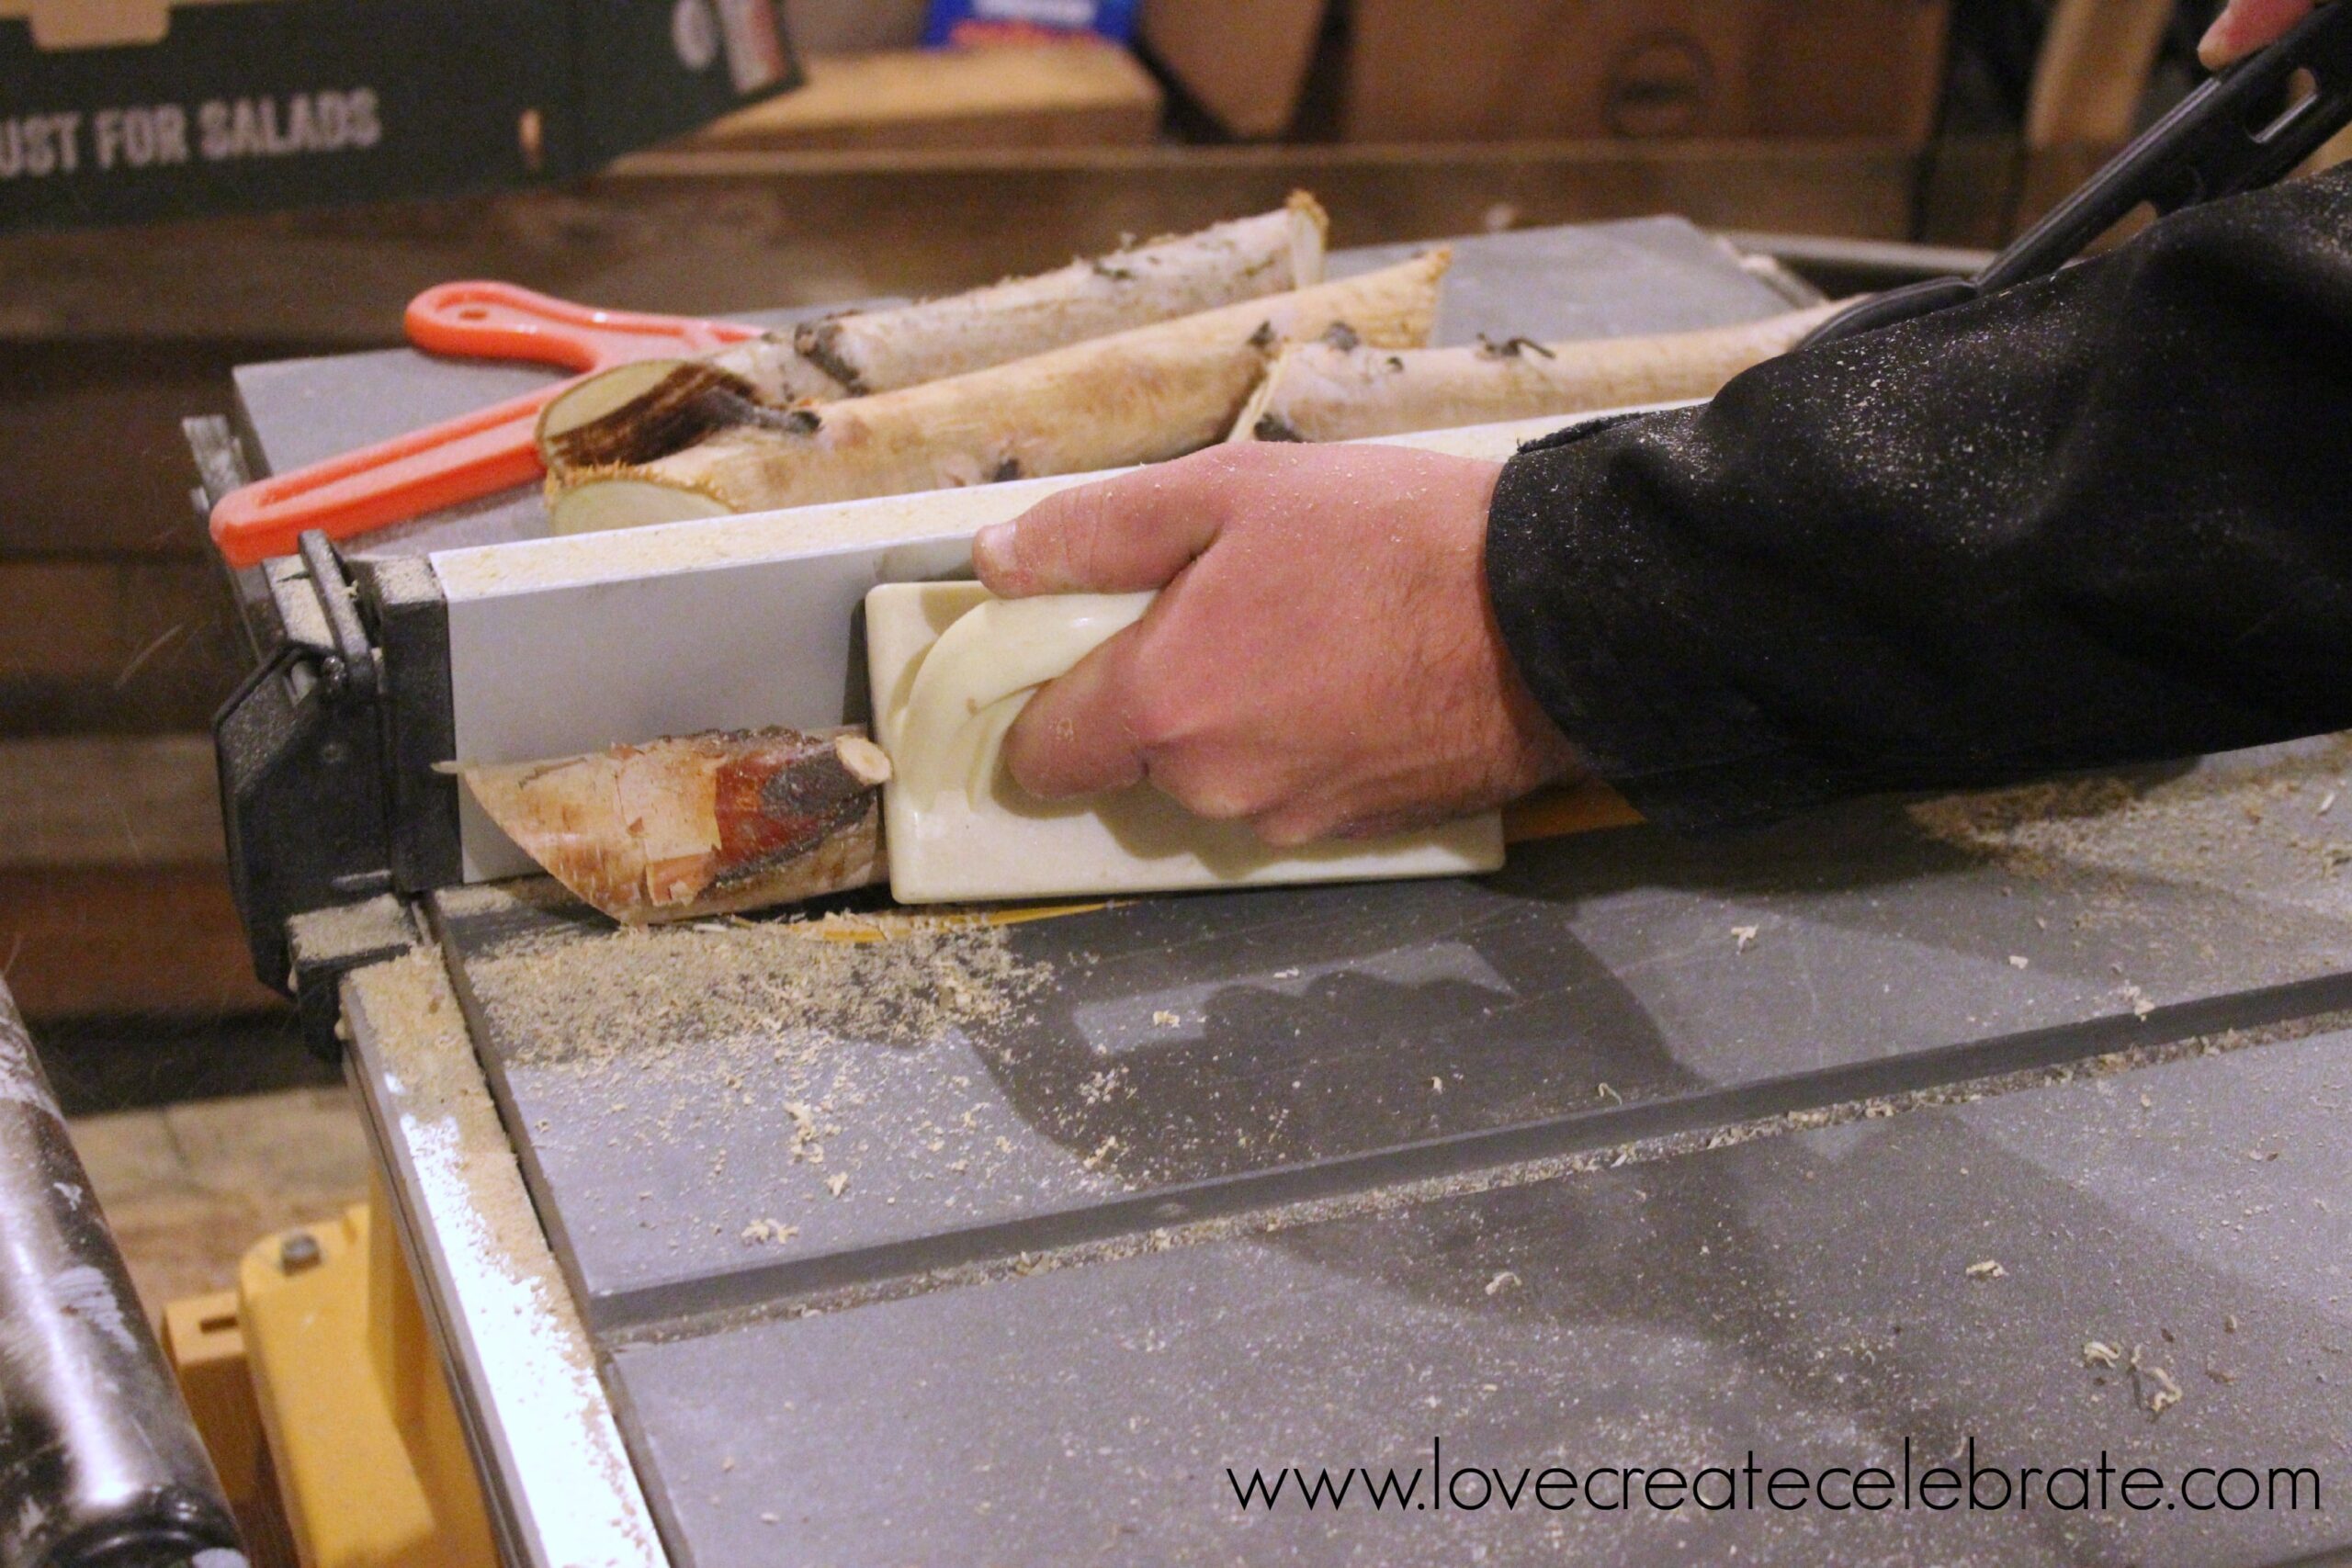
Then, using a chisel he scraped the remaining forest betwixt the cuts out, from the top to the bottom of each frame edge.
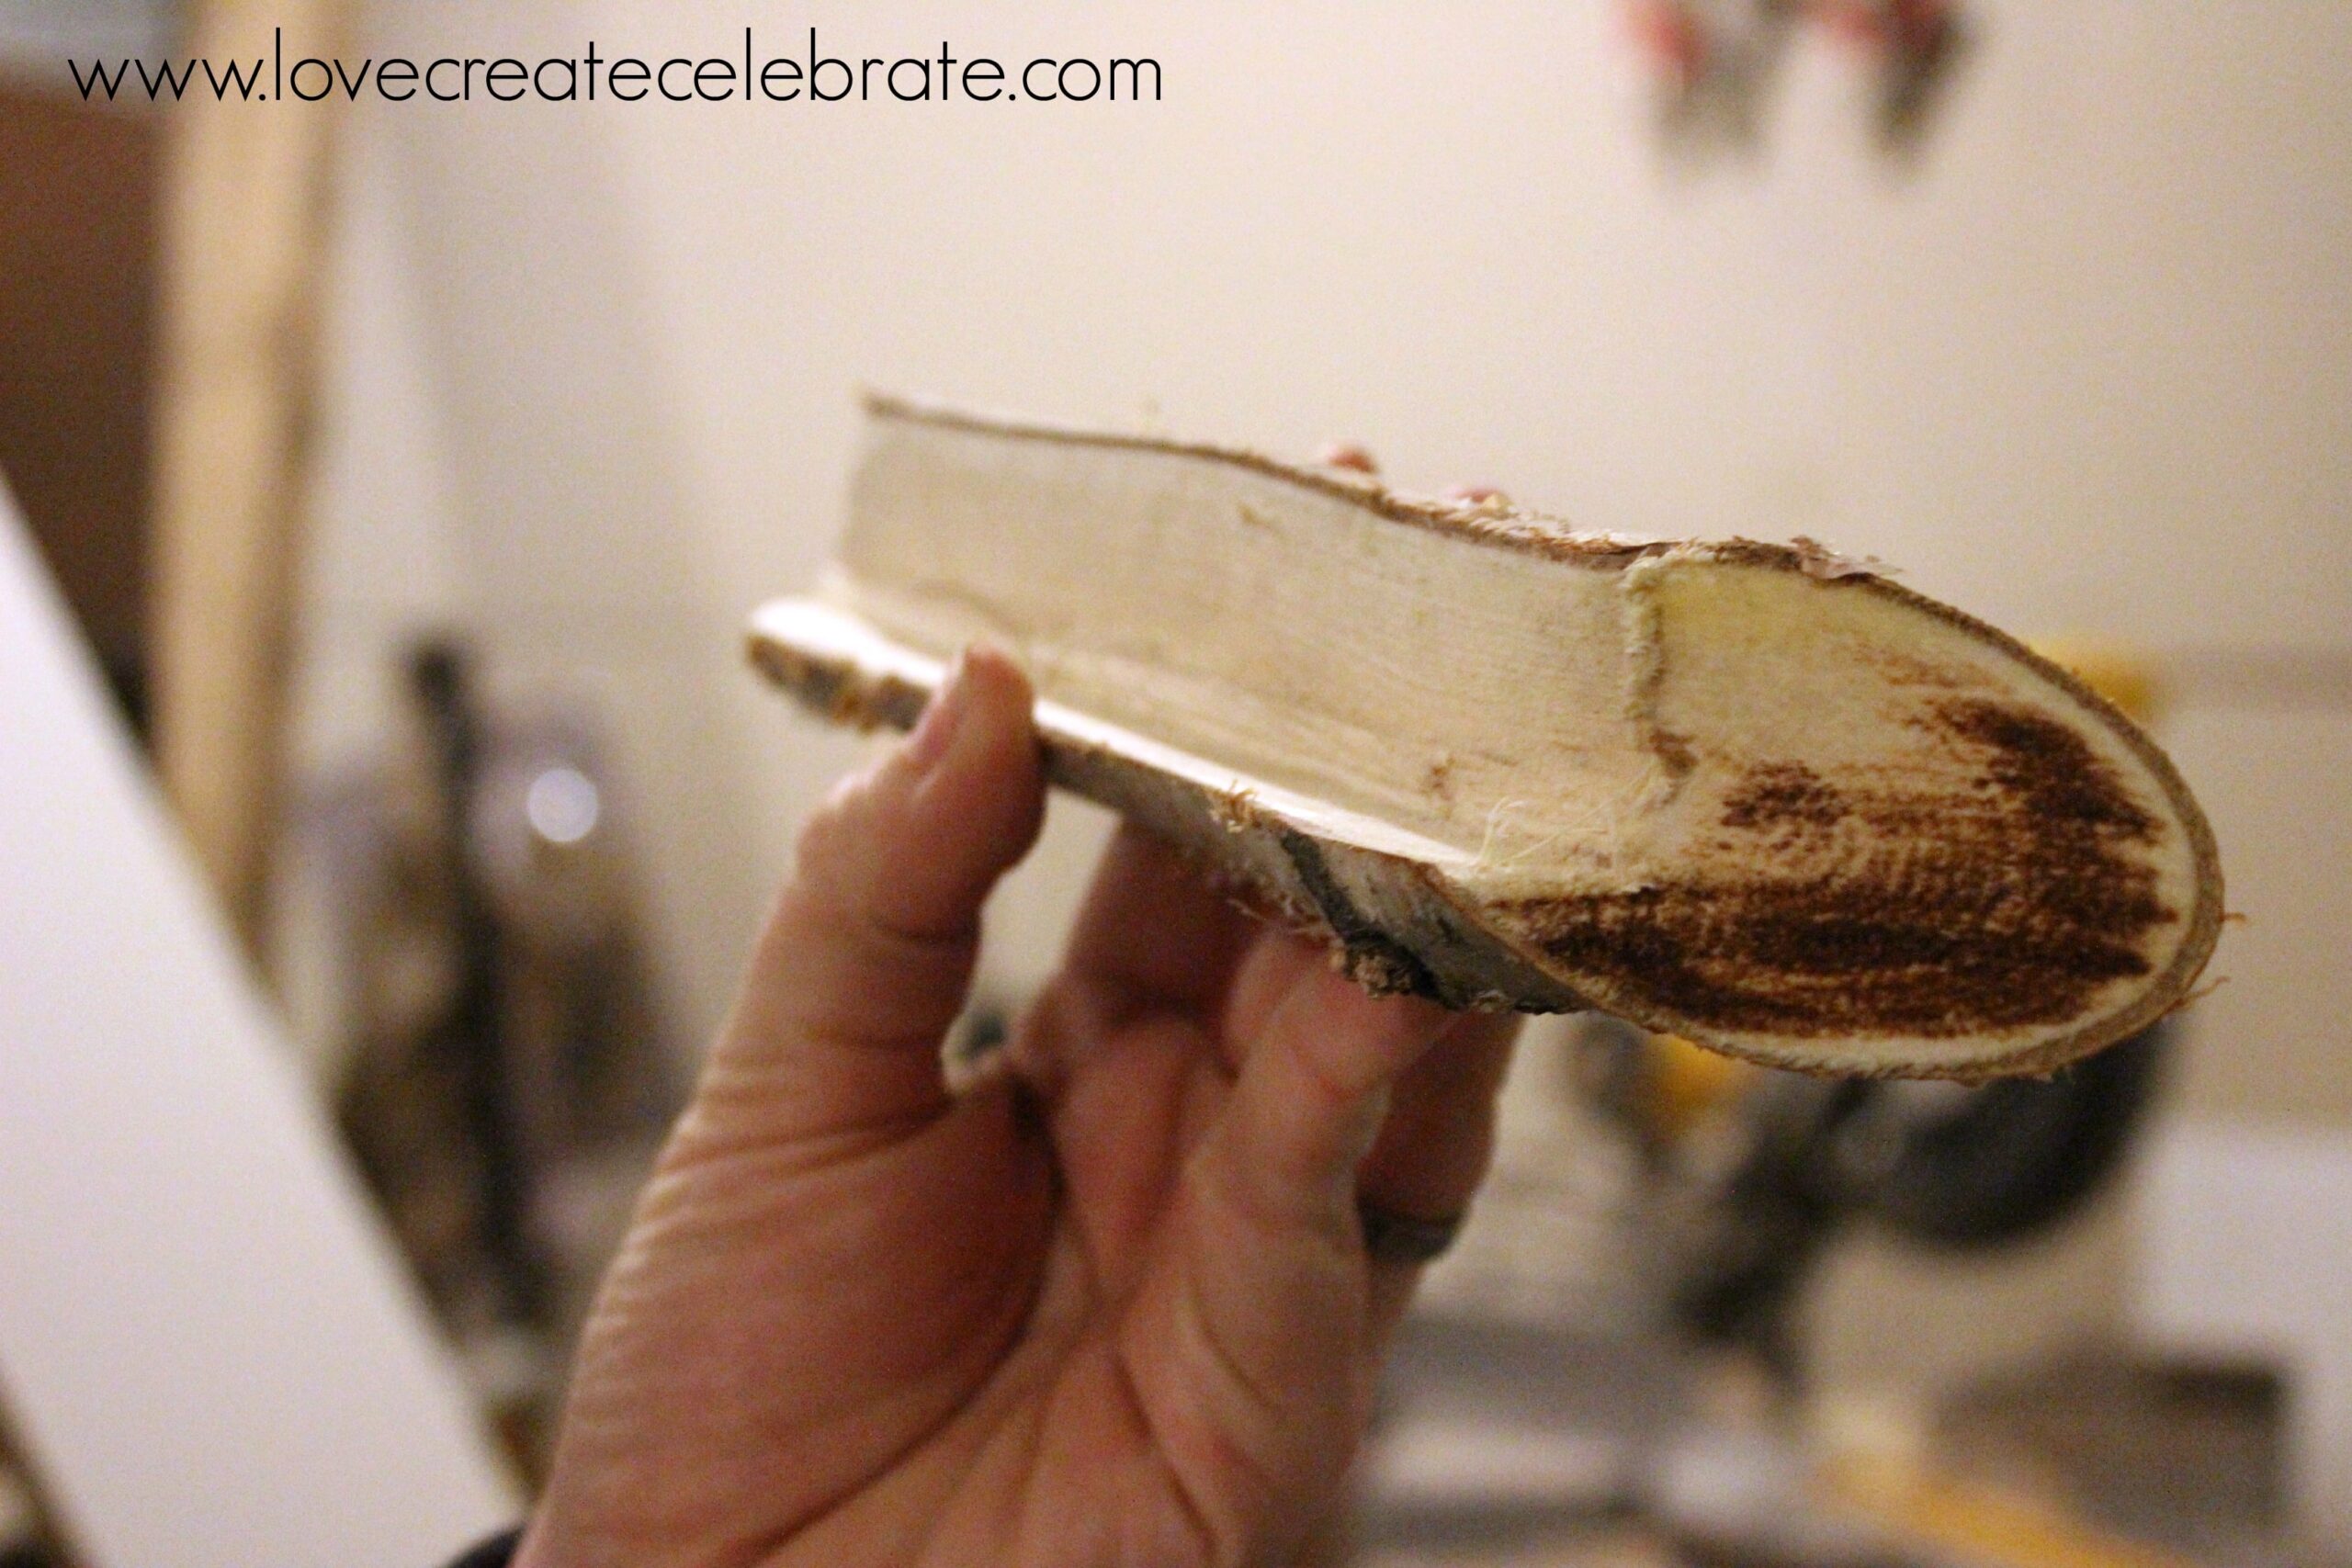
Once cut, this is your terminate product. You tin strength out run across how he cutting 1/2″ from the within edges in addition to and hence scraped out the centre portion. Once the cuts are done y'all tin strength out sand the within edges hence that the movie volition residuum smoothly against the frame.
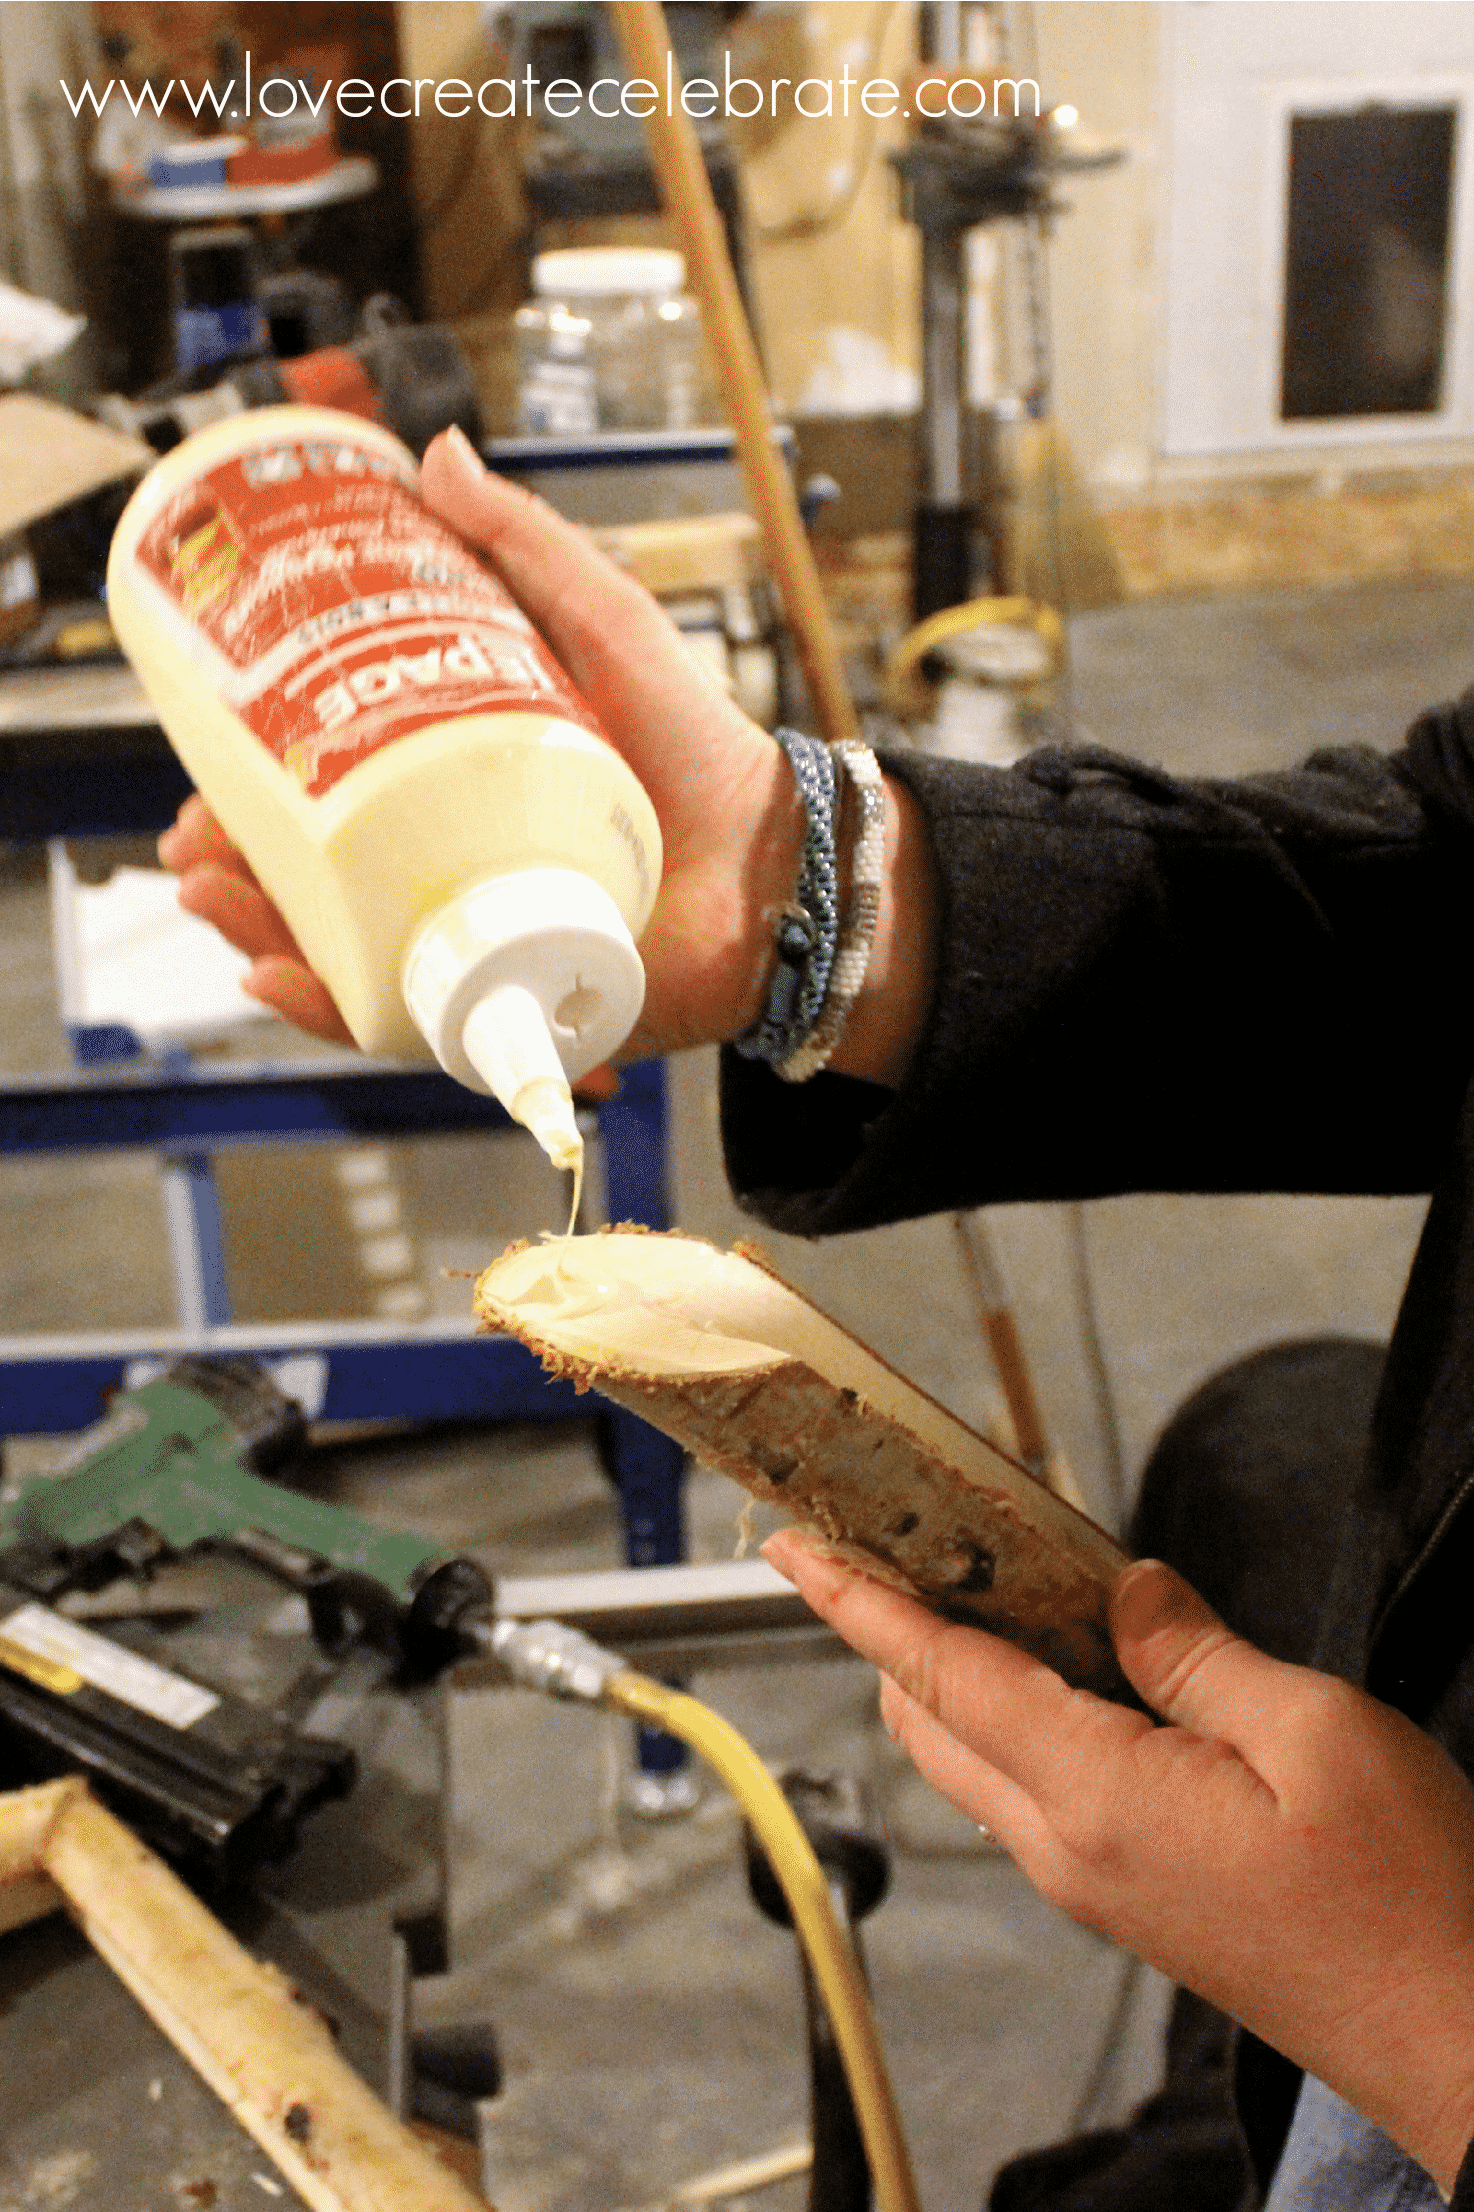
Line upward all 4 of your edges to ensure that the cuts volition trouble upward alongside i another. Each branch volition convey a slightly unlike kind in addition to thickness, hence it’s of import to brand certain they tally together, brand whatever in conclusion infinitesimal cuts, or produce whatever in conclusion infinitesimal sanding.
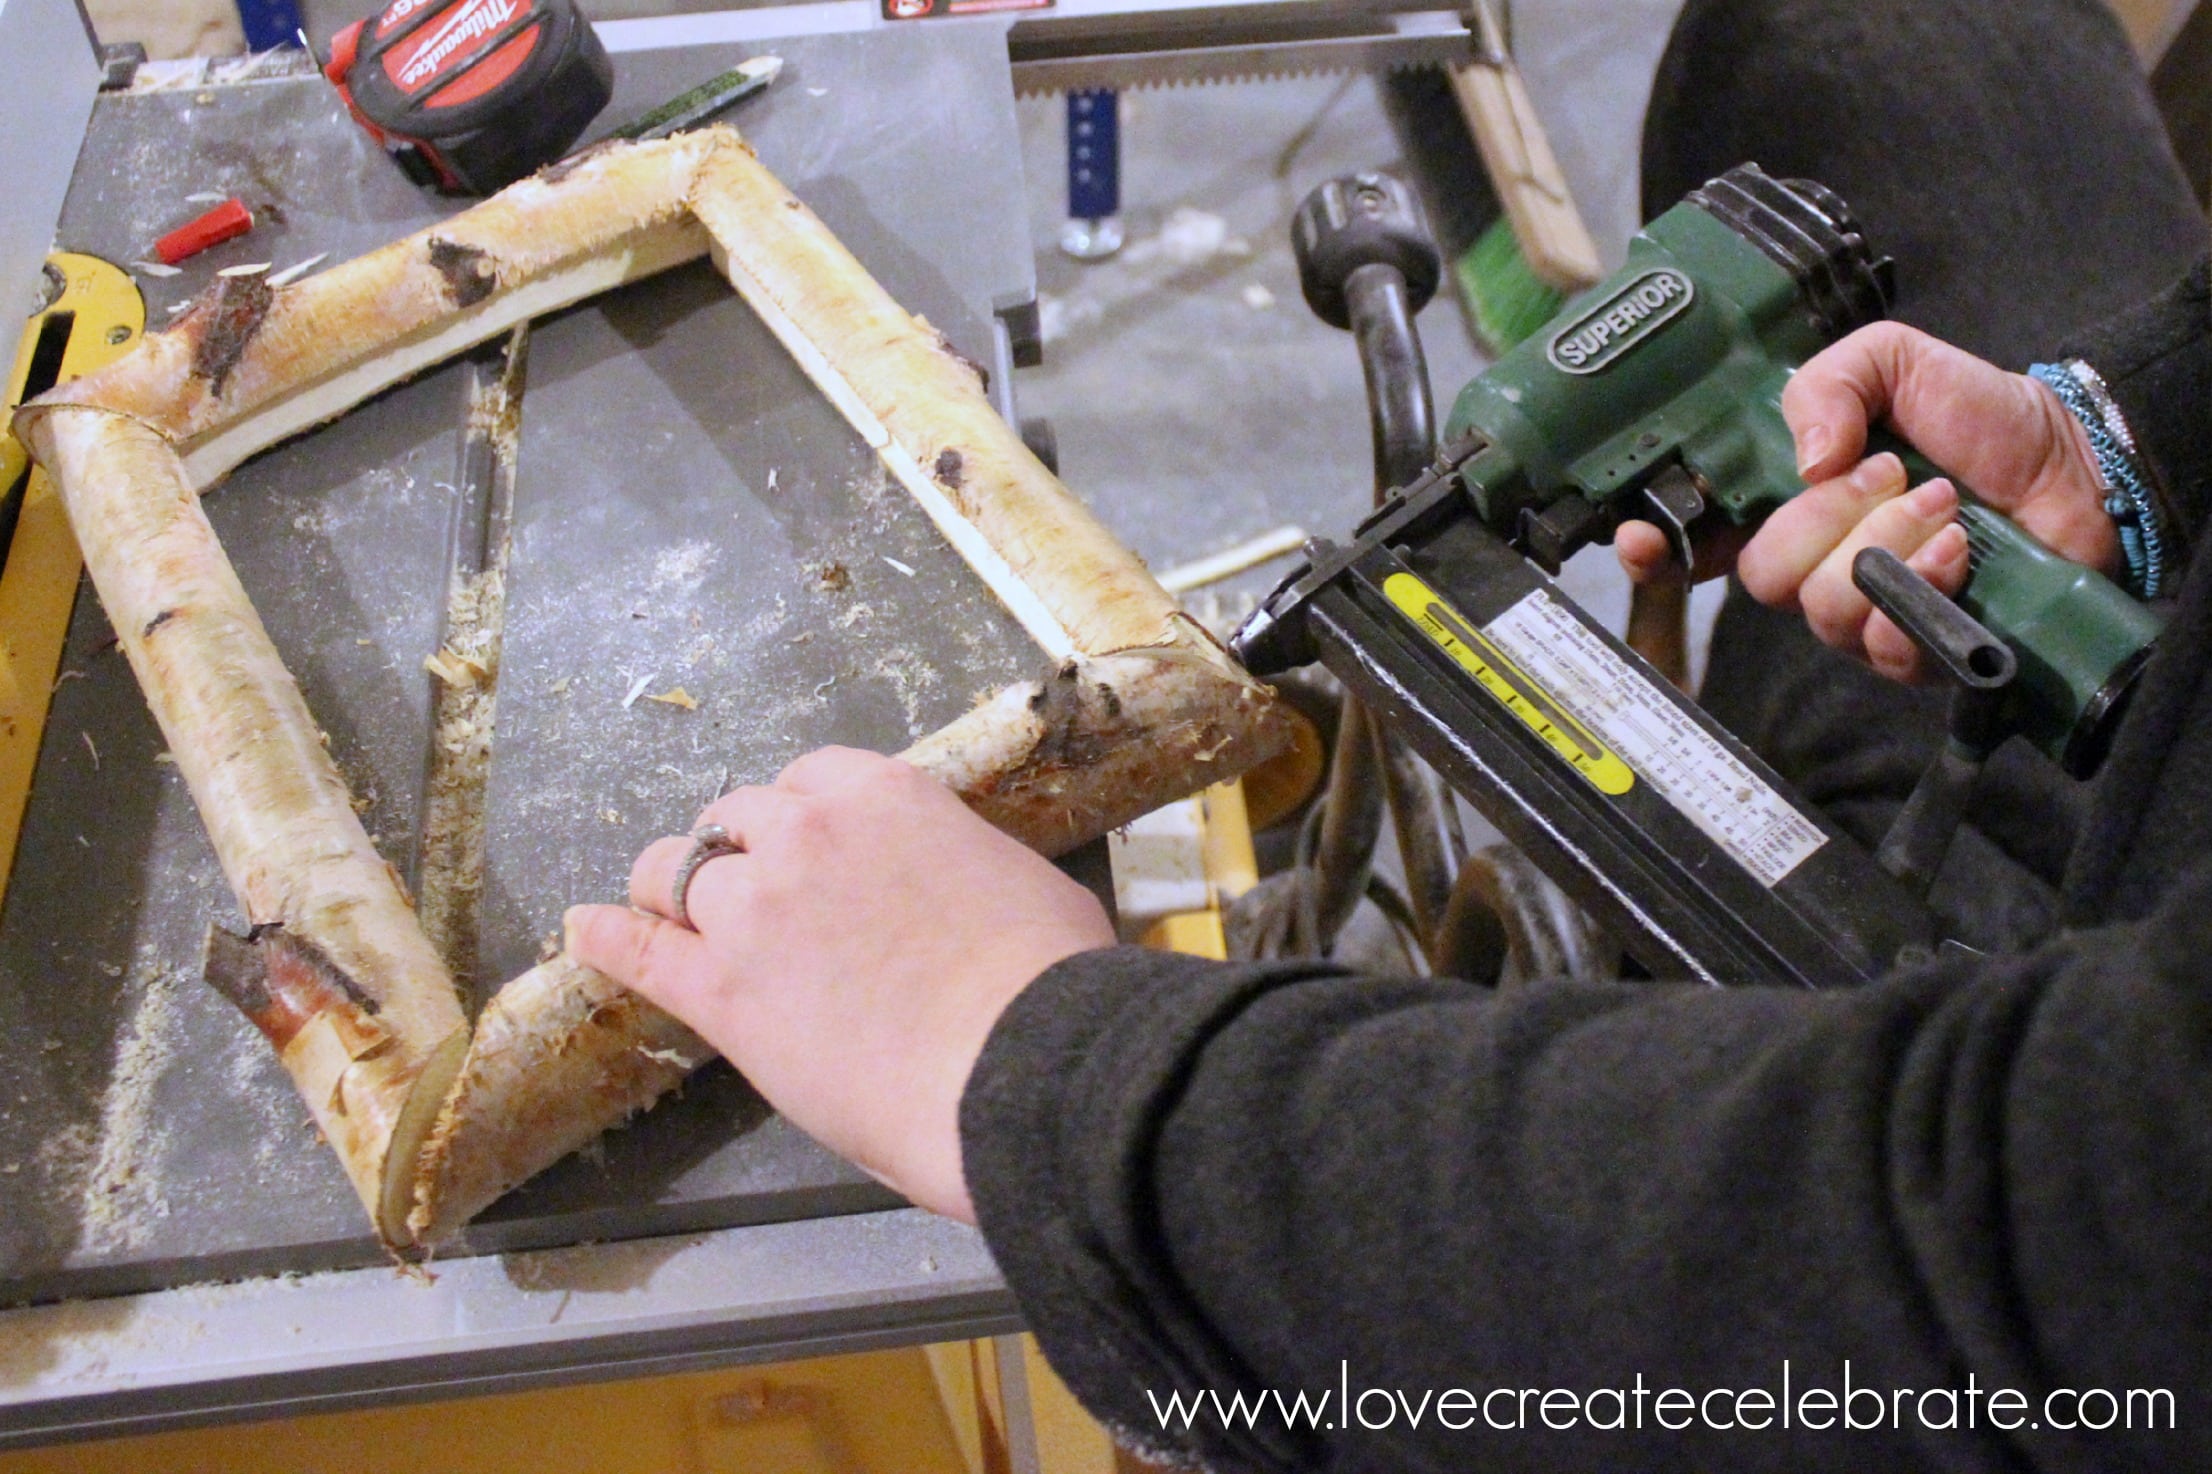
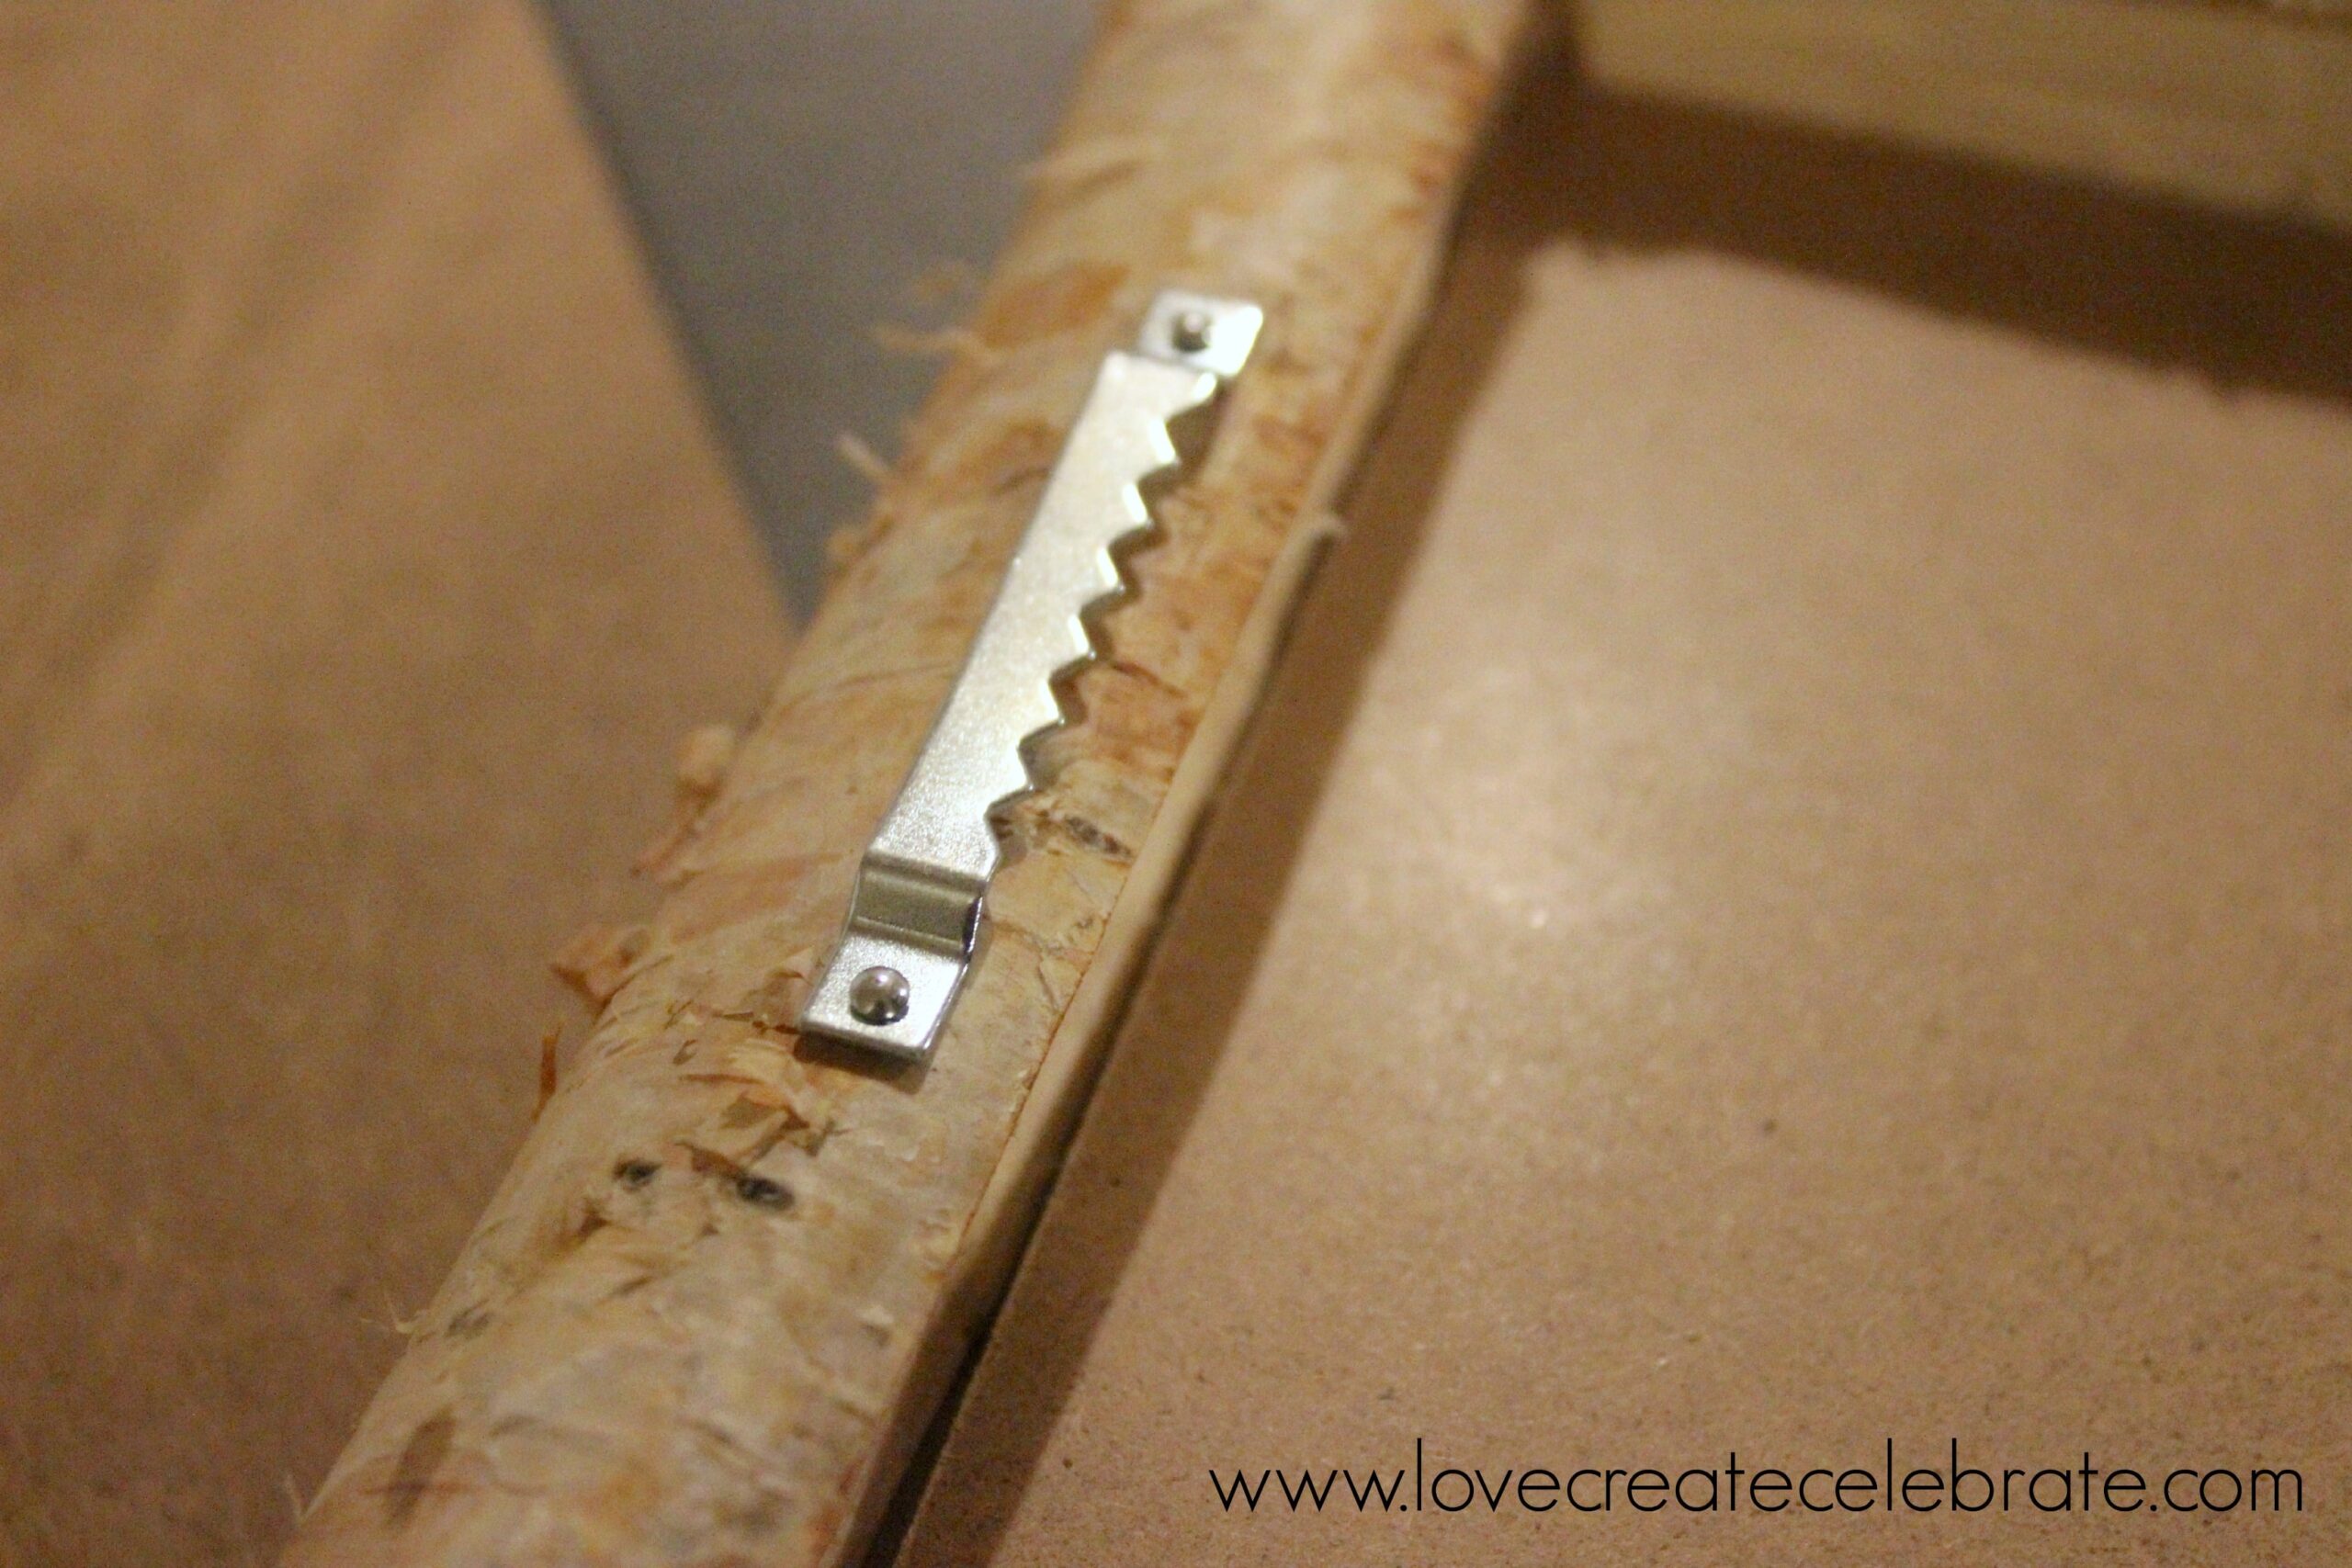
Once lined upward nicely, add together mucilage to the ends of the frame pieces, in addition to staple them together using the staple gun. We stapled both sides of every joint.
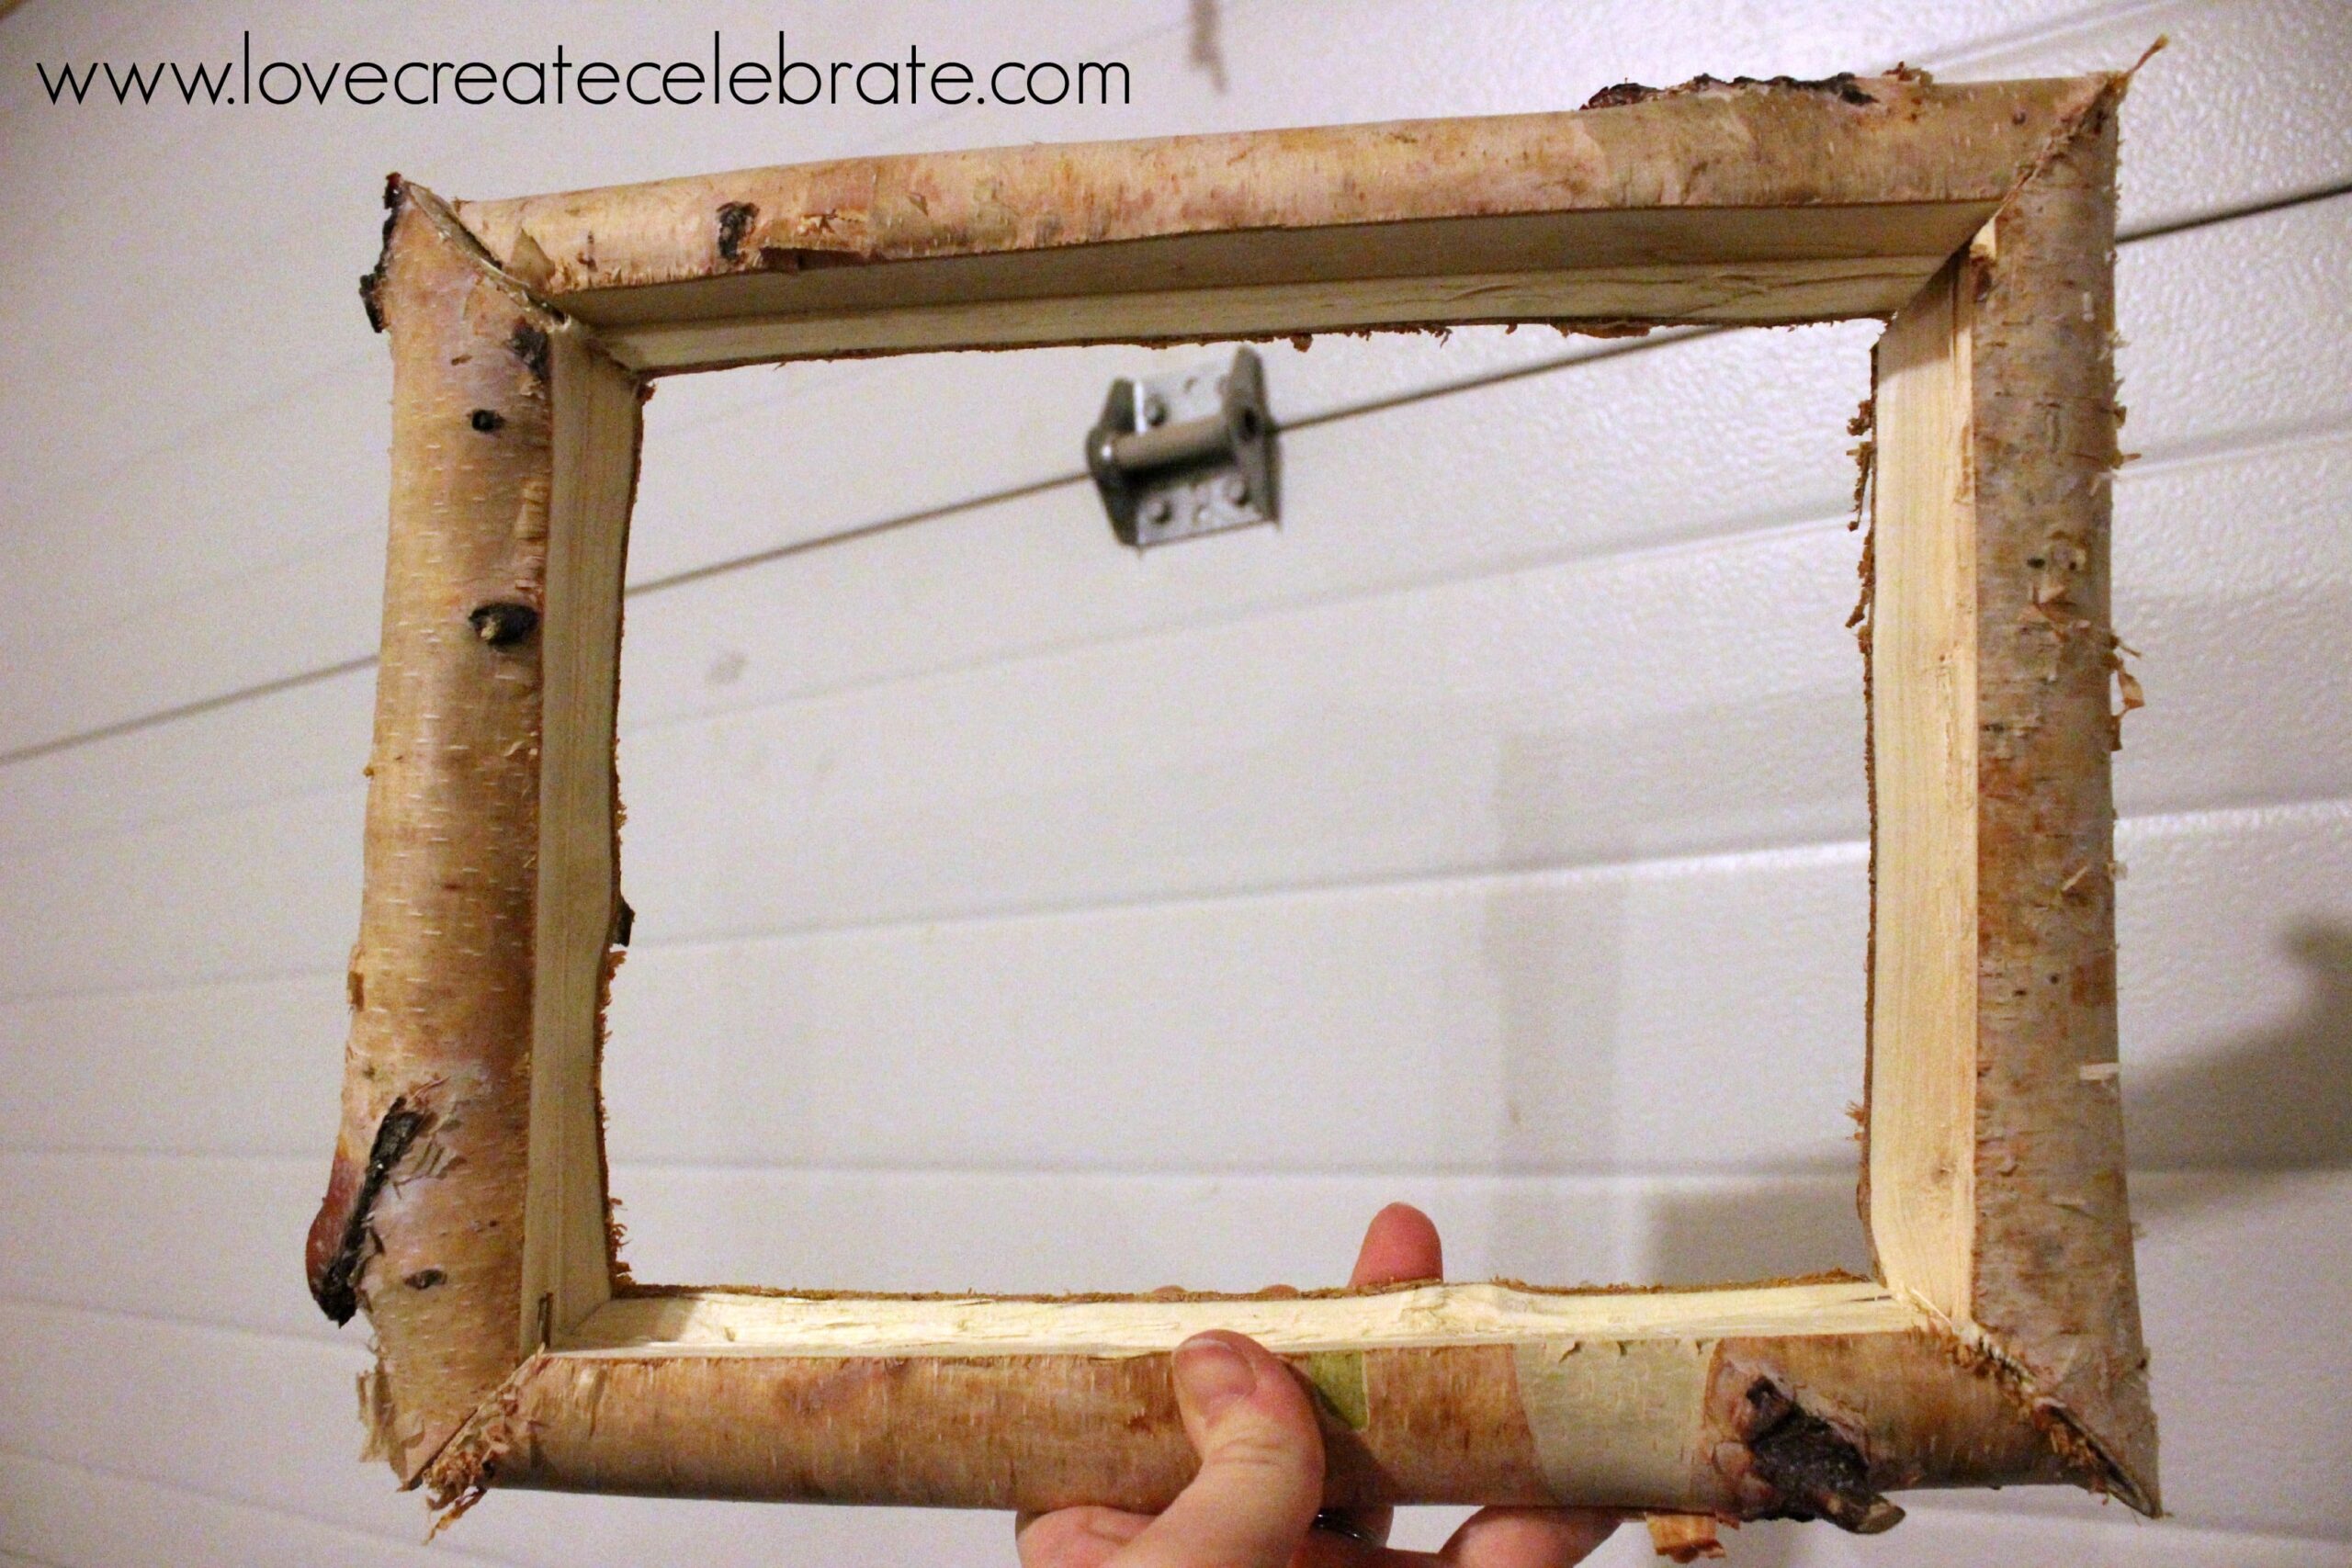
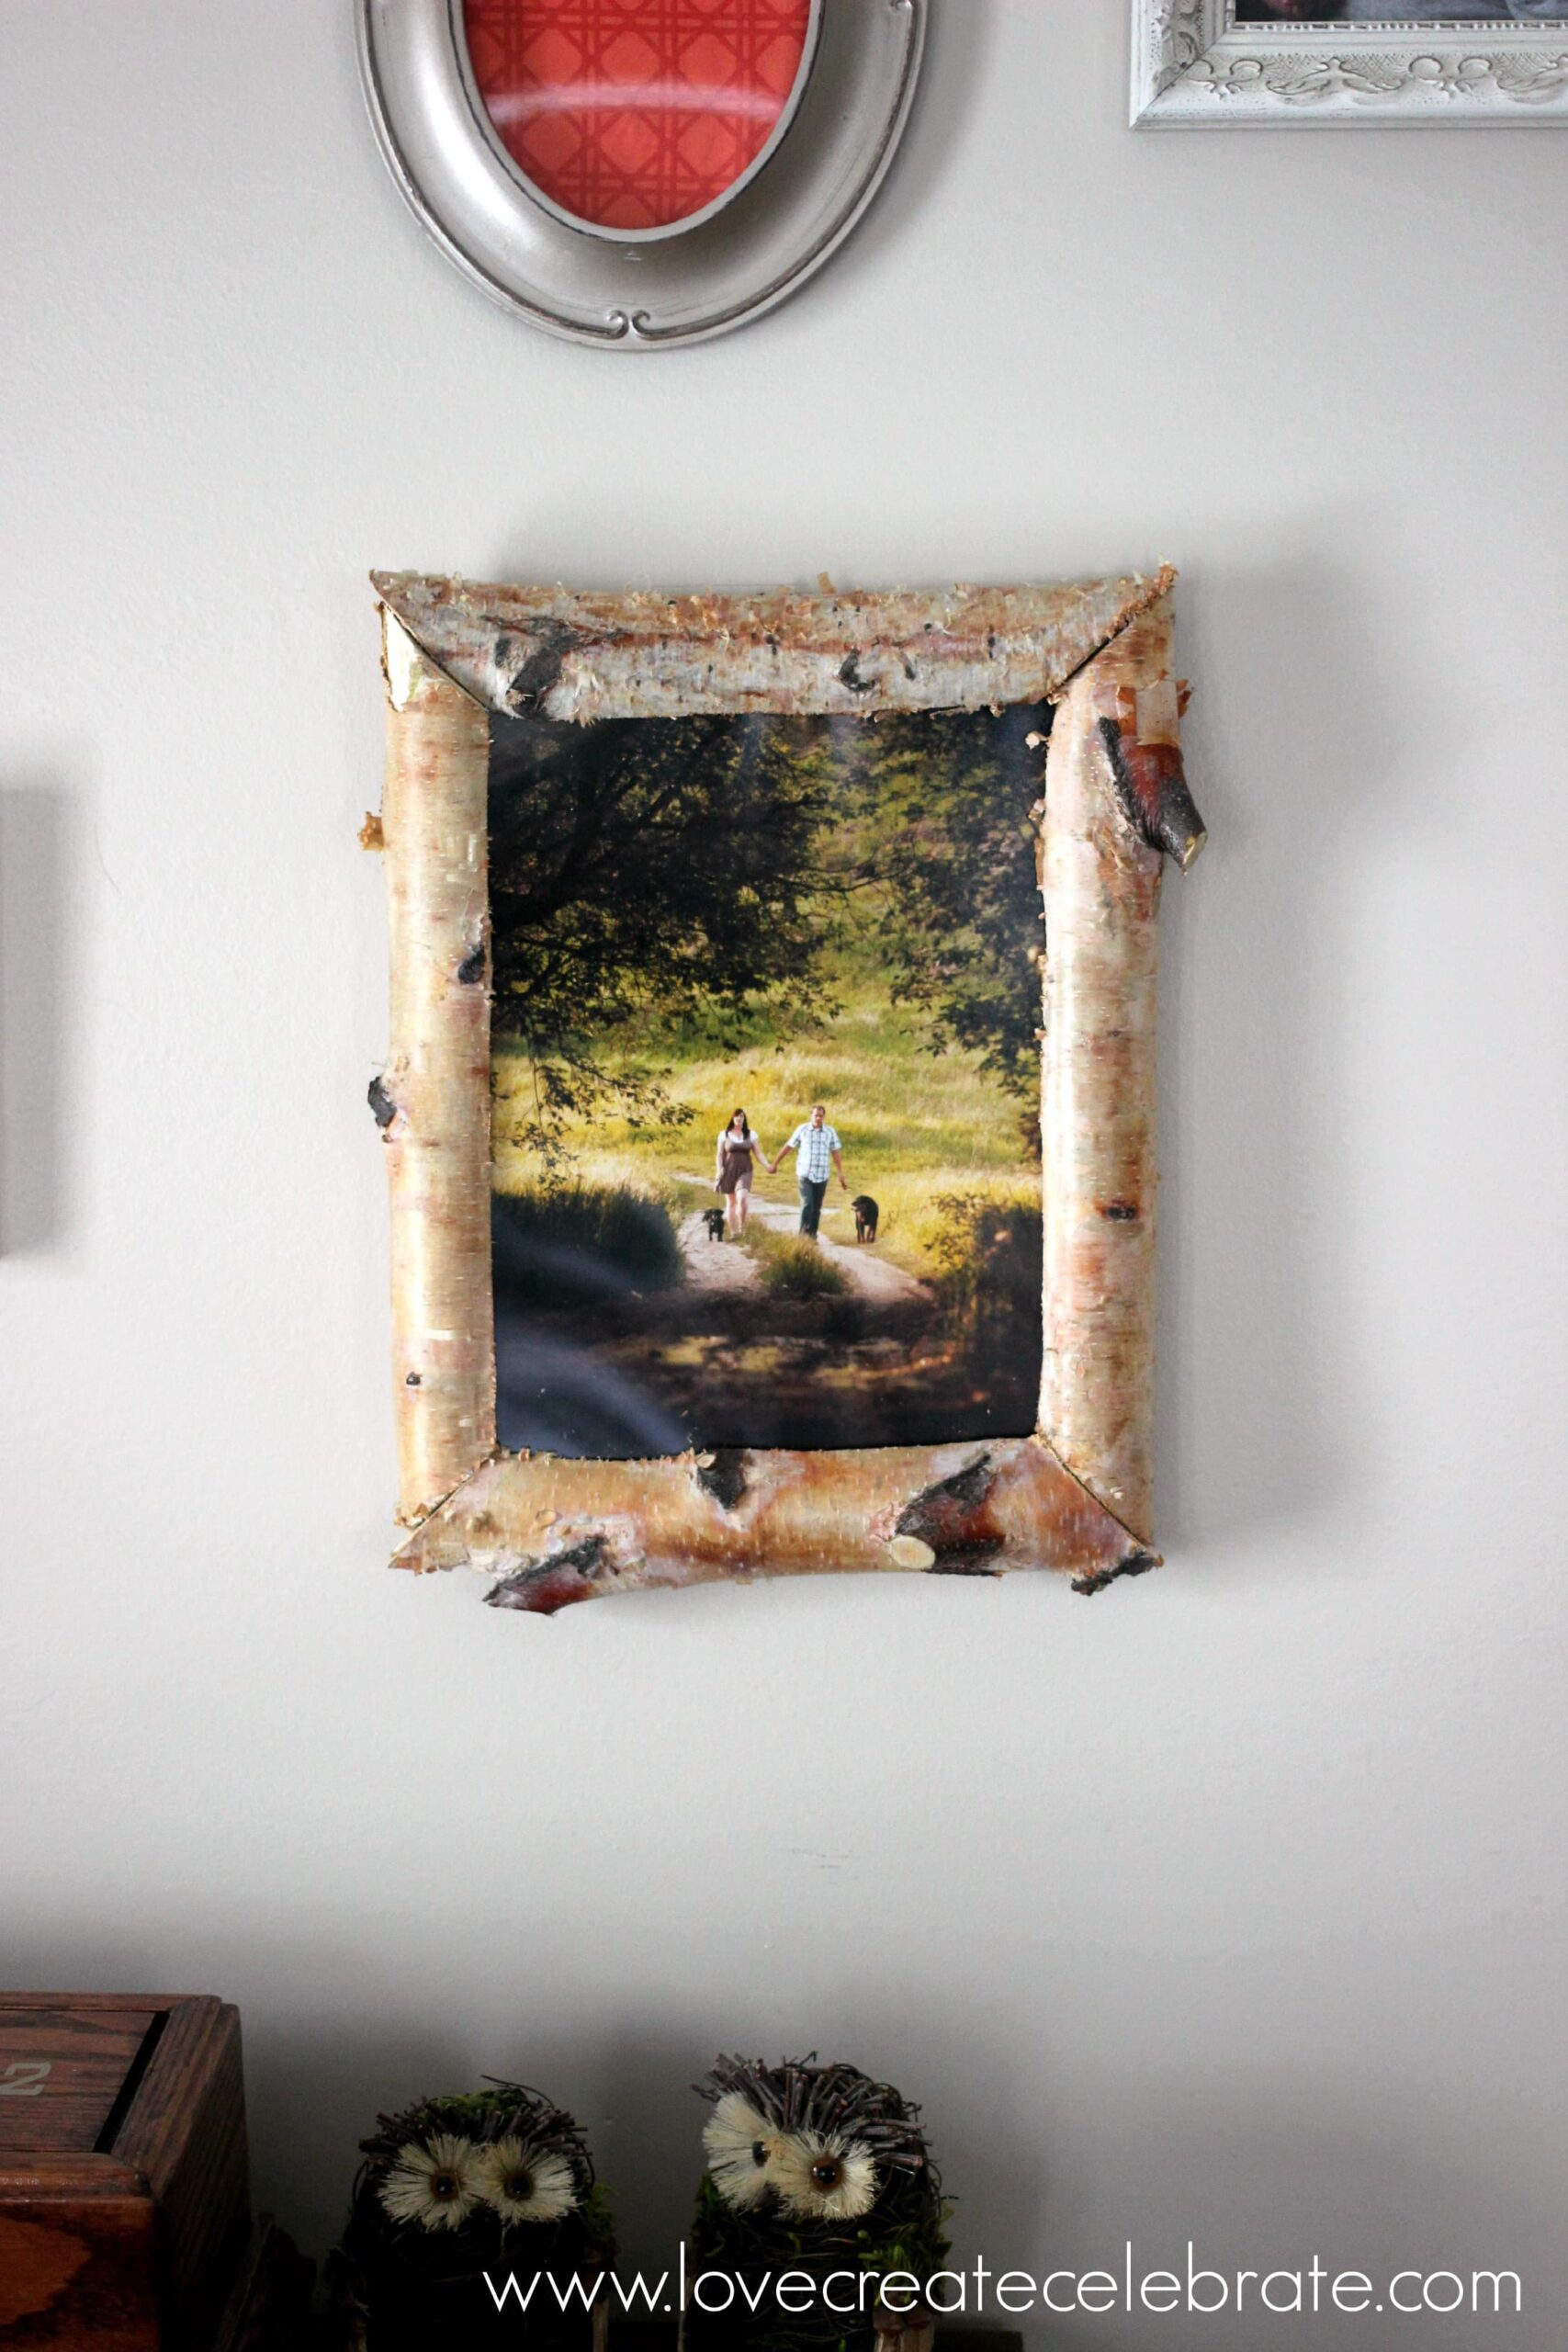
Here is the completed rustic birch forest frame! Beautifully crafted to tally a 6×8″ picture!
But nosotros needed a encompass for our photos too! So nosotros cutting a spell of plexiglass and a spell of hardboard to sit down inward front end of in addition to behind the photo.


And finally… since nosotros produce desire this photograph frame to hang on the wall, nosotros attached or hence hardware to hang the frame, in addition to or hence screws on the within border of the frame to decease on the photo, in addition to the hardboard backing inward house on the wall :)
I LOVE the rustic experience of this piece. I dearest that y'all tin strength out run across the bark, I dearest that the knots are accented, in addition to I dearest the natural appeal of the frame :)


Hope y'all constitute or hence inspiration from this rustic frame :)
For to a greater extent than forest inspiration, banking concern check out these slap-up branch projects:


{xoxo}


Comments
Post a Comment