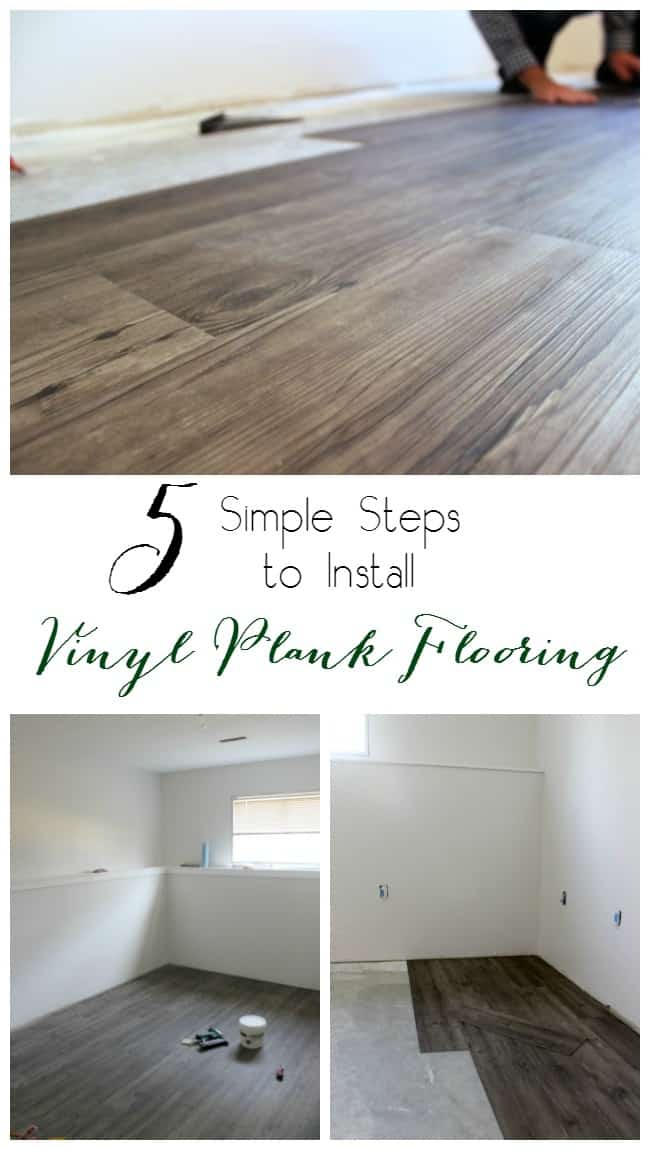
One Room Challenge {Week Three} – How to Install Vinyl Plank Flooring

I can’t believe it’s calendar week iii of this amazing whirlwind of a challenge! That makes us one-half way done already – Eek! If you lot missed it, a duo weeks I kicked off the One Room Challenge, by shared my plans to renovate our Modern Industrial Guest Bedroom. I convey iii to a greater extent than weeks of the #OneRoomChallenge to create my beautiful space, along amongst a ton of other amazing designers together with bloggers. Visit Calling it Home to endure inspired yesteryear all of the decor! I’m sharing all of our progress today, including 5 Simple Steps for How to Install Vinyl Plank Flooring.

Week 1 / Week 2 / Week 3 / Week 4 / Week 5
In this ship nosotros verbalize over installing side-by-side vinyl plank. If you lot are wondering most installing click or natural language together with groove vinyl plank, watch THIS VIDEO!
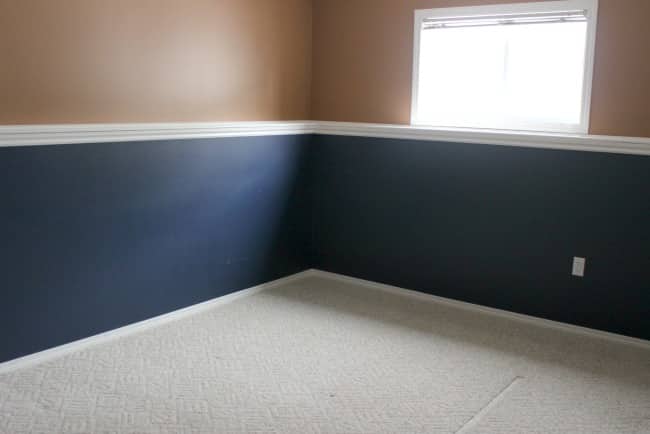
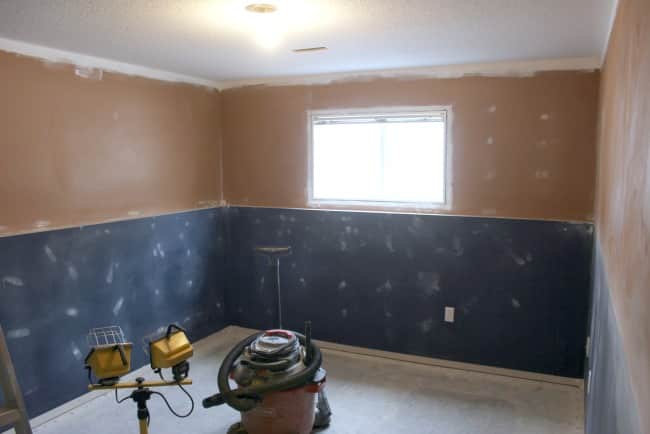
In instance you’ve forgotten, here’s where nosotros started (minus all the furniture). Horrible walls, carpets, blinds, together with low-cal fixtures. We basically needed to create EVERYTHING. We may convey been a fleck over-ambitious when deciding to renovate this room inwards exclusively 5 days. I’m withal hopeful that we’ll endure ready for let on solar daytime though!
Step One
Remove erstwhile flooring. With carpet, you lot but convey to catch the carpet amongst pliers together with delineate it away from from the tack strips on the walls. Most other flooring tin displace endure cutting together with and thus pried upward amongst a pry bar together with a mallet.
Step Two
Clean your floors. This way removing the erstwhile boom strips amongst a pry bar together with hammer, or scraping off erstwhile mucilage amongst a mucilage remover (or a putty knife together with Varsol).
Step Three
Make certain your floors are level. Luckily our floors were inwards truly cracking shape, but if at that topographic point are bumps, or uneven spots on your flooring you lot should address this. I recommend a self-leveling grout. If at that topographic point are bumps, you lot may take to visit installing sub-flooring or grinding downward the bumps amongst a diamond grinding disc together with a grinder. We placed our flooring downward on the basement floor, together with I was a fleck concerned most the temperature, but it’s truly really prissy – I’m glad nosotros didn’t pass the extra coin on a subfloor that wasn’t necessary!
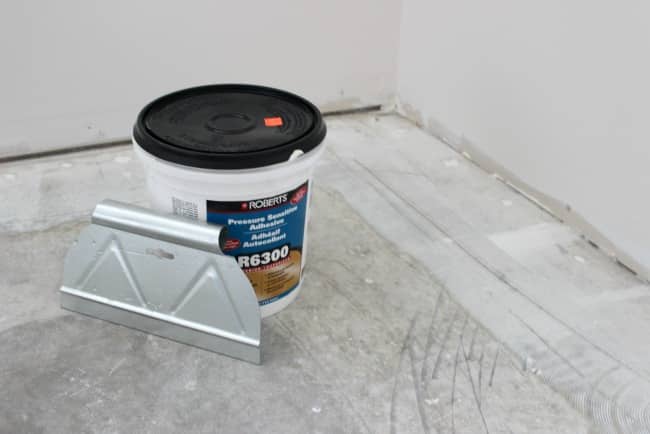
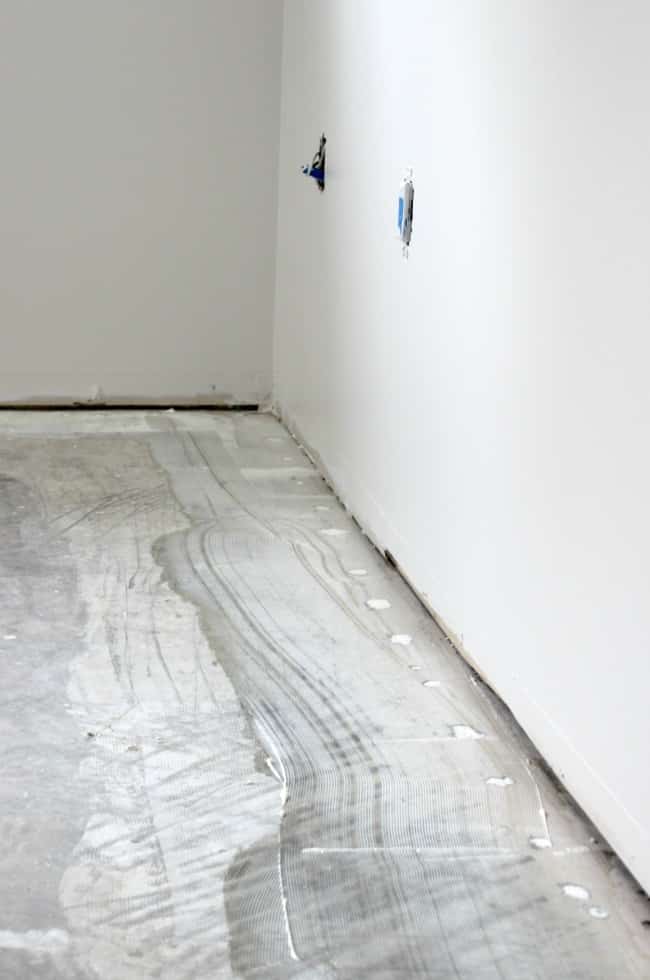
Step Four
Add glue. Put mucilage downward along the perimeter of the room. If you lot desire the flooring to endure permanent, you lot tin displace rootage laying it correct away. If you lot desire to endure able to withdraw it (like nosotros did! In instance a board gets damaged.), together with thus allow the mucilage dry out for a duo of hours earlier starting to lay downward the planks.
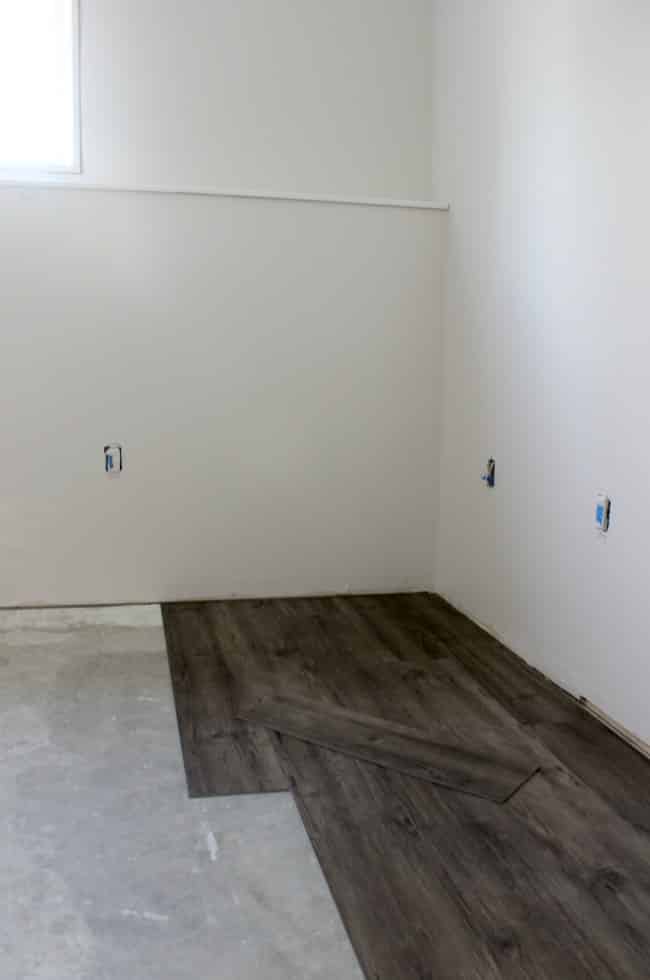
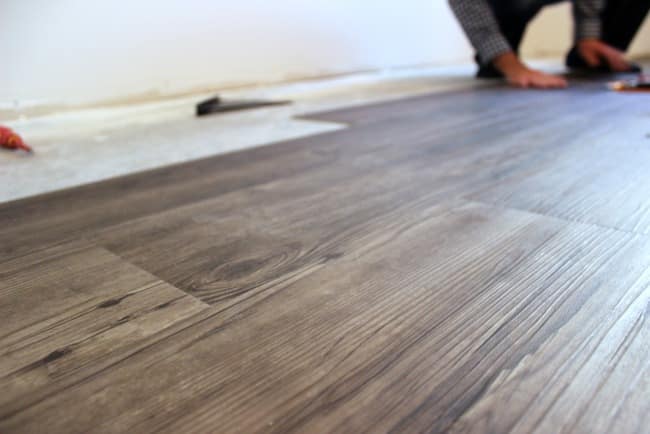
Step Five
Lay your flooring. You desire to lay your flooring thus that all of the lines are staggered, together with at that topographic point is a minimum of 7″ betwixt joints inwards next rows. We used a measurement record to mensurate the distance of the pieces, used a speed foursquare to brand a straightaway line, together with cutting amongst an X-Acto knife. Once cut, the boards easily broke over our knees. You tin displace brand the cuts on a tabular array saw, but this is MUCH easier, together with plant but equally well.
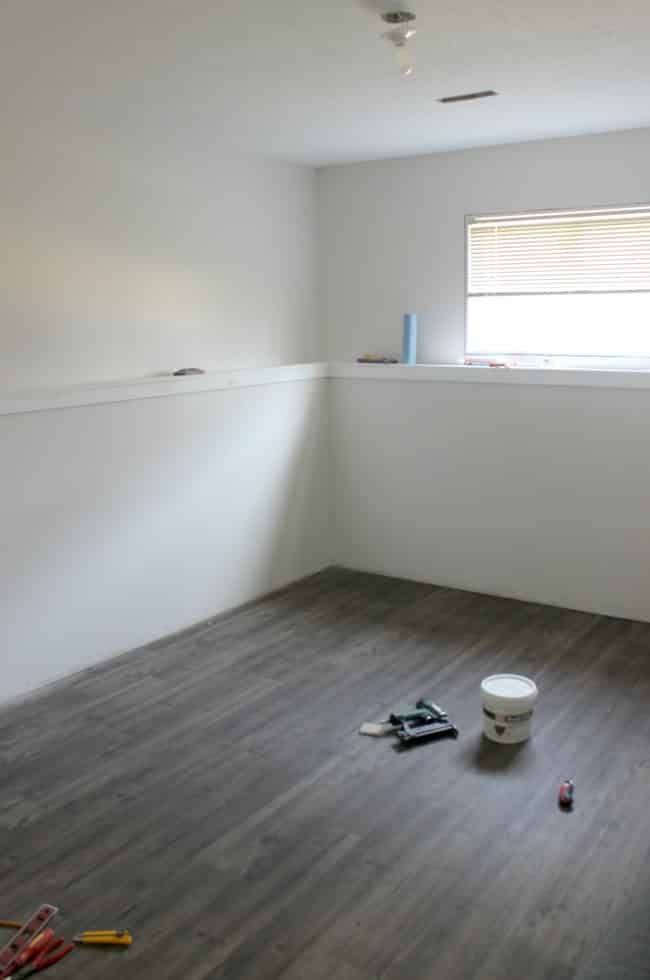
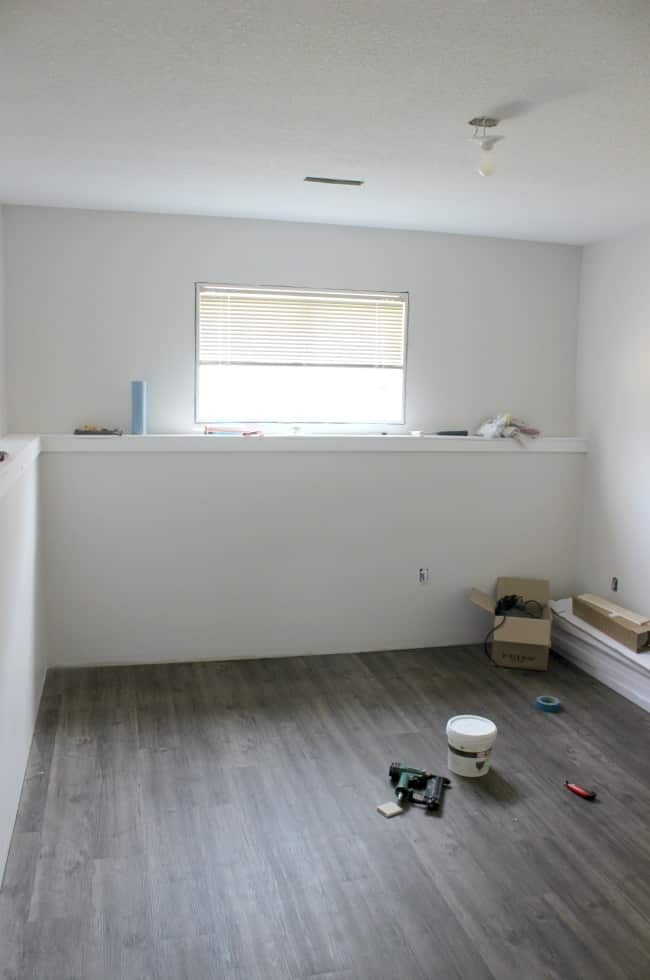
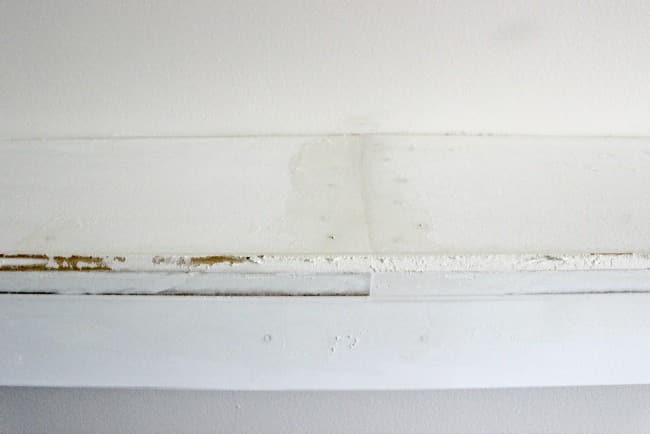
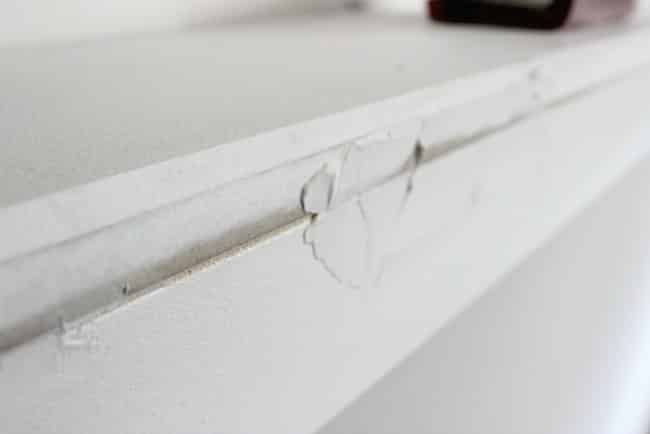
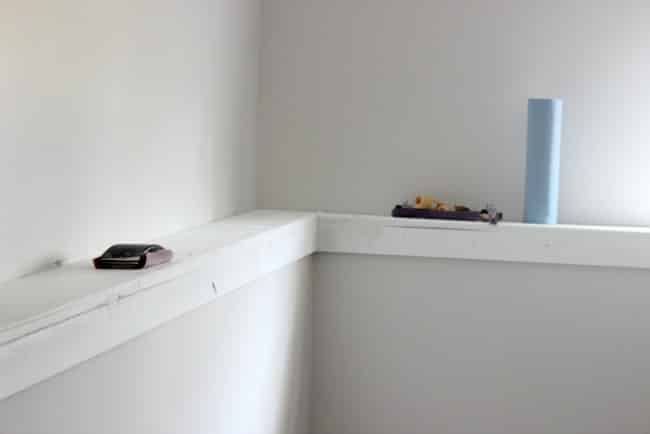
Once the flooring was done, it was fourth dimension to tackle the reduce together with mouldings! Honestly, nosotros haven’t gotten to the reduce yet, but nosotros did supersede the ugly erstwhile pony wall mouldings amongst novel straightaway edged sleek mouldings. We pre-painted everything thus that it would expect pretty. Then nosotros cutting them together with nailed them inwards place. Lastly, nosotros puttied all of the holes. Now nosotros but convey to larn the balance of the reduce up, together with pigment it all i to a greater extent than time! <insert my panicked aspect upward here>. We are running out of time!
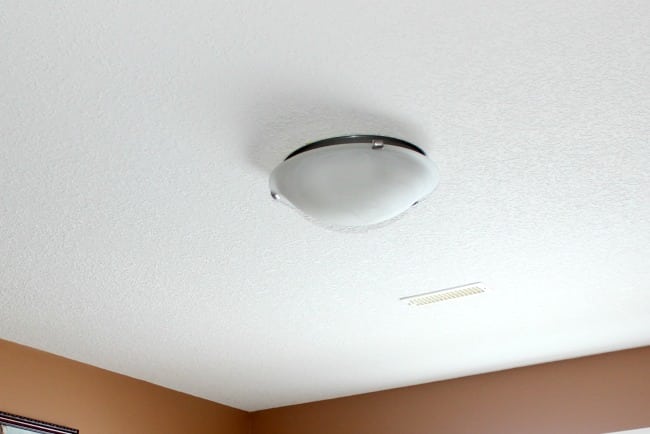
Finally, fourth dimension to rootage on unopen to decor! I couldn’t hold off to search for DIY low-cal fixtures this week. Can’t imagine why I would’ve wanted to supersede this erstwhile boob light?!

I gathered upward unopen to of my FAVOURITE Industrial lighting options from the amazing 1STOPLighting (or Canada Lighting Experts), together with shared them on the weblog a duo of days ago.

Did you lot gauge which i I chose? Top left!! I truly wanted an industrial pendant light, together with I didn’t desire anything also large because I was worried that it would overpower the modest basement space.
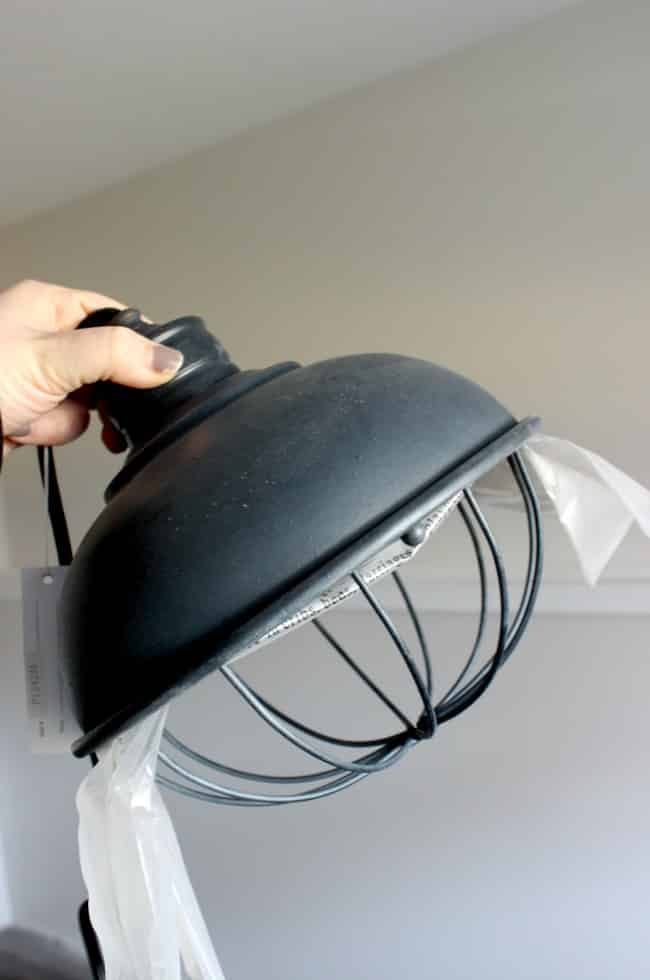
*HAPPY MAIL*
My low-cal arrived already together with I LOVE it! Can’t hold off to install this one!
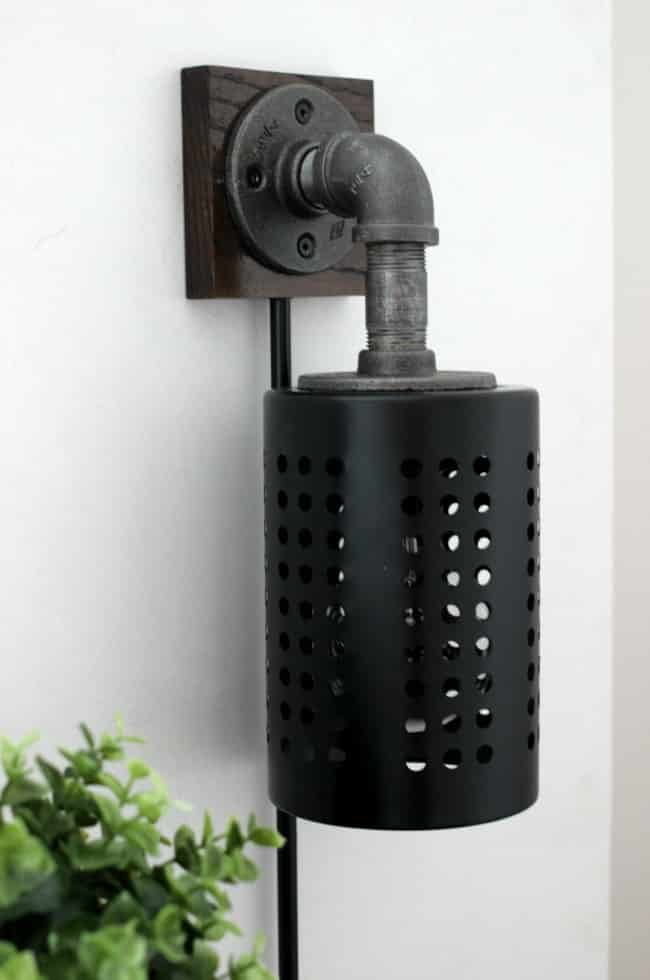
I also got creative this calendar week together with made these amazing DIY Industrial Wall Sconces. I made 2 thus that I could convey i on each side of the bed. Pop on over to the post together with allow me know what you lot think!
Don’t forget to honor to a greater extent than cracking Industrial Ideas yesteryear next my Pinterest Board.
Here’s how nosotros are doing on our lengthy Industrial Guest Bedroom To-Do List:
Clear roomPaint walls- Paint ceiling, trim, together with doors
Install novel flooring- Install novel trim
- Install pendant light
- Buy a novel rug
- Buy novel bedding
- Put upward imitation brick wall
Buy novel pendant lightDIY novel bedside lightsDIY side tabular array refresh (done!)- Install novel blinds
- Make DIY Valence
- DIY headboard
- Build DIY sideboard
- Build DIY Towel Rack
Find/thrift room accessories- DIY or purchase novel artwork
What exercise you lot recollect of our plans?


Comments
Post a Comment