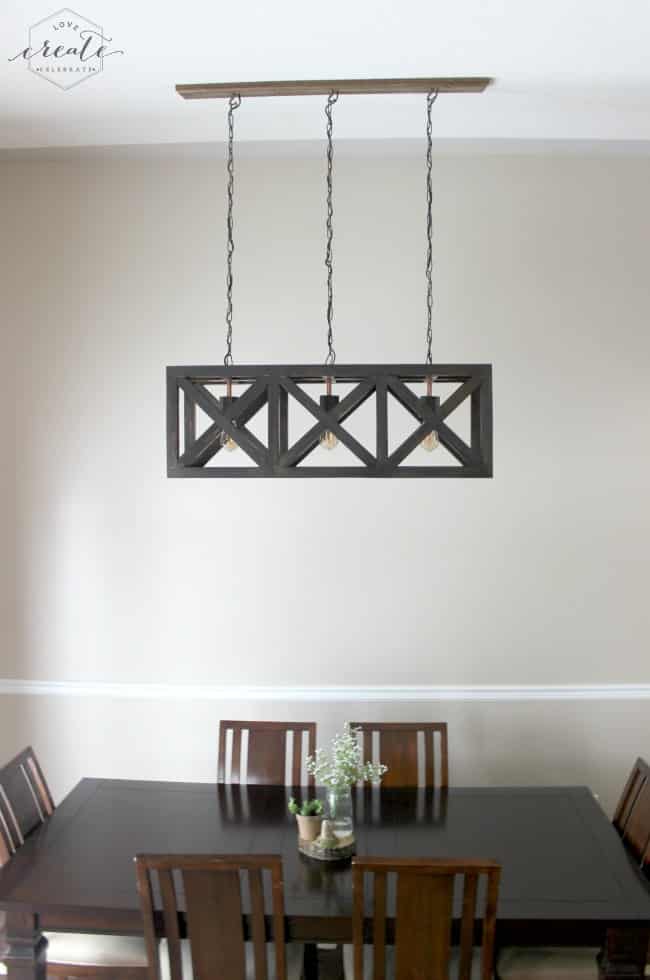
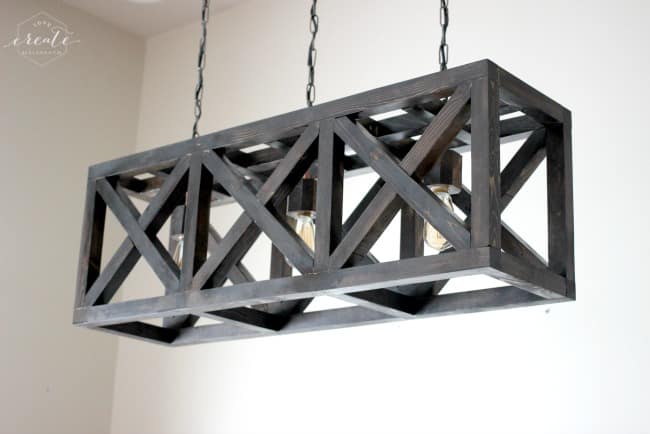
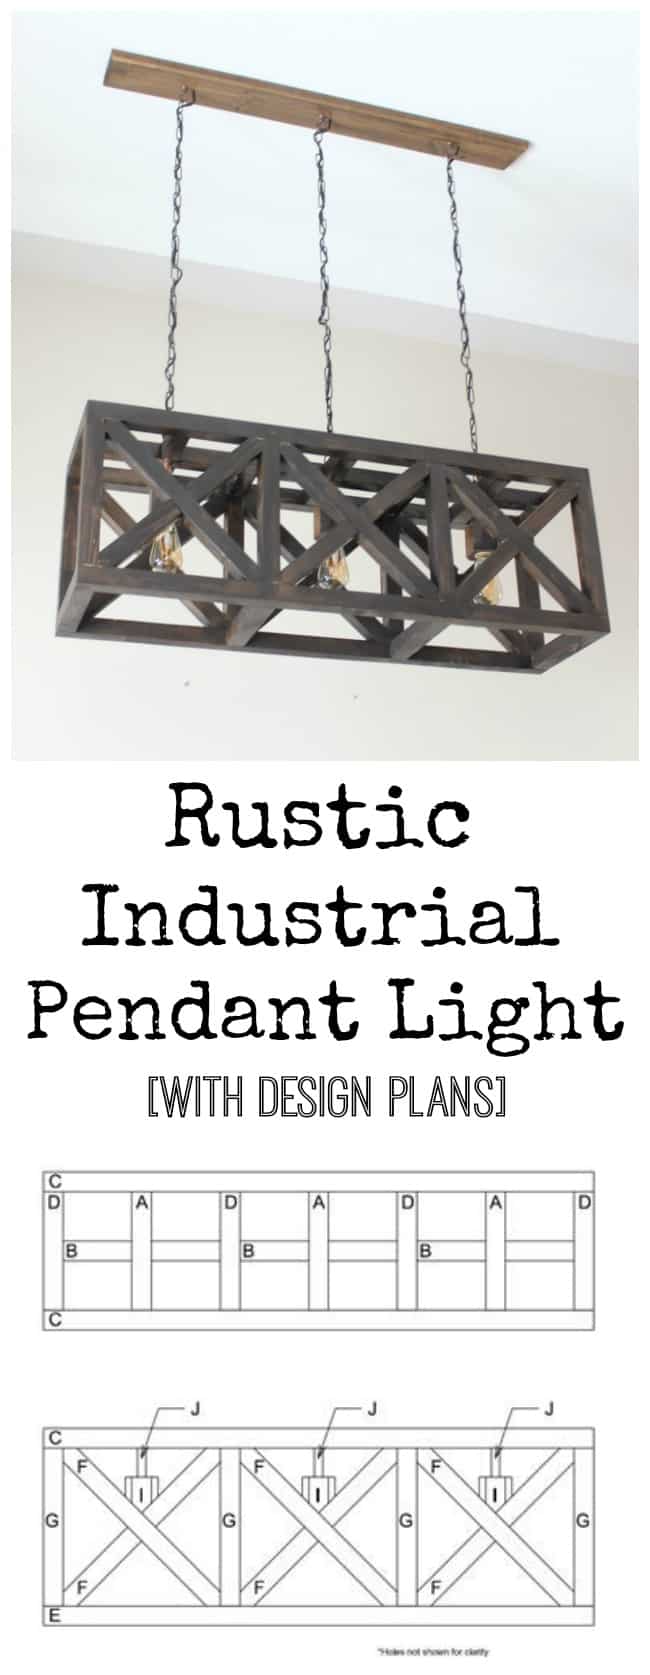
Industrial Pendant Light

Well friends, it’s fourth dimension for about other Home Depot Gift Challenge! This is the challenge when nosotros chose an especial from Home Depot (*not sponsored, nosotros only similar their products!*) in addition to a creative grouping of bloggers made novel DIY projects shape that object. This calendar month nosotros chose chain, which was perfect because I accept been wanting to brand this novel Industrial Pendant Light for a patch now!
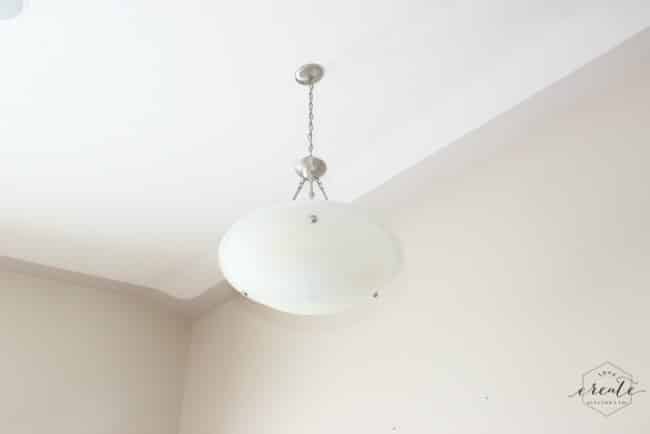
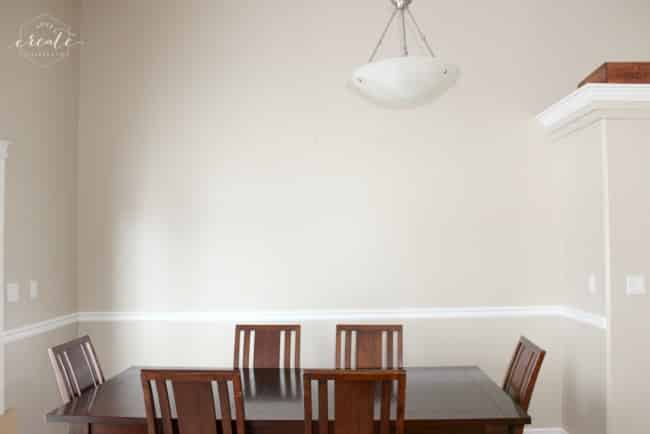
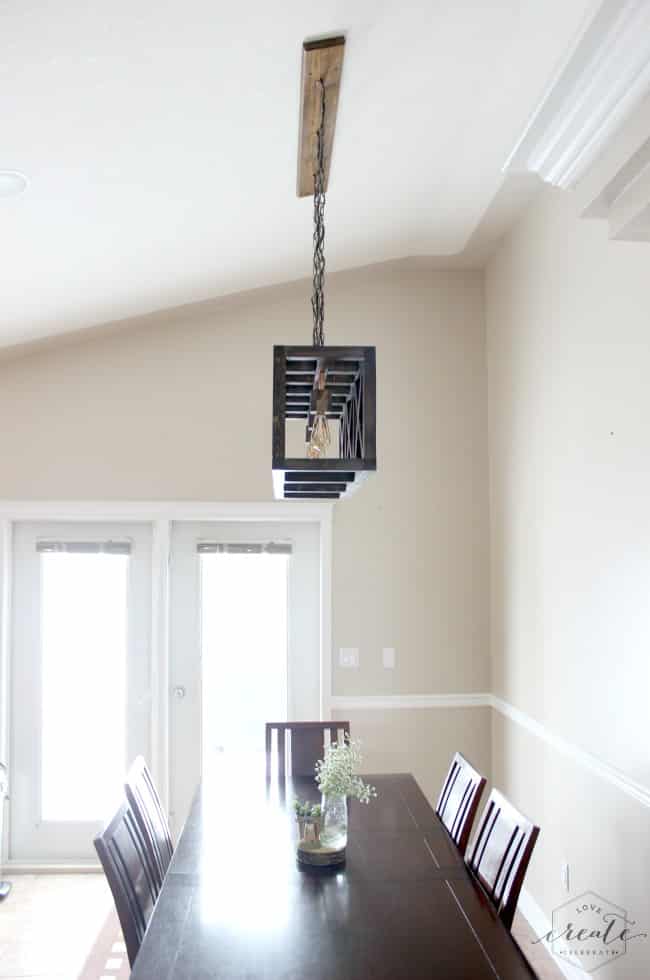
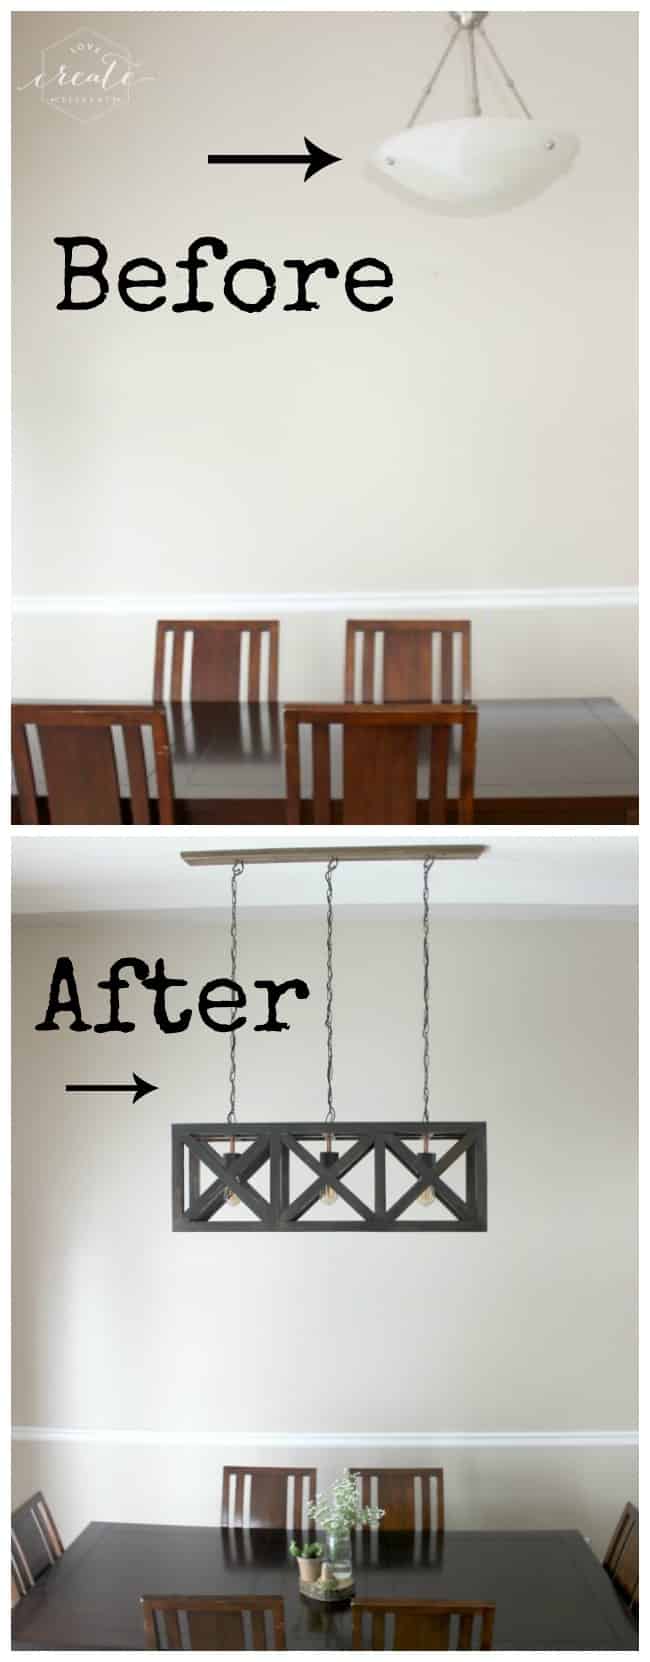
We’ve had this lite inwards our kitchen since nosotros moved in. Sure, it’s pretty… but inwards my watch it’s outdated. It’s non my style. AND it’s non centered! That’s 3 strikes. Time for a change.
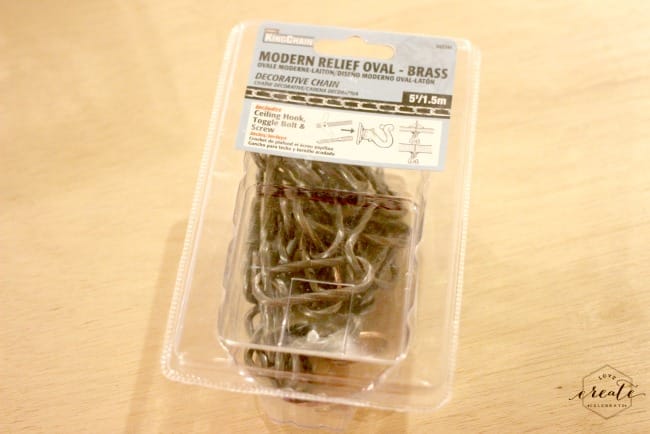
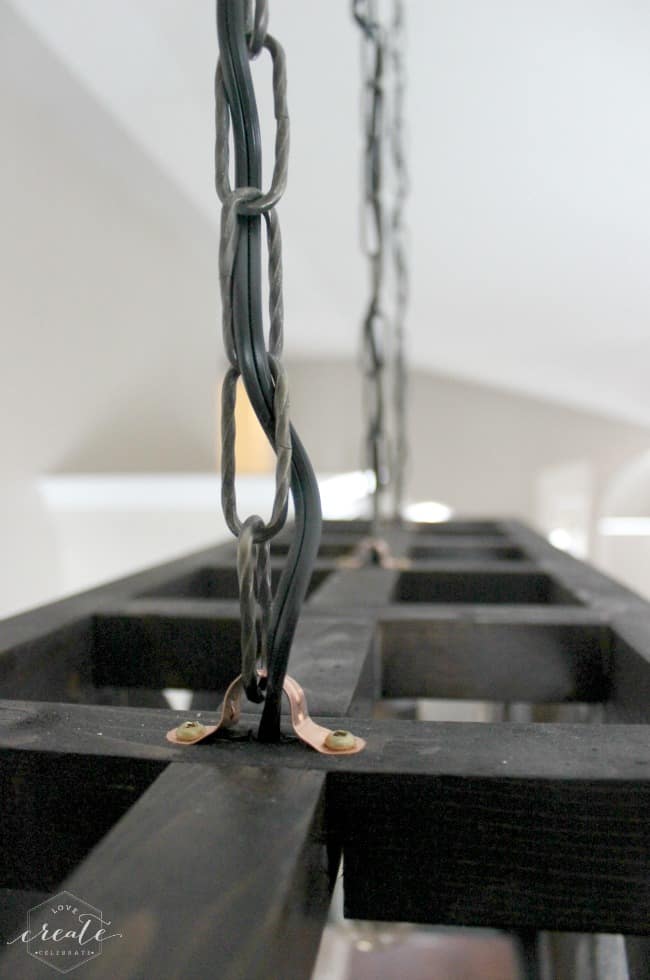
Once I knew nosotros wanted to brand a lite fixture, I chose this metallic element decorative chain from Home Depot to mitt the fixture from the ceiling.
Start past times downloading your FREE PLANS here!
A listing of lumber required for the projection is included inwards the pattern plans.
Other Materials:
- Three 5 ft. chain kits (above)
- Three sockets
- Three lite bulbs
- 25ft. of wire (how depression yous hang it volition produce upwards one's take away heed how much yous need)
- Screws
- Three 1/2″ copper clamps
- Wood glue
- Epoxy (to gum copper pipe)
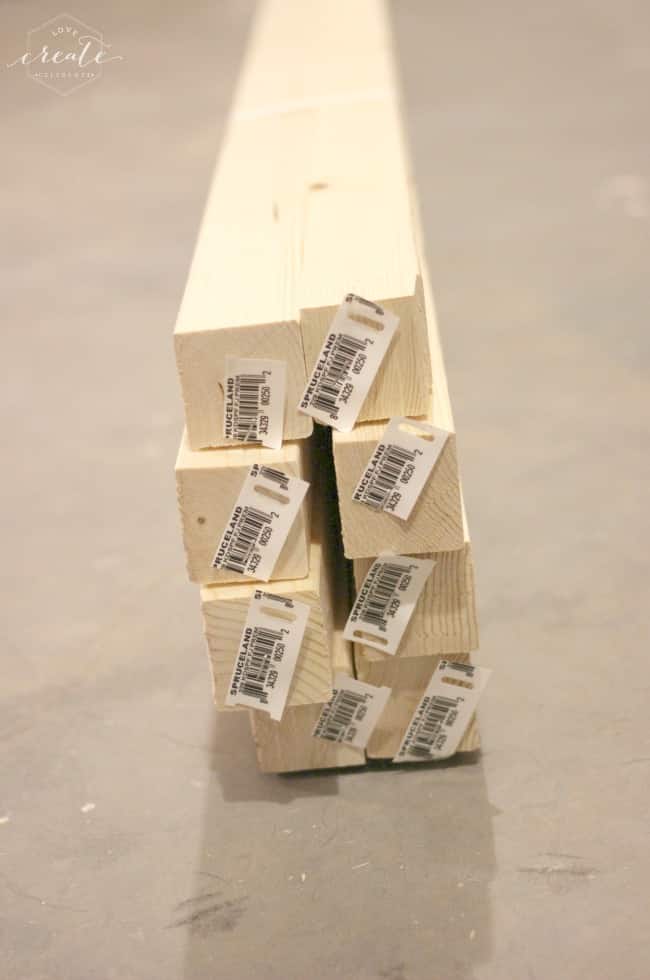
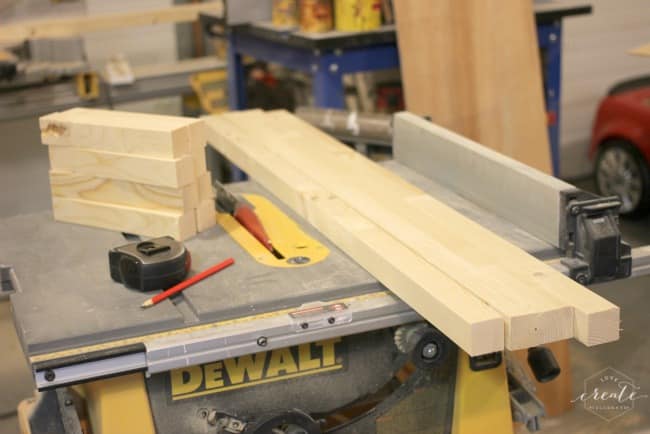
Start past times cutting all of your woods according to the “cut list” inwards the pattern plans. Sand all pieces prior to assembly.
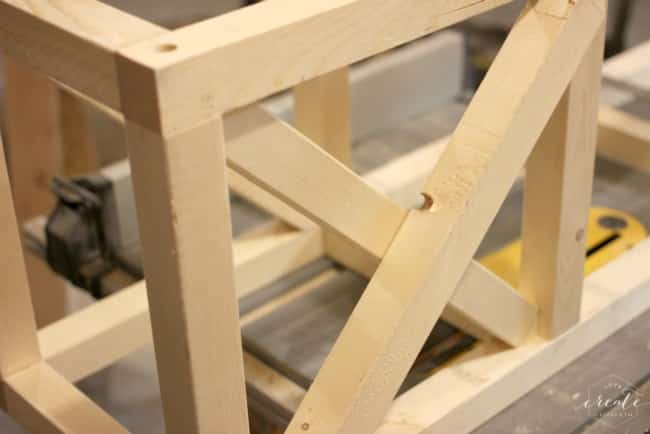
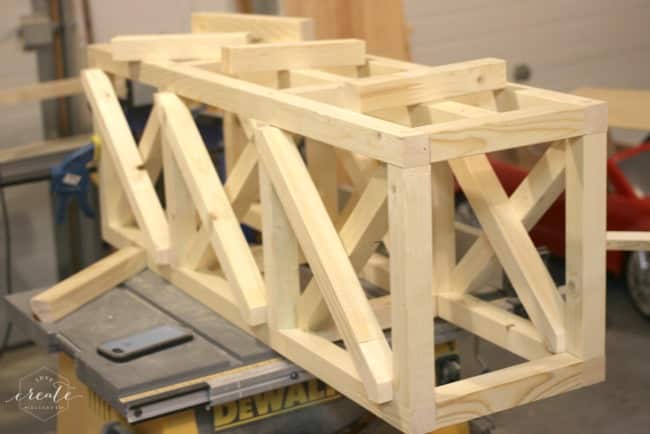
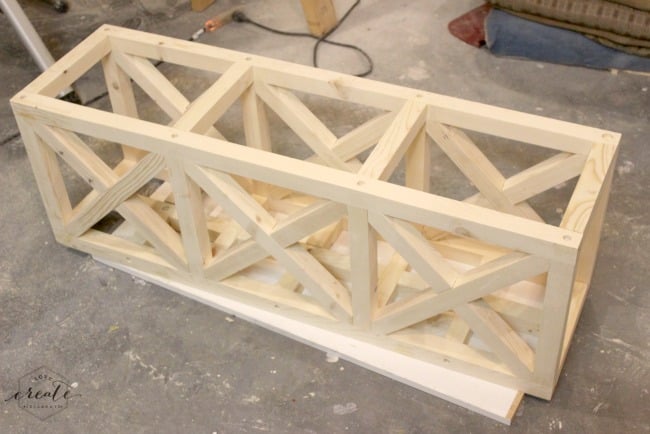
Assemble your side frames (parts C, G, E). Glue in addition to clamp to permit dry.
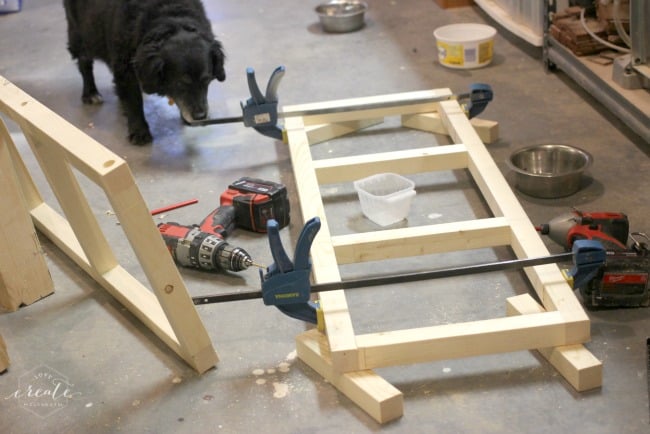
After the side frame was dry, nosotros made a jig to drill all of the holes for our dowels to ensure that they all lined up.
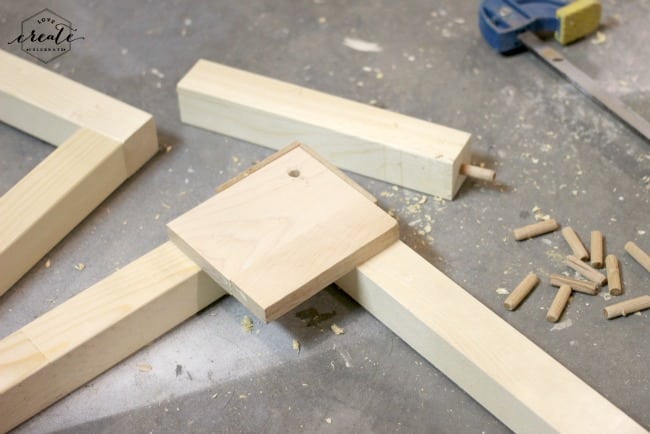
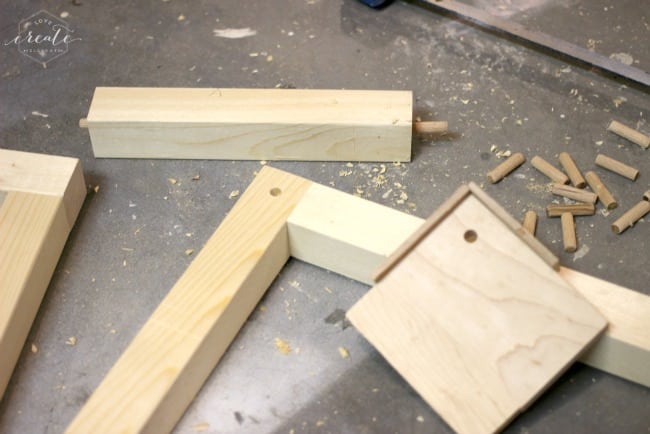
Next, yous wishing to cutting out business office F in addition to position them inwards identify to grade out the business office yous wishing to notch.
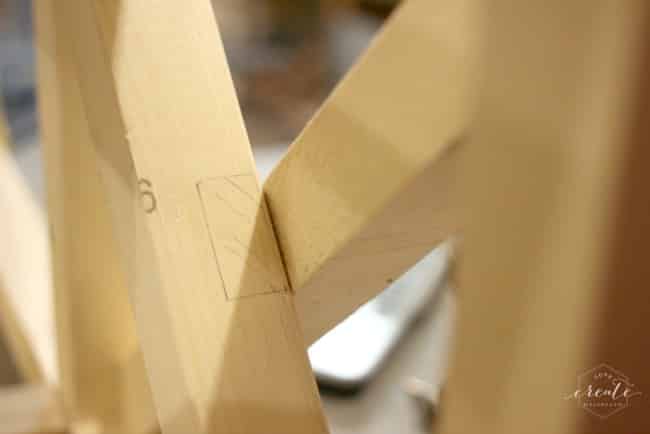
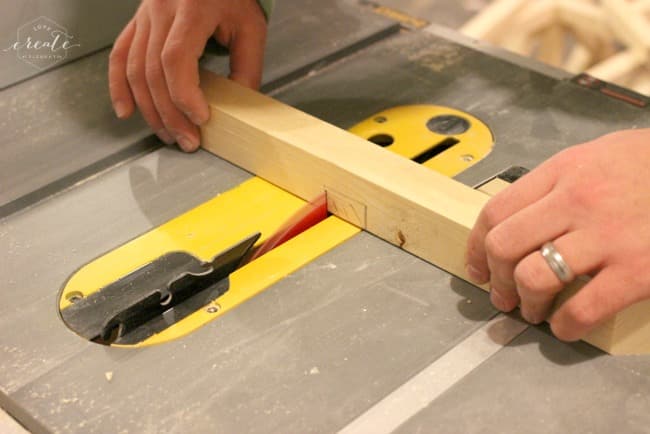
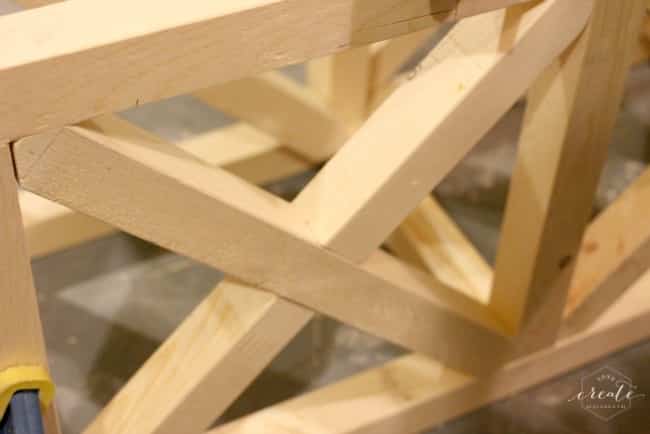
Use your tabular array saw or router to notch out the middles of the F parts. The parts should tally snuggly.
Now, gum 2 pieces of your 2x4s together to produce business office I. We started amongst 2 larger pieces in addition to cutting them down, every bit per the designs.

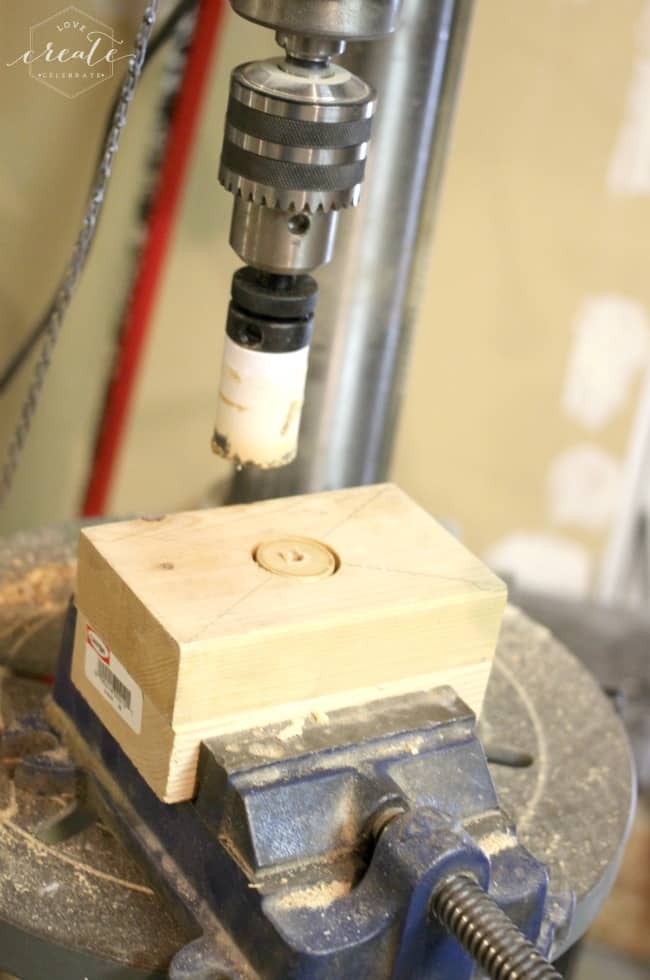
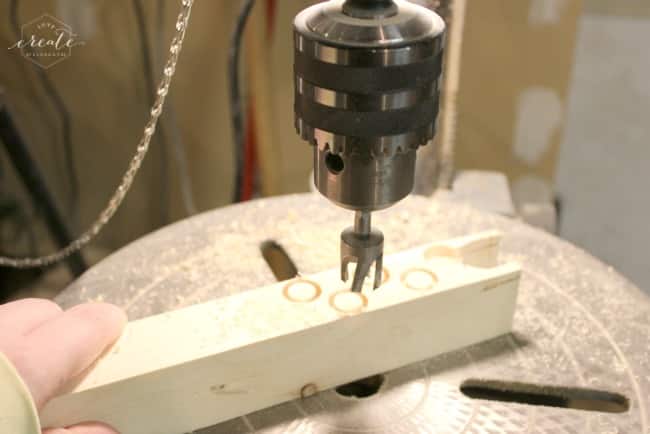
Once the gum is dried on business office I, use a hole saw to drill a hole into the part. We used a chisel to suspension out the plug.
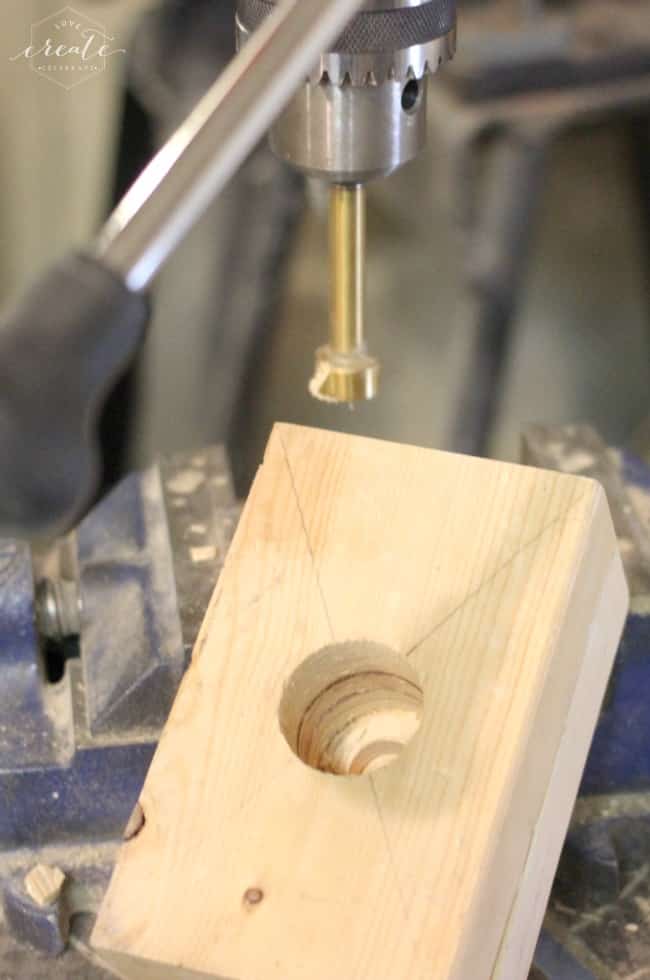
Use a forstner chip to drill out the bottom in addition to allow access for the wiring (see diagram).
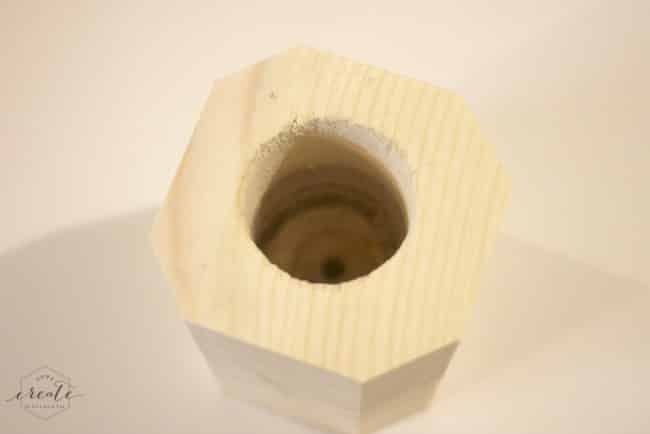
Cut edges of business office I according to pattern plans.
Finally, cutting in addition to get together parts B in addition to D for the exceed of the lite fixture. Also get together the bottom of the fixture – parts east in addition to D.

Assemble the sides, exceed in addition to bottom together. Glue in addition to screw everything into place.
Cut plugs to produce sum the screw holes. Use woods filler to produce sum whatever holes. Once the gum in addition to filler is dry, laissez passer on the slice a terminal sand.

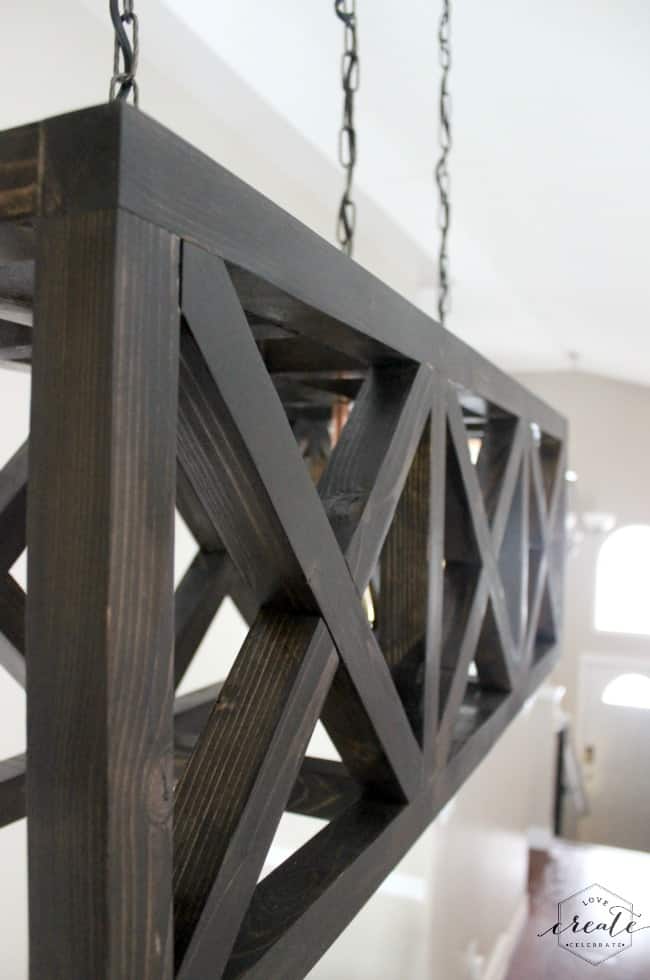
When all the parts are ready. Stain in addition to varnish to desired finish. Glue copper pieces (part J) inwards identify afterwards the stain in addition to varnish are dry.
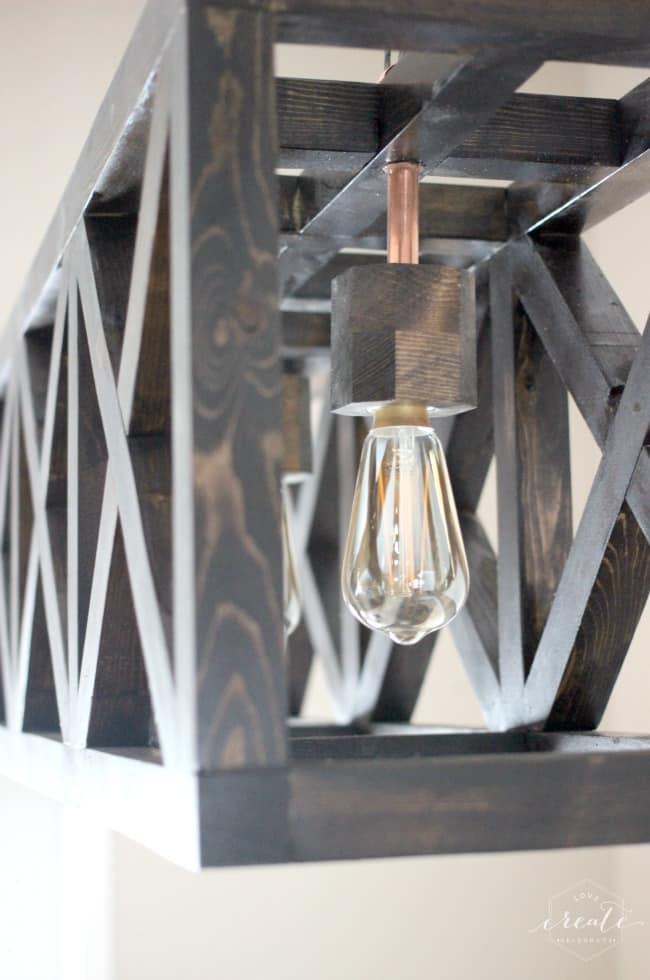
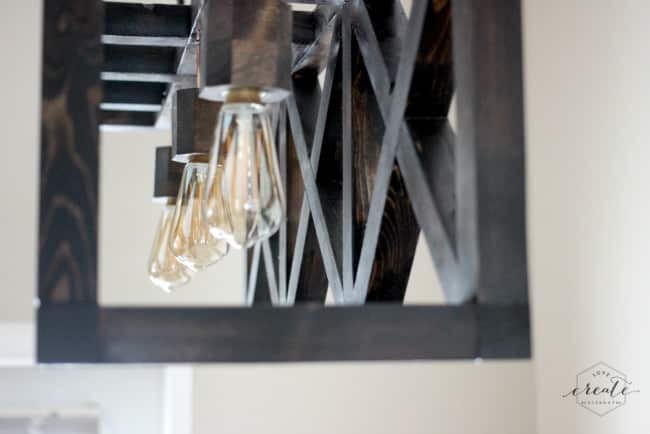
Wire in addition to hang upwards your beautiful novel fixture! I LOVE how ours looks. Such a HUGE transformation! I dearest the rustic, vintage vibe it gives off, in addition to I LOVE LOVE the novel experience of my kitchen :)


I’m lamentable to nation yous that this is the terminal Home Depot Challenge :( It’s been SO fun getting creative amongst novel Home Depot projects in addition to working amongst my immature homo amazing bloggers! I’m SO happy that yous enjoyed it!
For now, brand certain that yous depository fiscal establishment check out the other projects from the terminal Home Depot Challenge. Click the photo below to detect the tutorial!


*This post service may comprise affiliate links. Thank yous for supporting Love Create Celebrate. for to a greater extent than information, delight read my disclosure policy!*


Comments
Post a Comment