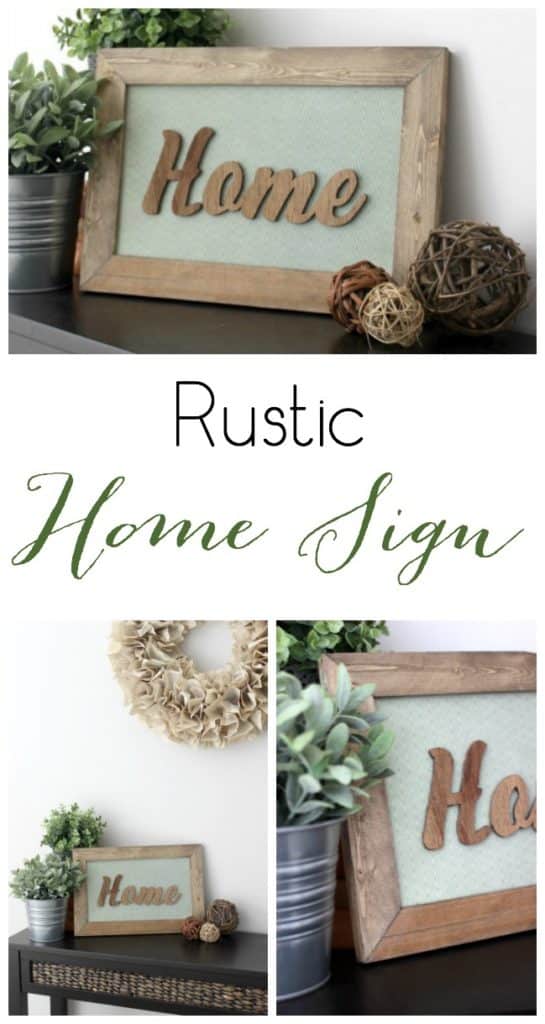
How to Make Your Own Wood Sign

Is at that topographic point ever such a affair as too much artwork inwards your home?! I tin ever detect a shelf or a wall that needs something new! I’m dorsum alongside some other 12 Months of DIY Project in addition to this calendar month nosotros are bringing yous modern podge projects! Last calendar month nosotros brought yous Thrift Store DIYs in addition to I made my Industrial Sconces from quondam lamps. This calendar month my projection is a fleck simpler, but staying truthful to my style… yet requires ability tools! lol. I’m gonna exhibit yous how to brand your ain woods sign!

I seriously LOVE this project. I could brand a K signs similar this alongside dissimilar words in addition to happily detect places for them inwards my home. Here’s what yous ask to larn started.
Materials:
1/4″ Plywood (enough for the dorsum in addition to sides)
Scrapbook paper
Mod podge
Foam brush
Wood stain
Wood glue
Tools:
Measuring Tape
Drill
Circular Saw
Scroll Saw
Nail Gun or Staple Gun
Cricut Explore (for give-and-take stencil – or yous tin mitt describe it)
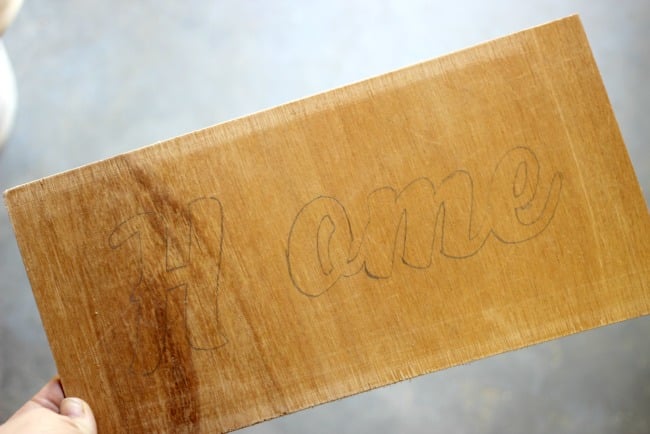
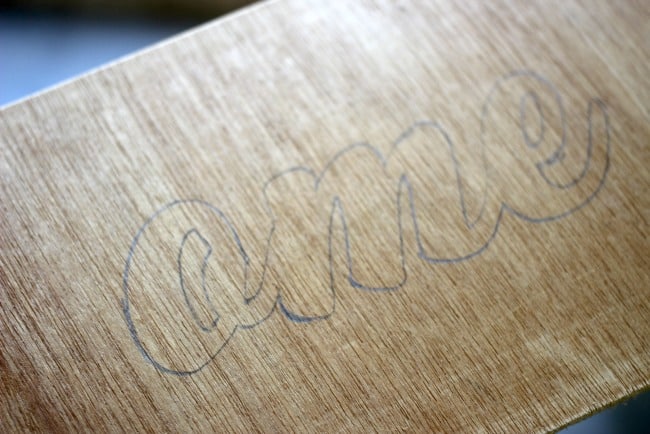
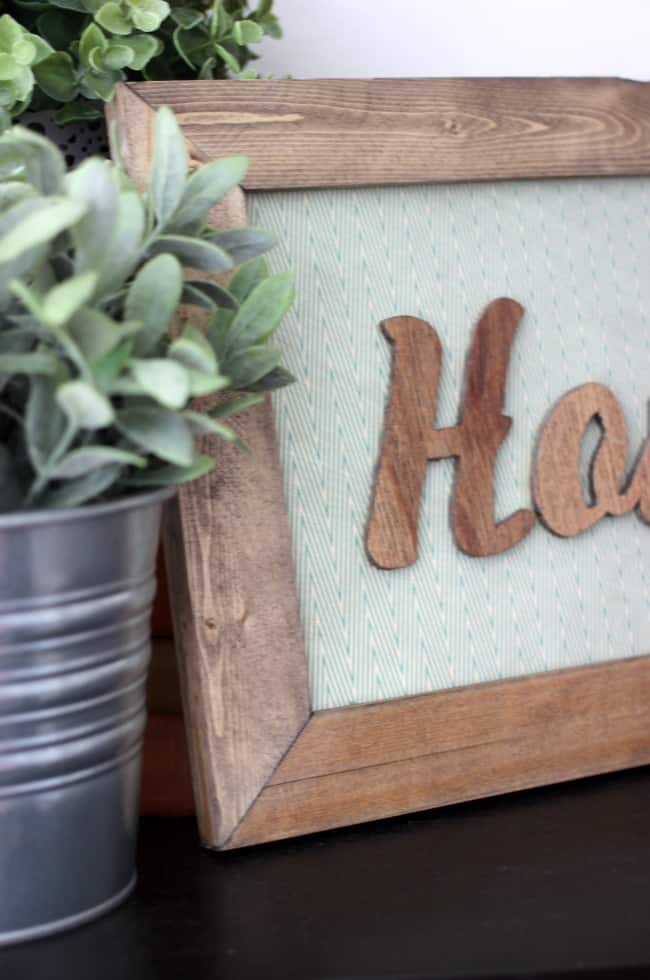
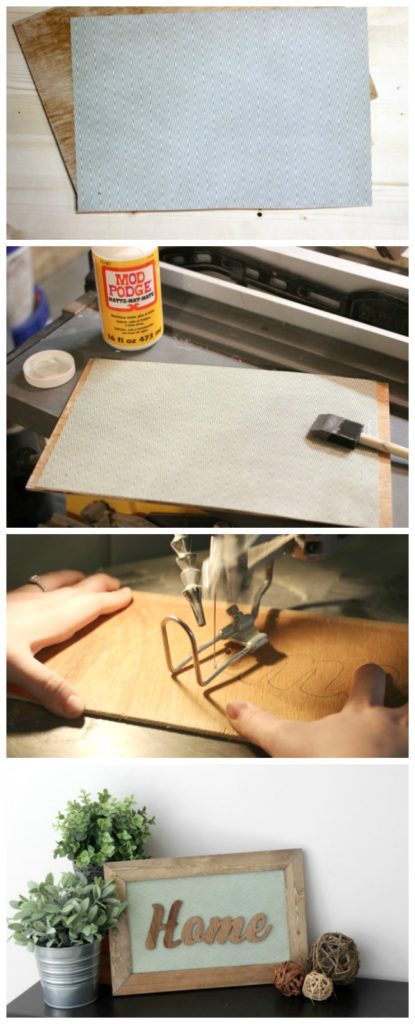
Start yesteryear marker or tracing your give-and-take on a slice of plywood. I used my Cricut Explore to cutting a vinyl stencil (see how here!).

Next, yous ask to drill holes into the holes inside your letters. Use the biggest drill fleck yous can, without drilling into the stencil edges.
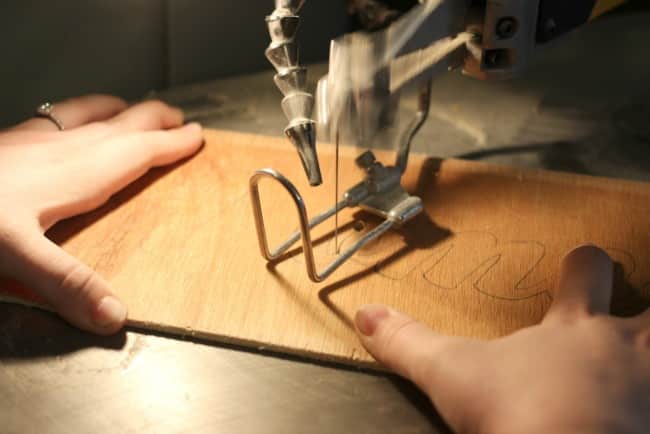
Next, trammel on the scroll saw in addition to cutting out all your outlines. I used a very fine blade in addition to thence that it could larn into the holes in addition to around the corners easily.
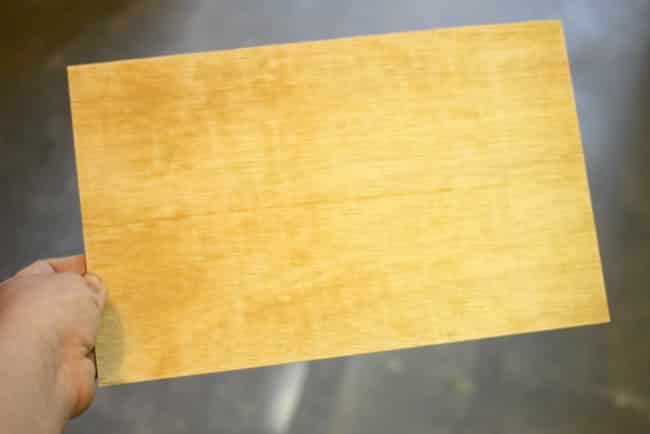
Use your circular saw to cutting the bottom board to any size yous want.
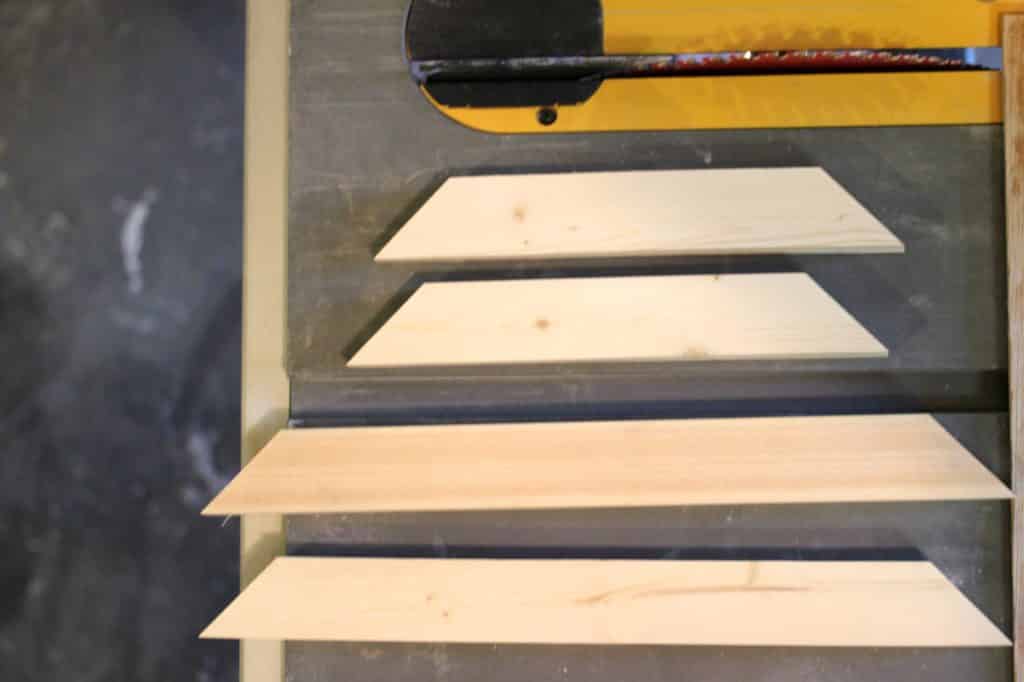
Then purpose the circular saw to cutting your border pieces. My frame is about 1.5″ around. You tin purpose the same plywood in addition to simply smash it on top. Cut the edges in addition to thence that they are the same length equally the base of operations board, in addition to cutting the edges at 45 grade angles.

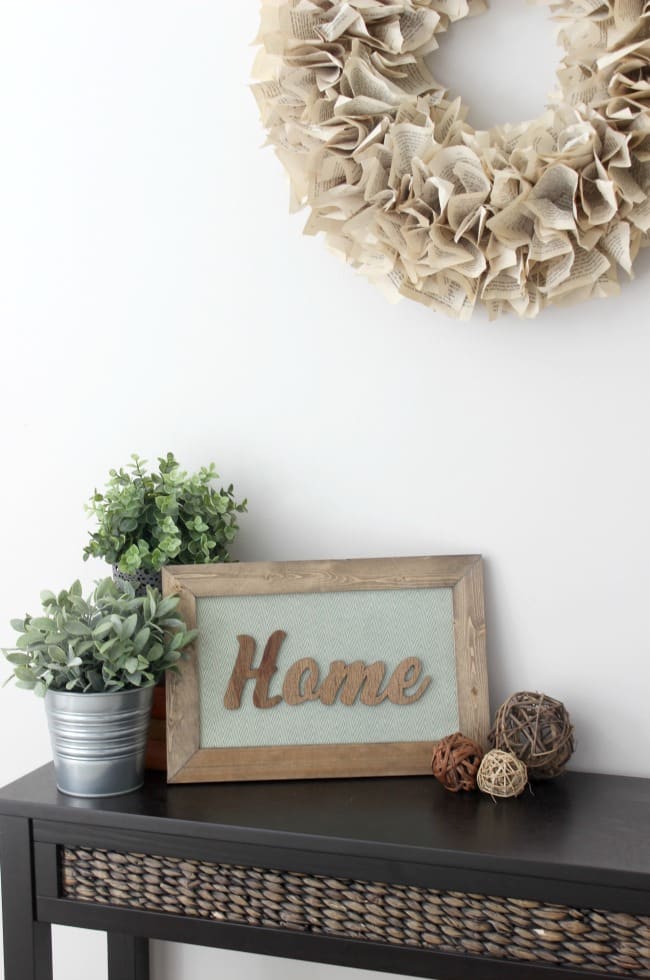
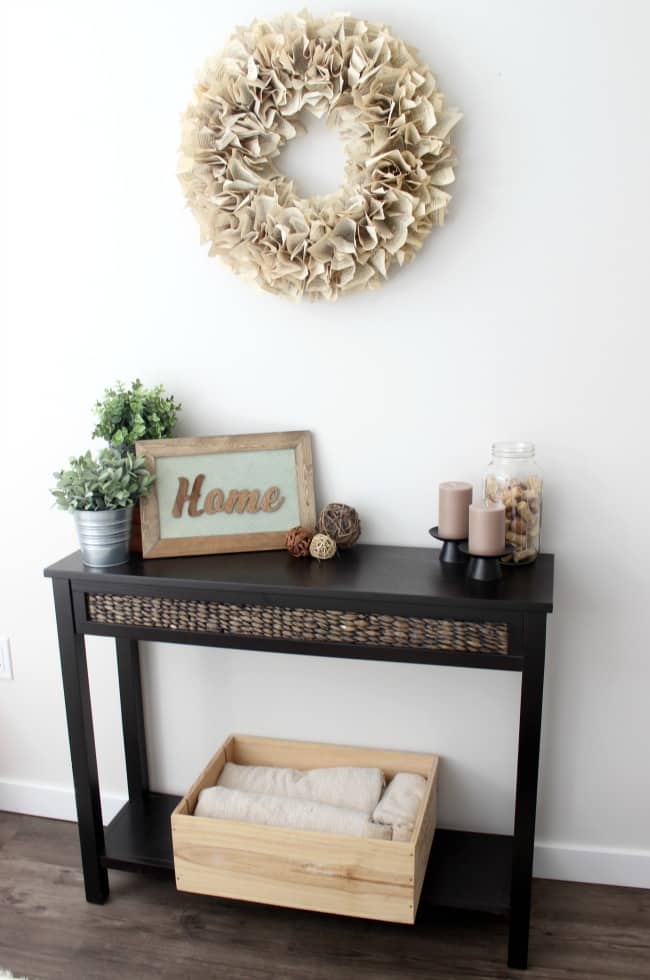
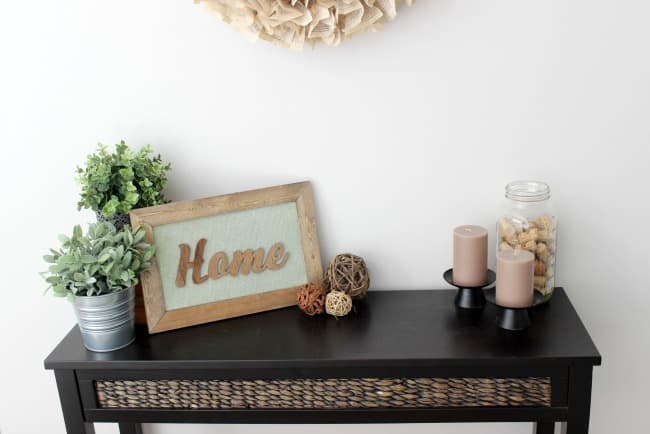
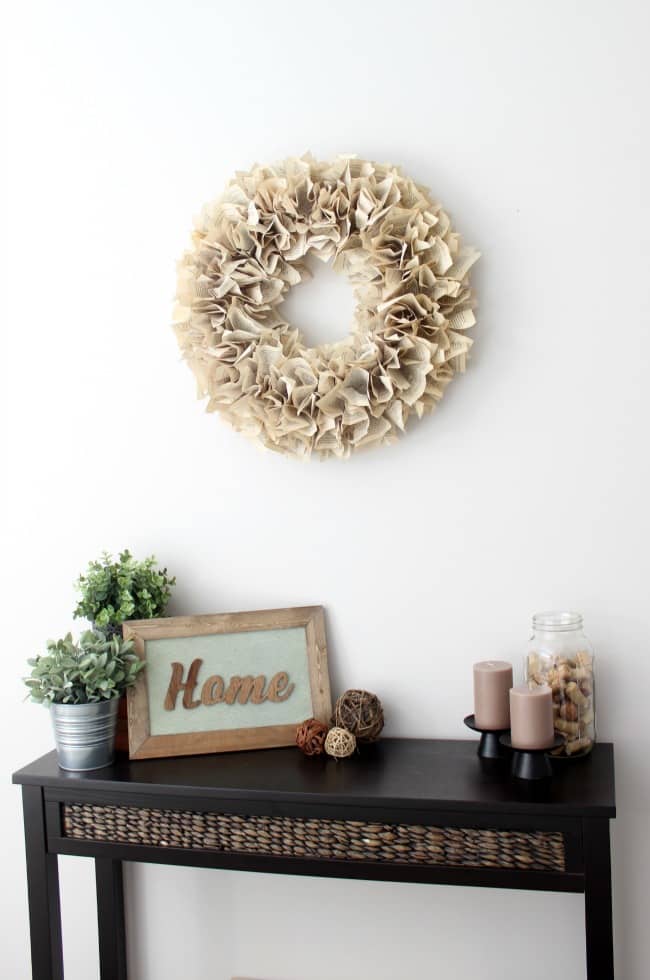
Sand downwards the bottom base of operations board in addition to the frame pieces. Stain the frame in addition to the “Home” letters inwards any woods stain yous choose.
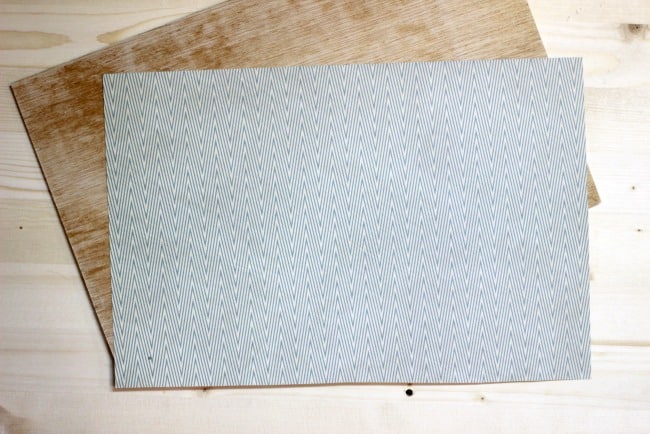
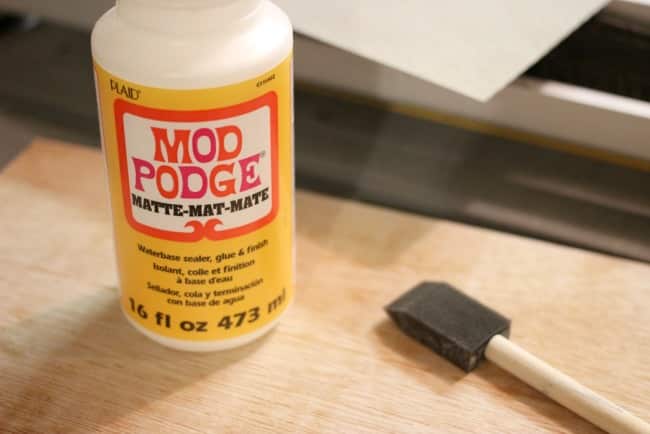
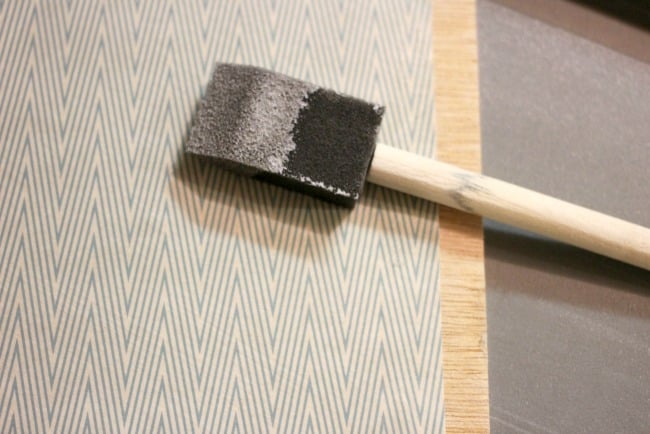
Next, cutting your scrapbook page in addition to thence that it fits on the board. I dearest this chevron patterned paper! Spread modern podge along the bottom of the board alongside a foam brush – simply lightly. Then identify the newspaper on top, in addition to spread modern podge on exceed alongside the foam brush. If yous purpose equally good much, the page volition bubble in addition to elevator up. Less is more!
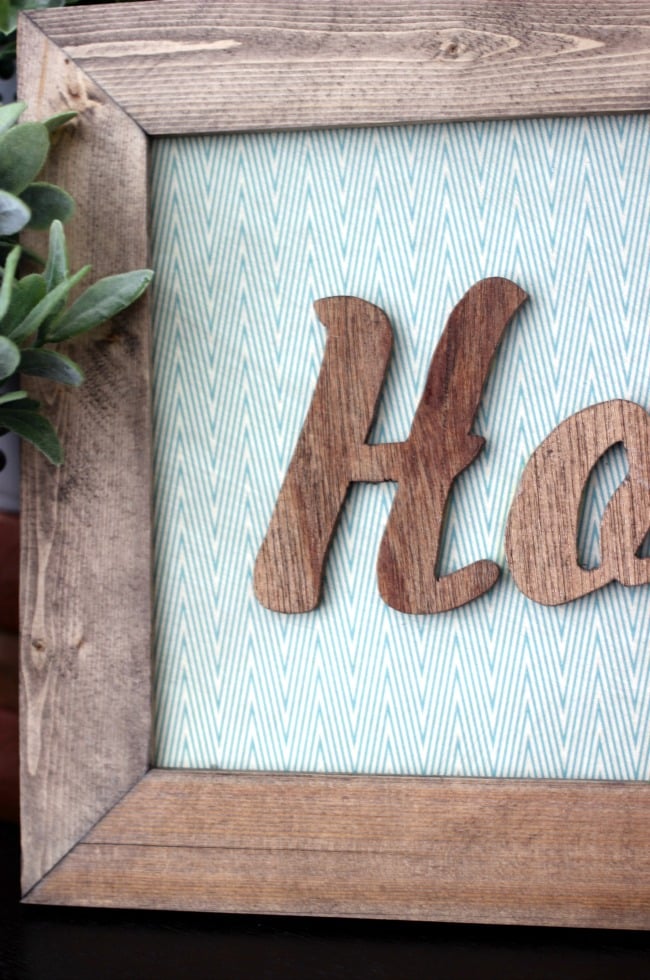
When the modern podge is dry, attach the “Home” pieces alongside woods glue, in addition to mucilage in addition to staple (or nail) your frame inwards place.

Now it’s fourth dimension to run across the balance of the DIY Mod Podge projection ideas from my Canadian blogging friends!
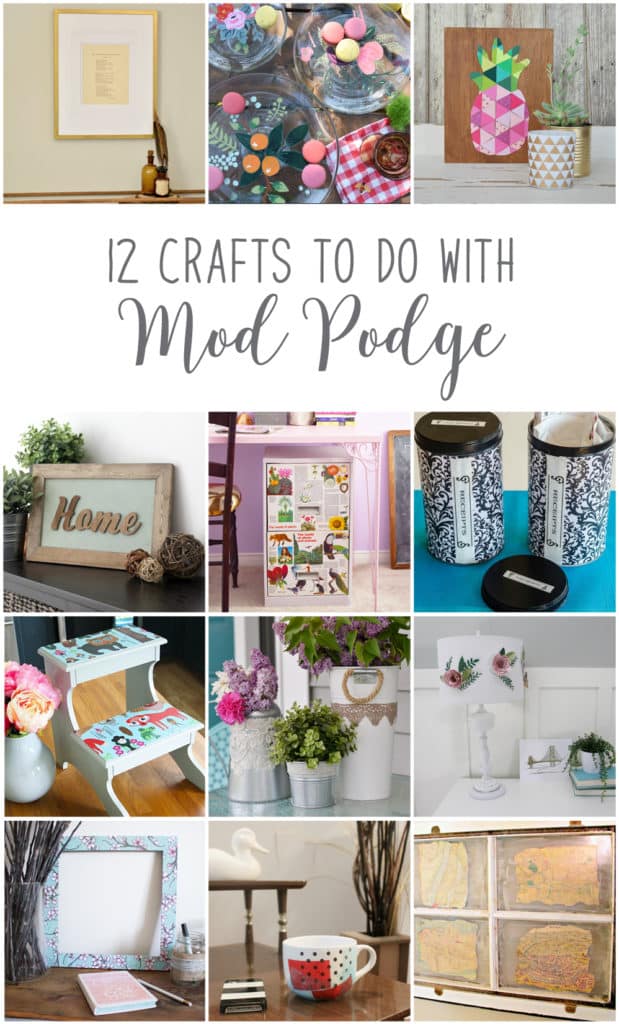
From the exceed left, they are:
How To Use Mod Podge – Influenza A virus subtype H5N1 Beginner’s Story from Vin’yet Etc.
Painted Florals on Glassware from PMQ for Two
Geometric Pineapple Art from Life Is Influenza A virus subtype H5N1 Party
DIY “Home” Wood Sign from Love Create Celebrate
DIY Filing Cabinet Makeover Using Vintage Book Pages from Woman inwards Real Life
Handy DIY Two Month Receipt Organizer from Time alongside Thea
Decoupage Foot Stool from Fresh Crush
Make Lace Decoupaged Garden Containers from The DIY Mommy
Paper Flower Lamp Shade from Brooklyn Berry Designs
Easily Upcycled Photo Frames from Sustain My Craft Habit
Kate Spade-Inspired Mug from Mommyzoid
Window Map Art from New House New Home


Comments
Post a Comment