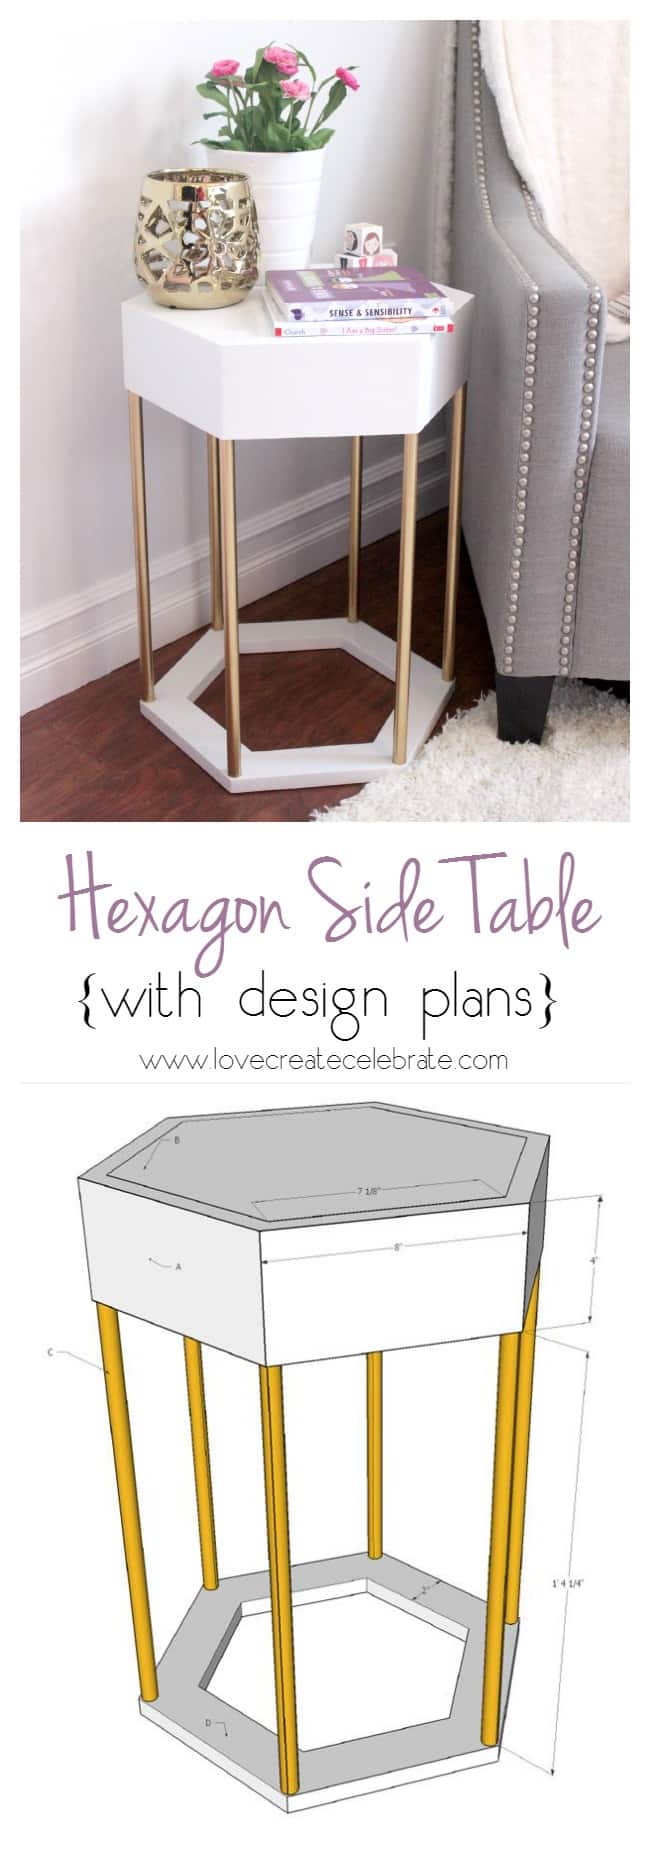
Hexagon Side Table
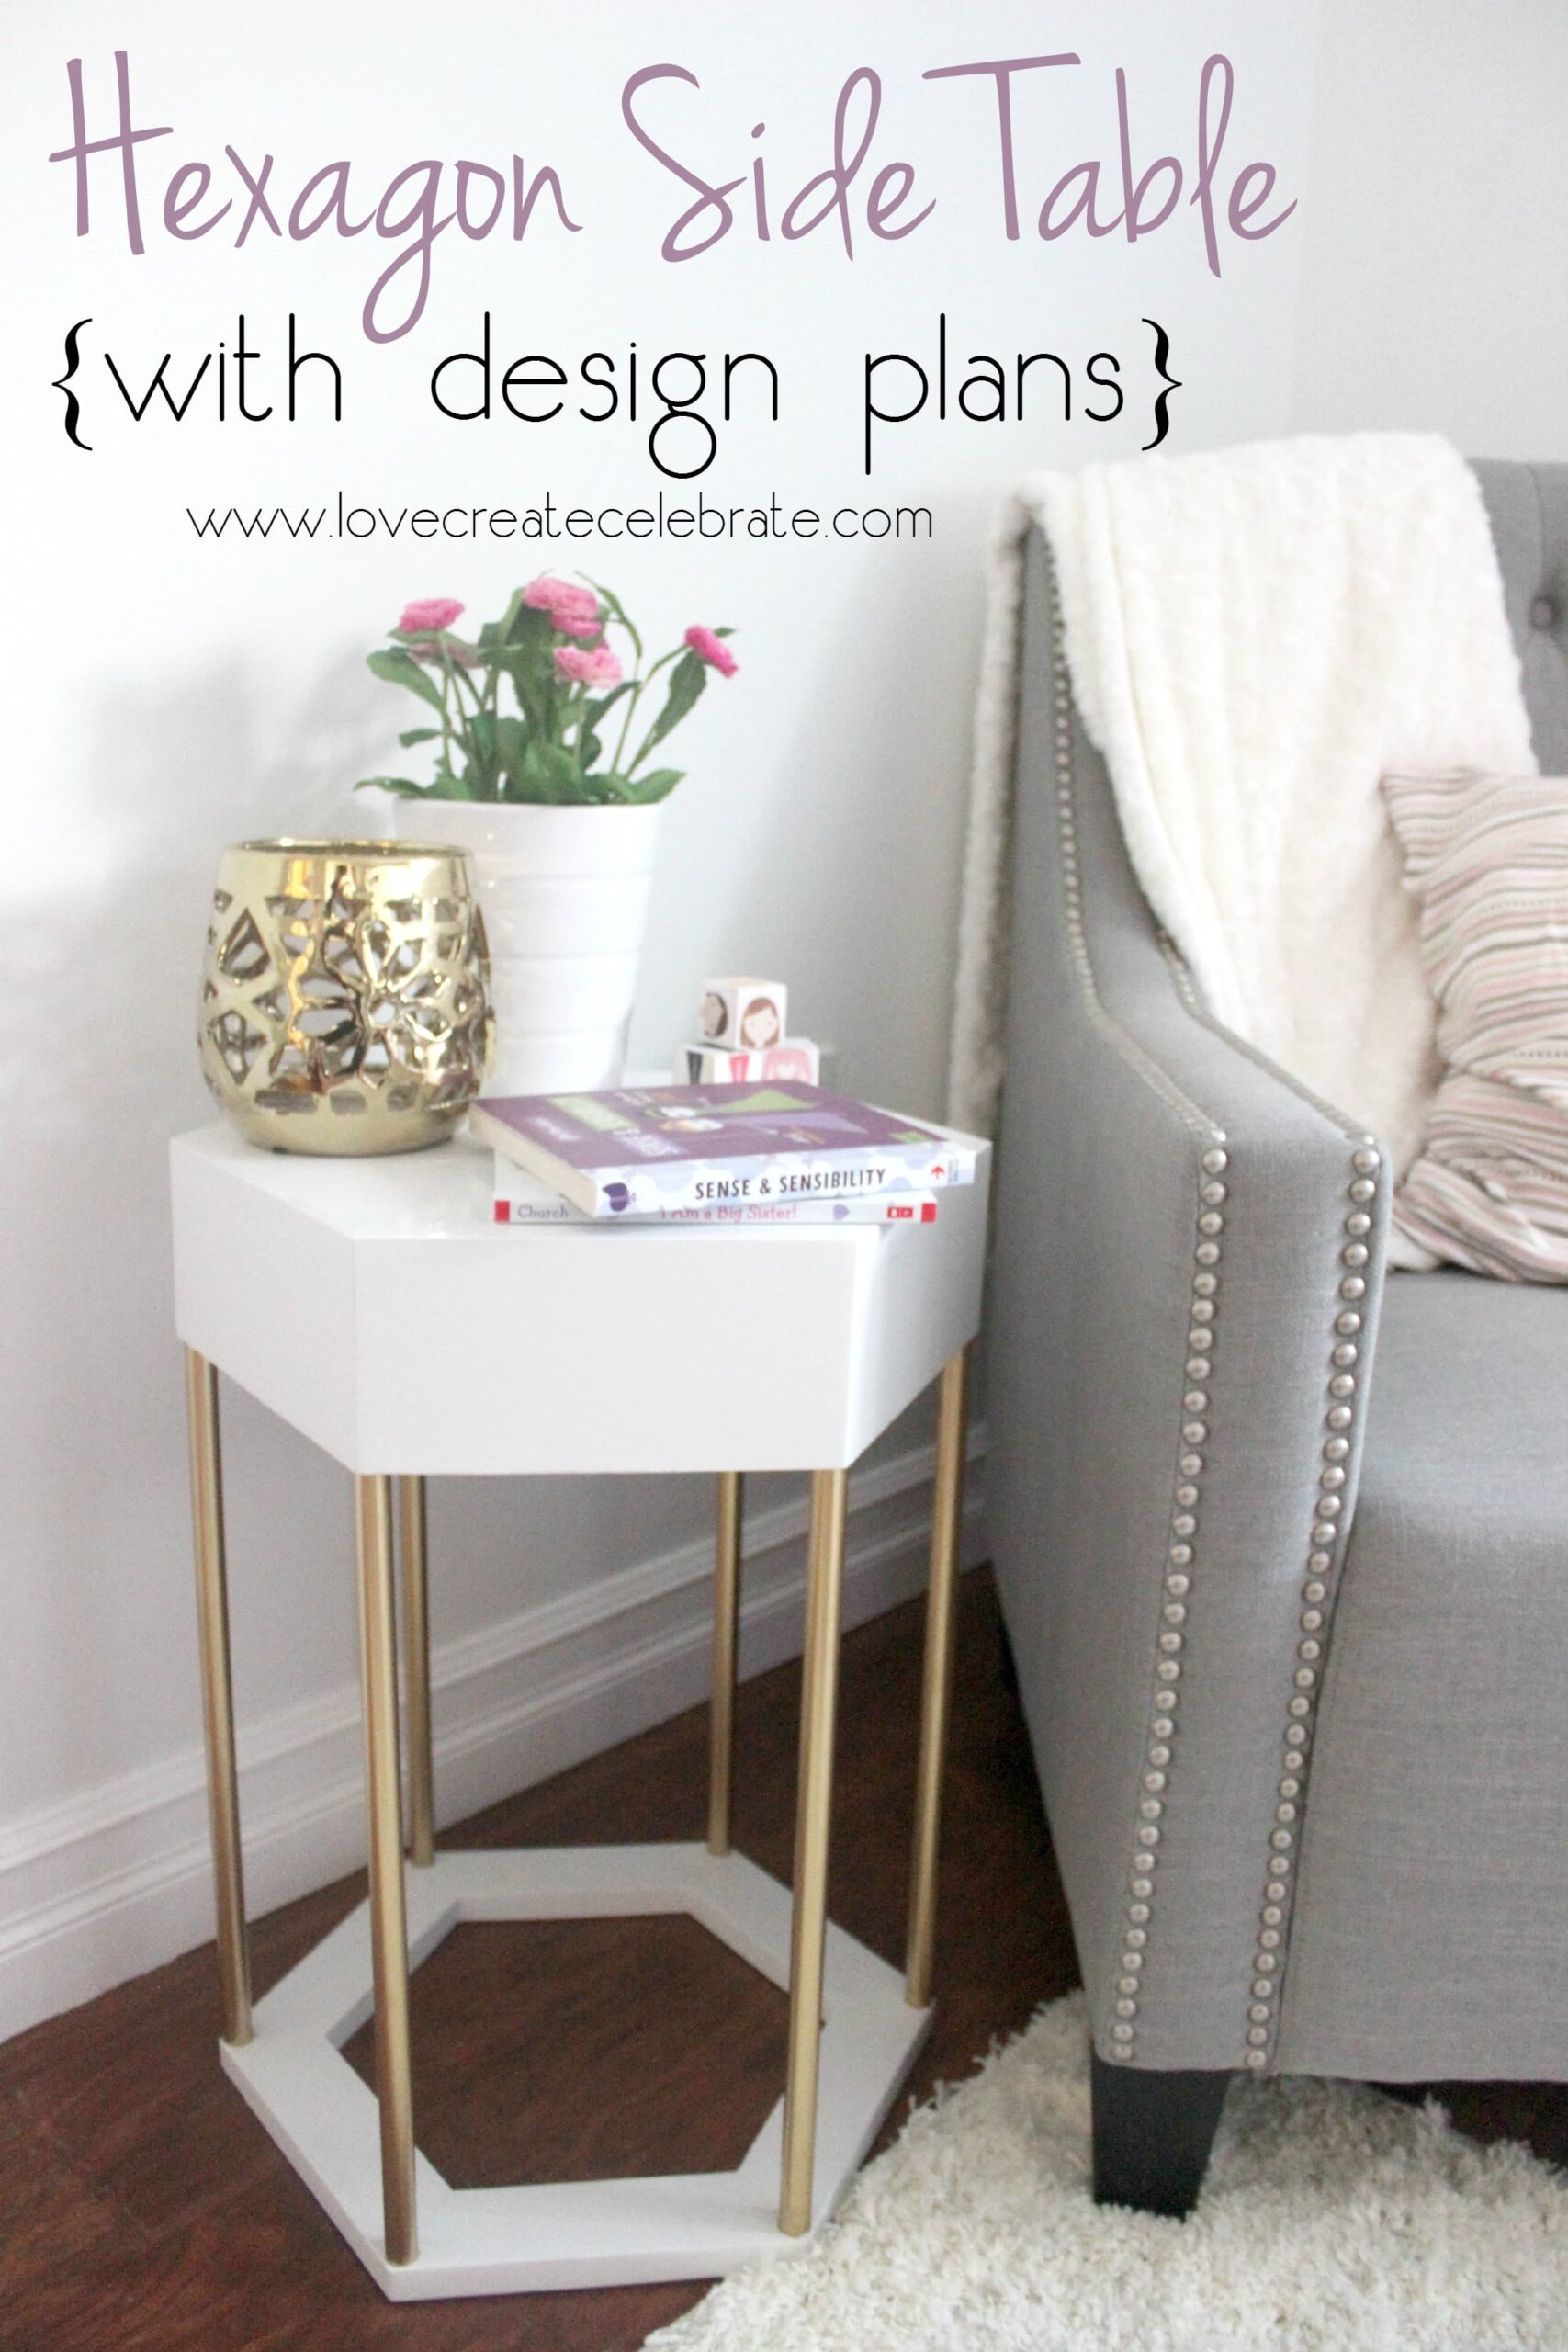
I am beyond excited to live sharing this projection alongside you lot today! I commencement shared it on my Instagram account every bit business office of the the #OneBoardChallenge. Then I shared it inwards the concluding expose of my daughter’s beautiful (if I practice nation as well as thus myself!) Big Girl Bedroom. Today, I’m finally sharing the tutorial for this modern DIY Hexagon Side Table!
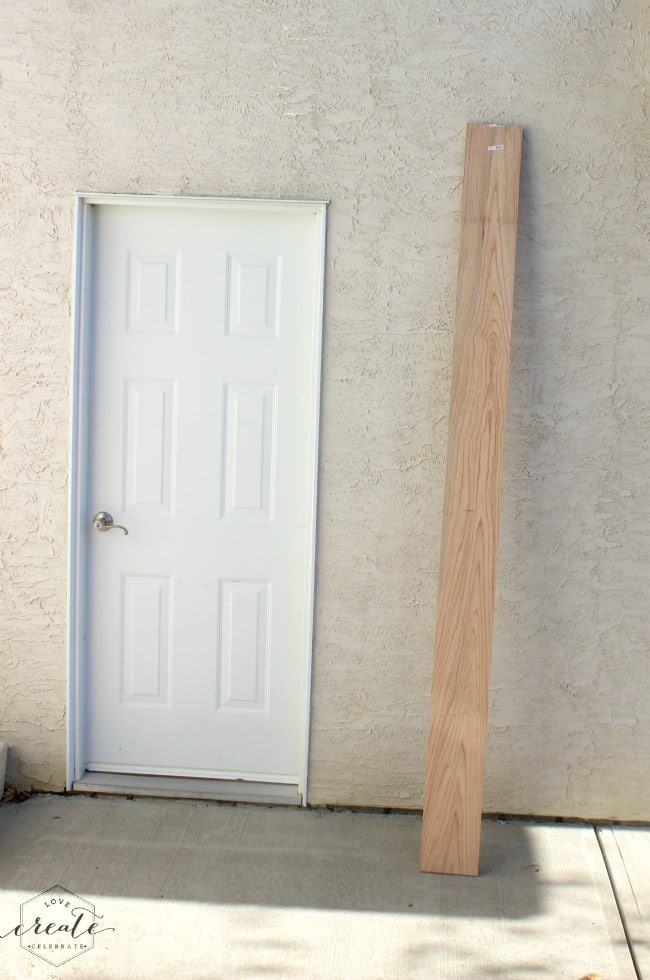
It all started alongside this 1″ x 8″ x 8′ board that nosotros purchased for the #OneBoardChallenge. The thought behind the challenge is that nosotros purpose 1 board entirely to practice something unique, as well as THIS is what I made (with the help of my handy, behind the scenes hubby of course!). [Note: if you lot merely wishing to come across pretty pictures, at 1 time is the fourth dimension to boundary to the bottom of the post! lol]
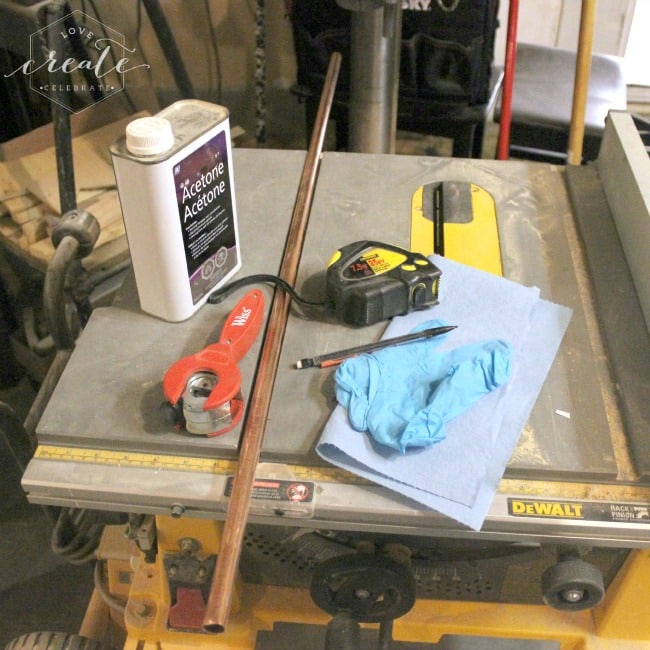
Here’s what you lot ask to consummate the project:
Tools
- Table Saw
or round off saw
- Drill Press
or manus drill
- Compound Miter Saw
or round off saw
- measure tape
- protractor
- Pipe Cutter
or hack saw
- sander or sand paper
- clamps and/or ratchet straps for gluing
- 5/8″ Forstner Bit
Materials
- 1″ x 8″ x 8′ board (we used oak)
- 102″ of 1/2″ diameter copper pipe
- wood glue
- nails for purpose during gluing
- epoxy
- white pigment or varnish (based on goal desires)
- putty or woods filler based on desired finish
- gold spray paint
- proper security protection (to wearable at all times!)
Directions:
1. Cross cutting a 50″ department off the goal of the 1″ x 8″ x 8′ board.
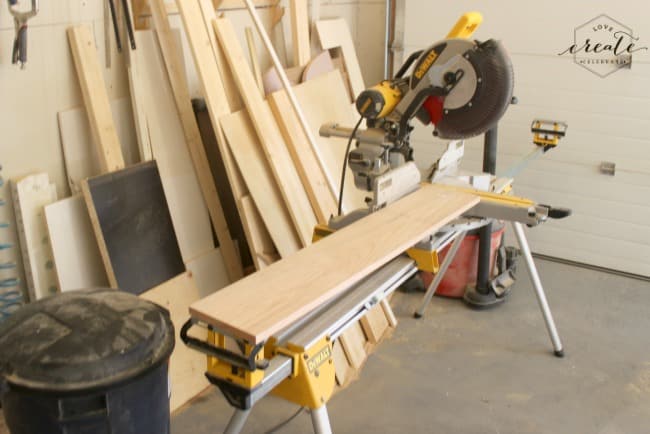
2. Rip a 4″ broad department off the 50″ long slice you lot merely cut.
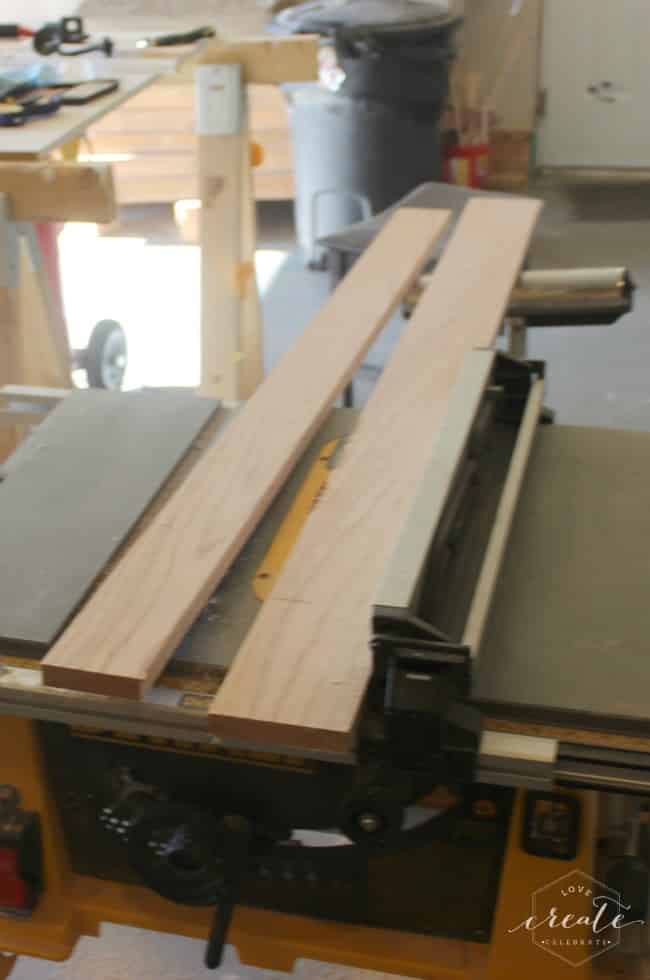
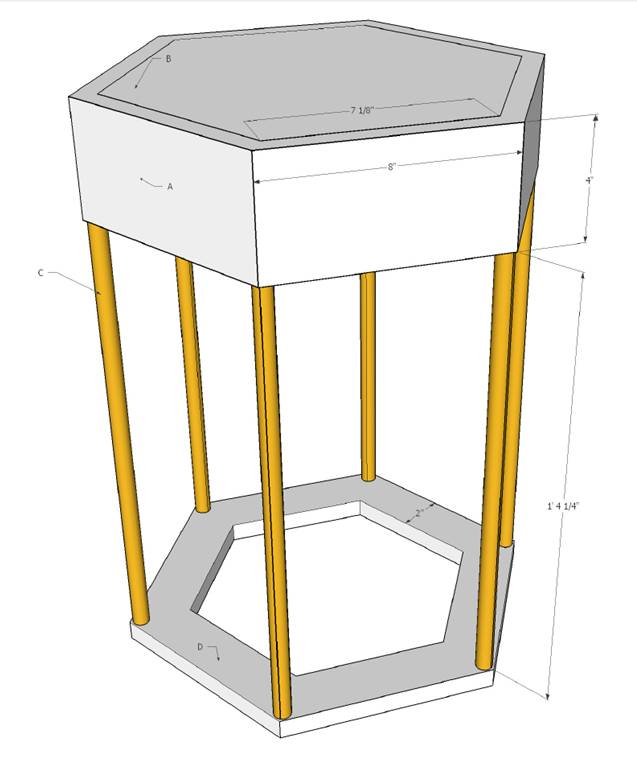
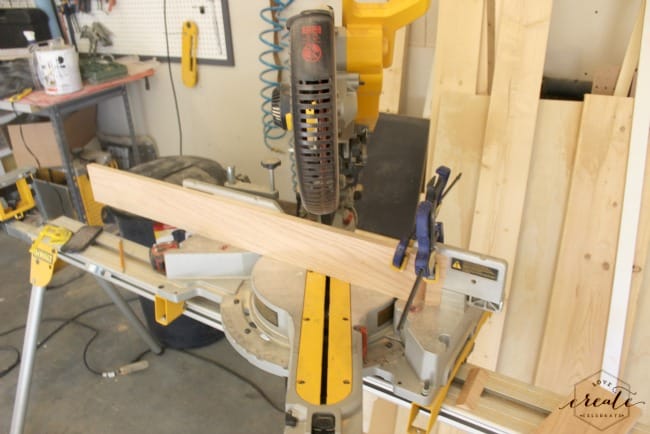
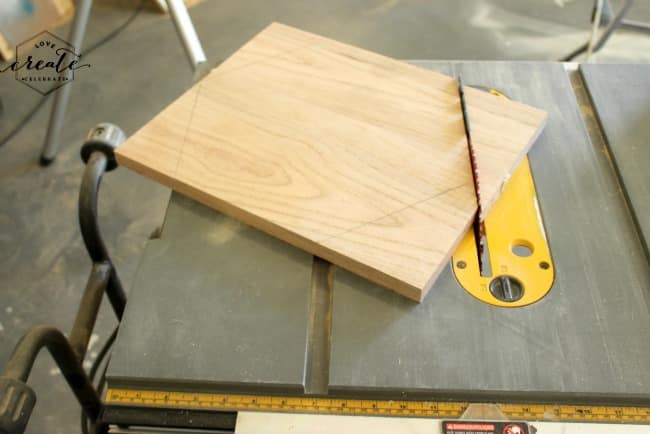
3. Cut 6 8″ pieces vertically on the exterior edges (for slice “A” off the diagram above) from the 4″ broad board (see photograph below). Set your miter-saw to a thirty storey angle for the vertical cutting as well as cutting both angles inward (see diagram above).
4. Using the remaining 3.75″ broad slice of board from the 50″ long slice – rip a 2″ broad department off.
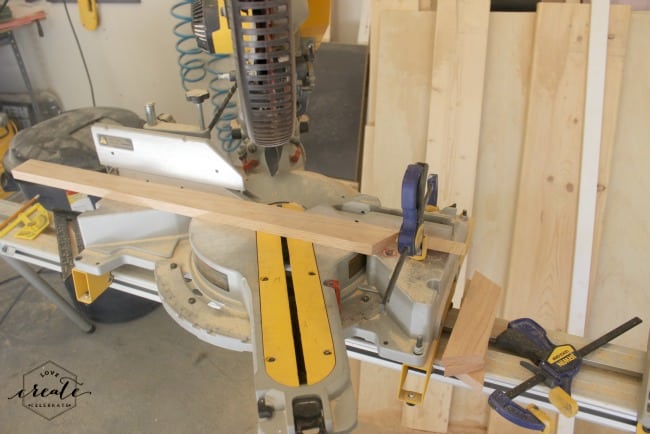
5. Cut 6 8″ pieces vertically on the exterior edges (for slice “D” off the diagram above) from the 2″ broad board (see photograph below). Set your miter-saw to a thirty storey angle for the vertical cutting as well as cutting both angles inward (see diagram above).
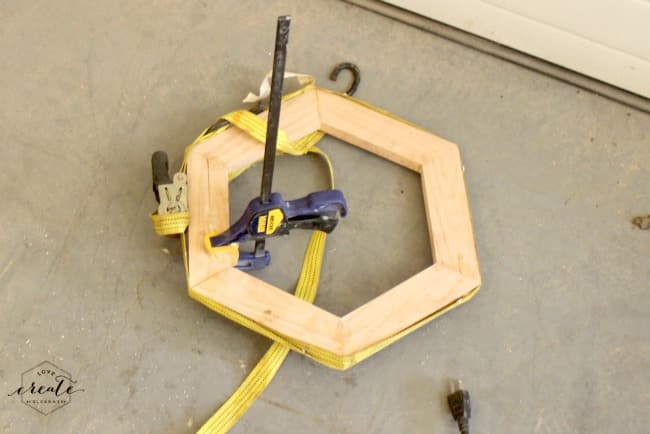
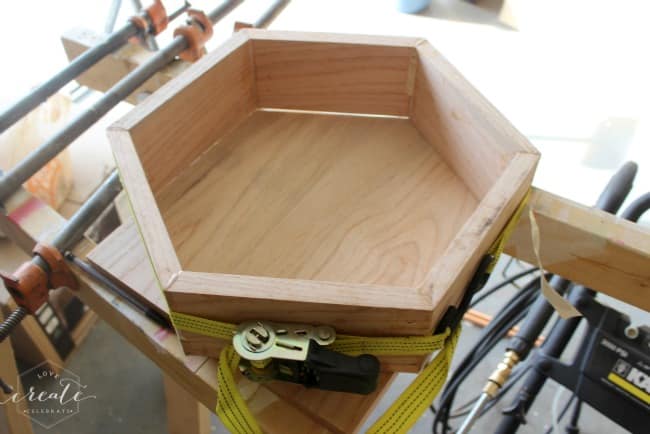
6. Glue the 6 “A” pieces together using woods mucilage to shape a hexagon as well as allow dry. We used a nails as well as a blast gun to temporarily concur the pieces inwards place. Once assembled, a ratchet strap as well as weights were used to clamp the slice together as well as keep the construction spell it dried. Note: After is dries, practice non take the ratchet straps until the nails accept been removed.

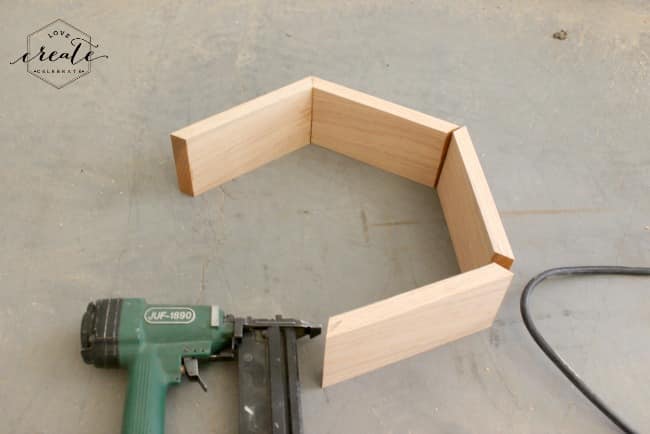
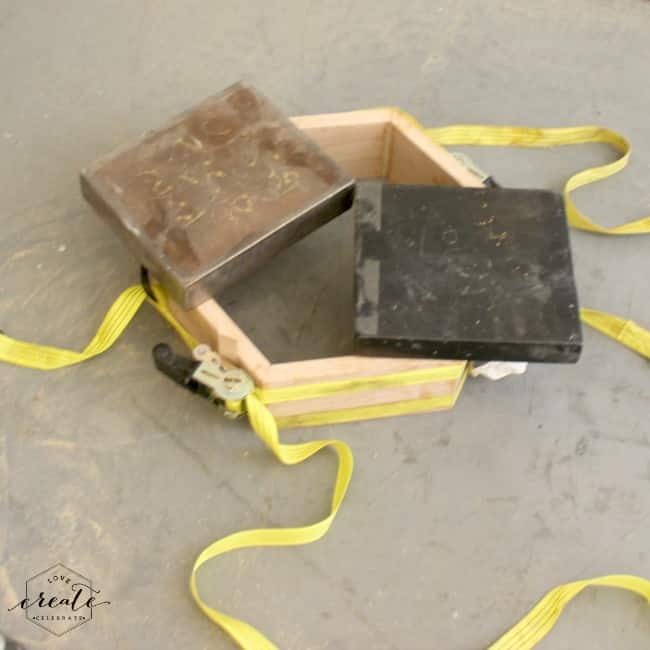
7. Glue the 6 “D” pieces together using woods mucilage to shape a hexagon as well as allow dry. We used a nails as well as a blast gun to temporarily concur the pieces inwards place. Once assembled, a ratchet strap as well as weights were used to clamp the slice together as well as keep the construction spell it dried. Note: After is dries, practice non take the ratchet straps until the nails accept been removed.
8. Cut ii 7.75″ broad x 15″ long boards as well as mucilage them together to brand a 15″ x 15.5″ rectangle. Clamp as well as allow dry. This is from the residual of the 1″ x 8″ x 8′ board.
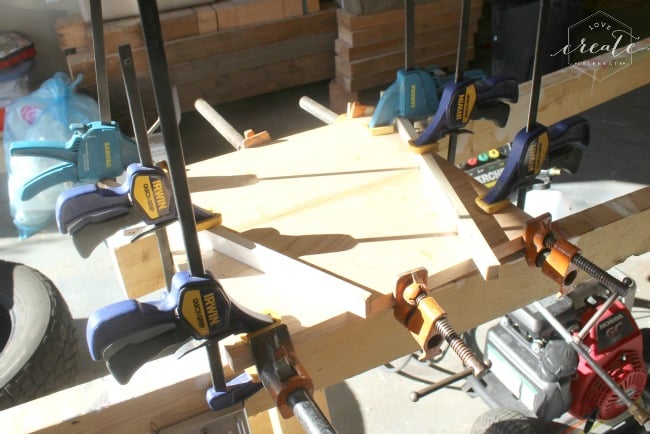
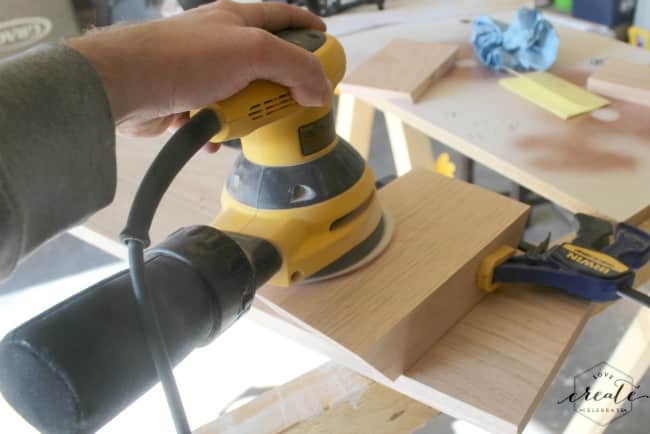
9. Once mucilage is ready sand all joints flat. Be careful non to pose every bit good much line per unit of measurement area on the hexagon pieces every bit they tin give the sack live frail until they are assembled.
10. Once the 15″ x 15.5″ board is dry, purpose hexagon “A” every bit an outline to score out department “B” as well as cutting your hexagon out using the tabular array saw.
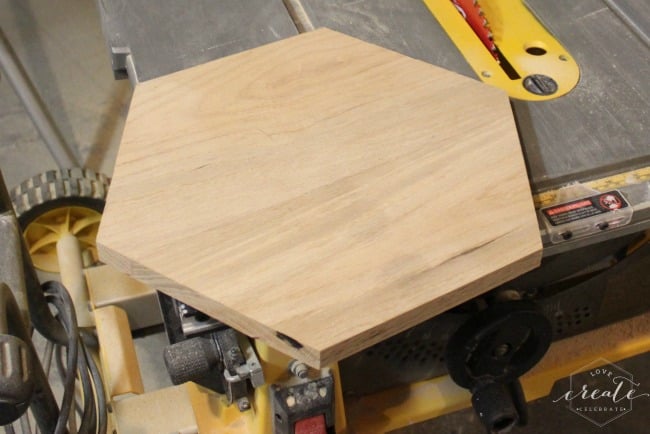
11. Glue as well as attach slice “B” to hexagon “A” to shape the laissez passer on of the table.
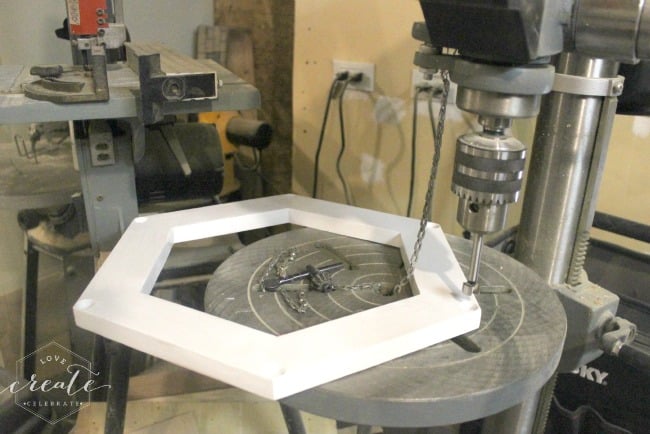
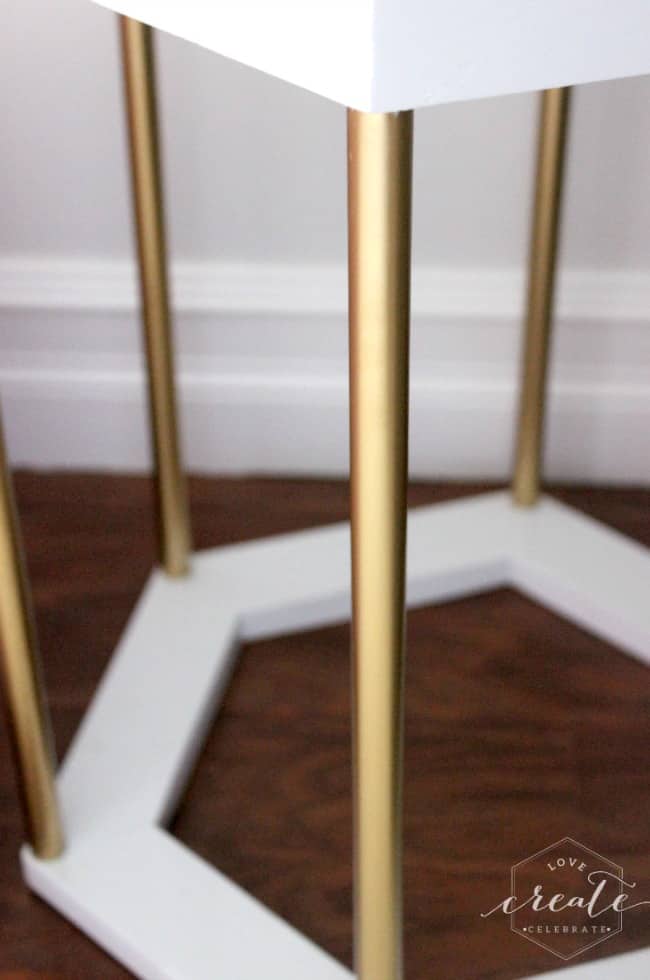
12. Prepare to add together the copper pipage legs past times mark out the view points of your 5/8″ diameter holes on the bottom on the tabular array laissez passer on as well as the laissez passer on of the base. The edges of the holes should live 3/16″ off the exterior edges, holes should live 3/8″ deep. We used a Forstner Bit on the drill press to brand these holes.
13. Cut 6 pieces of copper pipage 17″ long for the legs (“C” inwards the diagram above). Once cut, wipe them downwardly alongside acetone (or cleaner of your choice) as well as pigment them alongside gilded spray paint.
14. Complete your concluding sanding as well as desired goal prior to assembly. We chose to accept a gloss goal on the laissez passer on as well as bottom hexagons of the tabular array (“B” as well as “D” inwards the diagram above) past times icon as well as using a wet sanding technique. Once complete, epoxy your legs (Piece “C” inwards the diagram) into the base of operations as well as laissez passer on of your table.
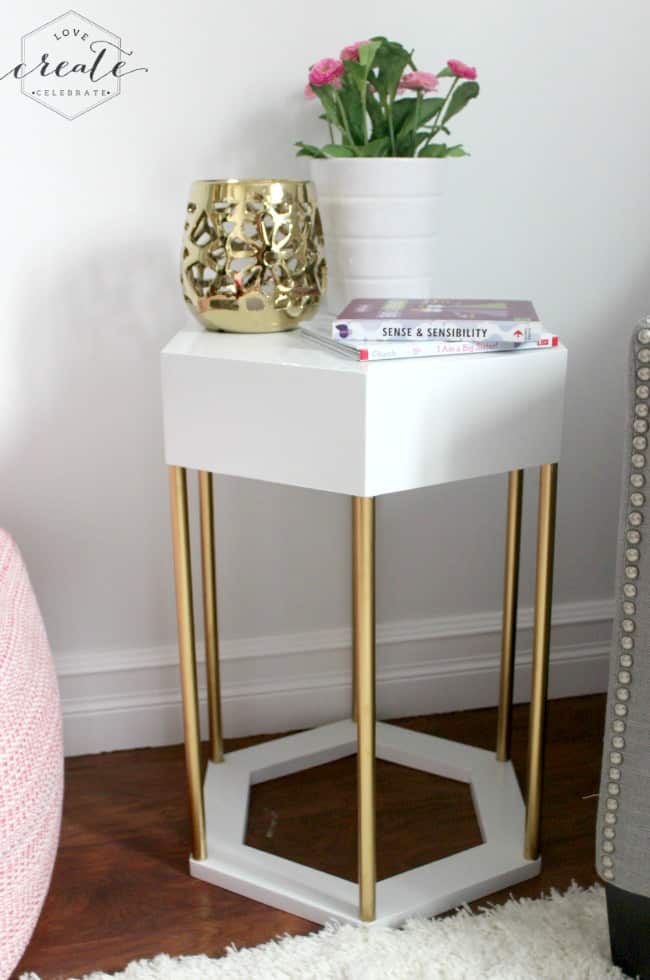
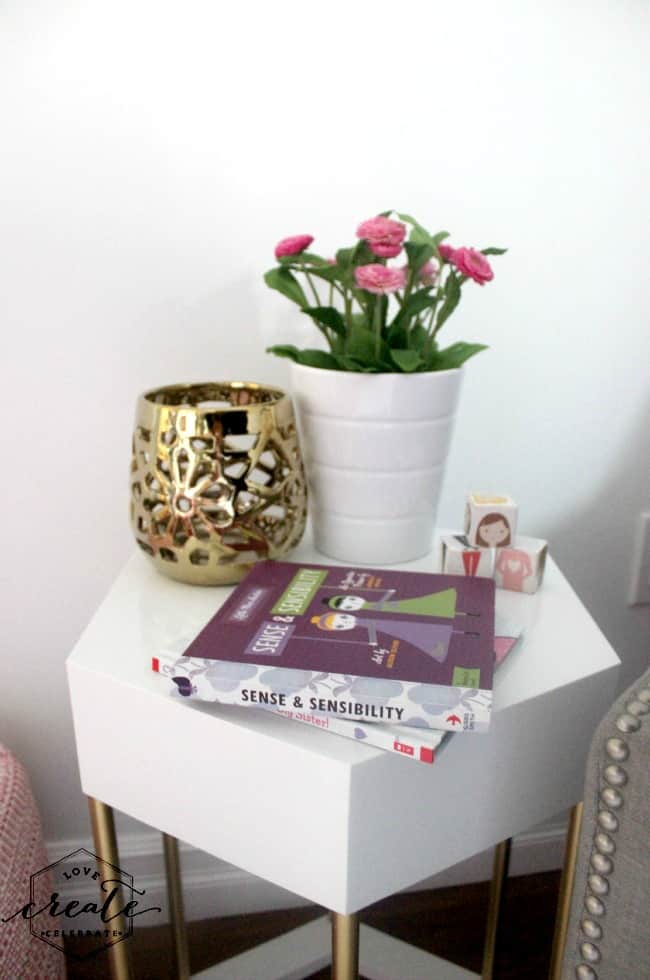
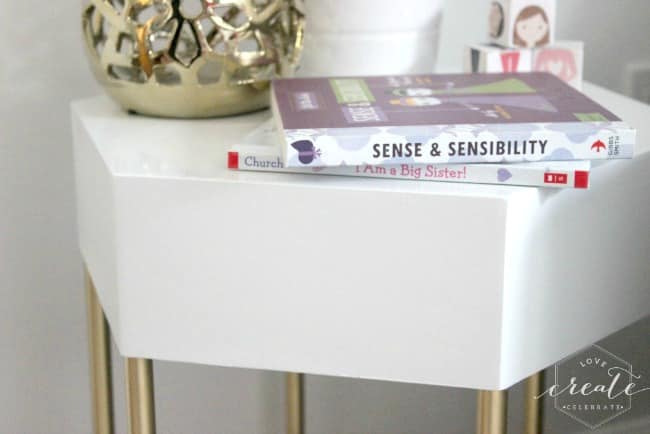
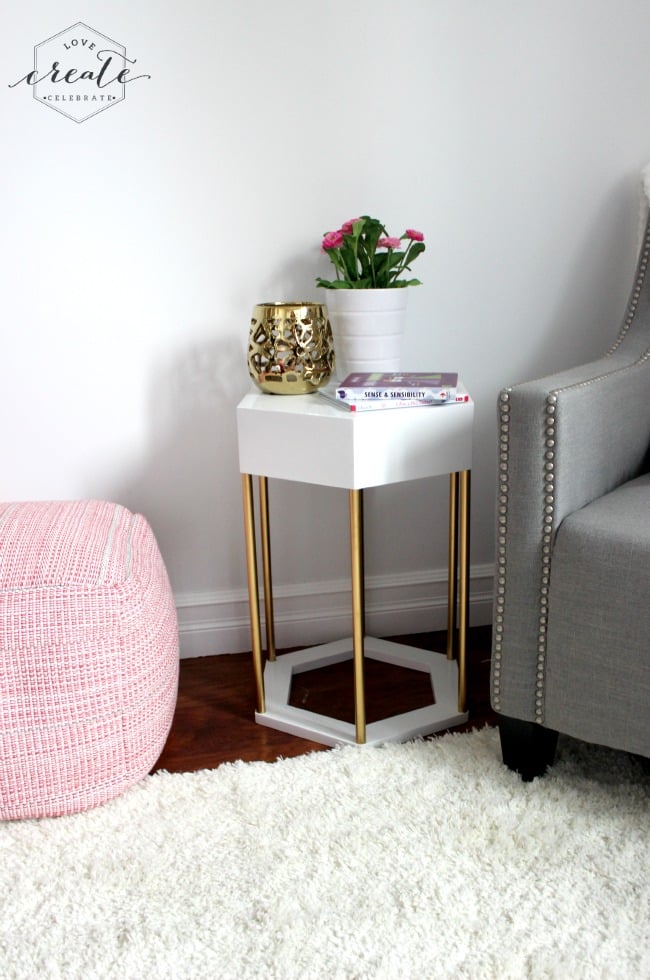
I am SO inwards honey alongside this table, as well as SO proud that nosotros made it ourselves! It fits perfectly inwards my daughter’s bedroom, but I may accept to pocket it for myself 1 day… Here are merely about to a greater extent than beautiful pictures to enjoy :)
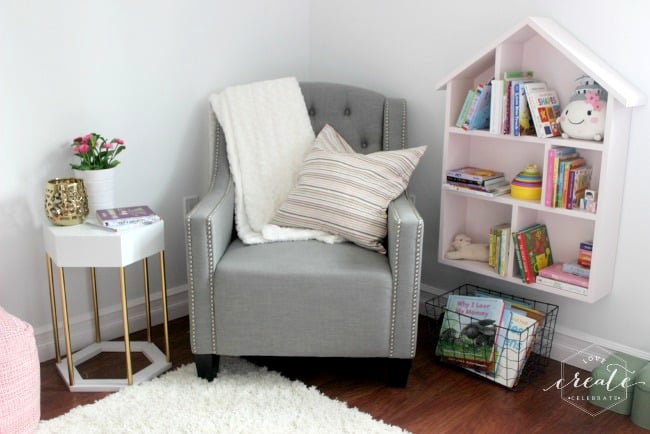
Make certain to halt past times as well as come across the entire Big Girl Bedroom that this gorgeous hexagon side tabular array was made for :)

*This shipping service contains affiliate links. For to a greater extent than information, delight read my disclosure policy. Thank you lot for supporting Love Create Celebrate.*


Comments
Post a Comment