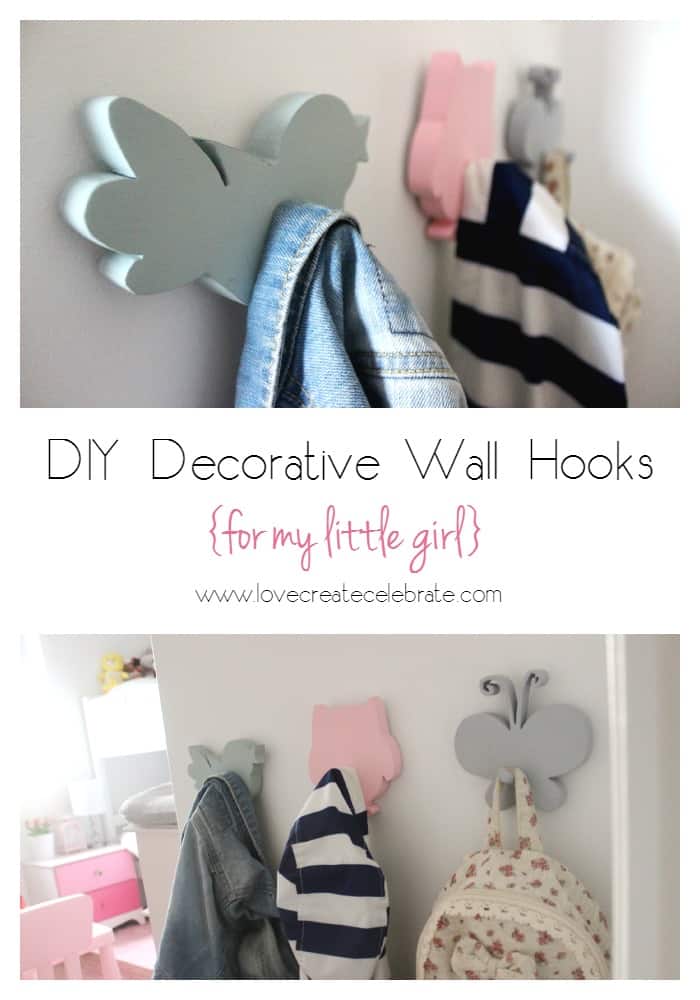
DIY Decorative Wall Hooks
*This post service contains affiliate links. For to a greater extent than information, delight read my disclosure policy*
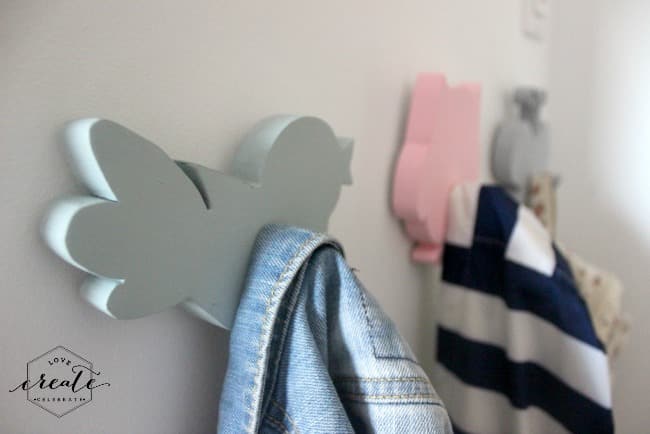
The One Room Challenge for the autumn is over, in addition to our daughter’s novel Big Girl Bedroom is amazing, but my posts almost the projection haven’t stopped! I had SO many private projects during that quick 6 calendar week challenge that at that topographic point was no means I could portion them all inwards that time! In calendar week iv of the challenge, I introduced these adorable in addition to whimsical DIY Decorative Wall Hooks, in addition to today I’m going to demo y'all how I made them!
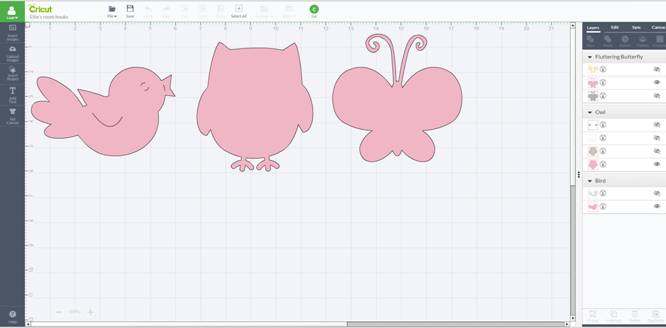
I started yesteryear pulling out my favourite, in addition to by far most useful crafting tool, my Cricut Explore. I showtime had to create upwards one's take away heed what shapes to use, in addition to since the room was taking a whimsical turn, I decided to become amongst some animate existence silhouettes. I chose a bird, an owl, in addition to a butterfly because I know my missy loves all three! I only searched the images inwards their database, in addition to them sizes them thence that they were less than 6″ (which was the width of my wood). Finally I cutting them out on cardstock.

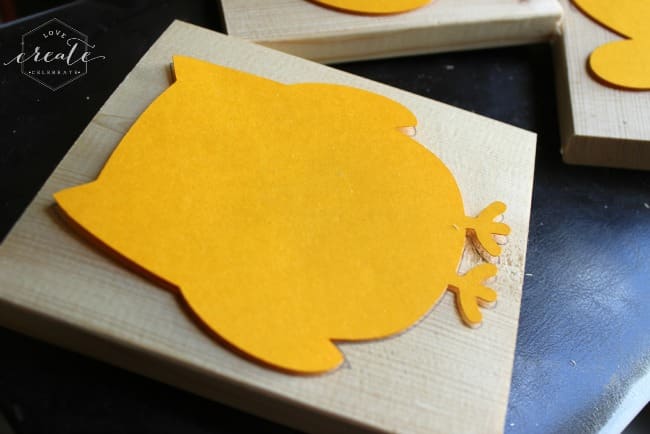
Next, I layed the images downwards on my wood, in addition to traced them to the surface. Then I cutting out a box closed to the epitome thence that each epitome had a split block of wood.
I’m real sad I didn’t receive got a flick of the side yesteryear side step, yesteryear next, I cutting out the images using my scroll saw. This is belike yesteryear FAVOURITE tool to use! I had to role a real fine blade thence that I would travel able to cutting into the real modest corners of the piece. If you’ve never used a scroll saw, y'all exactly receive got to brand certain to saw into all of the corners at angles for both sides. You can’t produce whatever ninety marking turns amongst this tool!
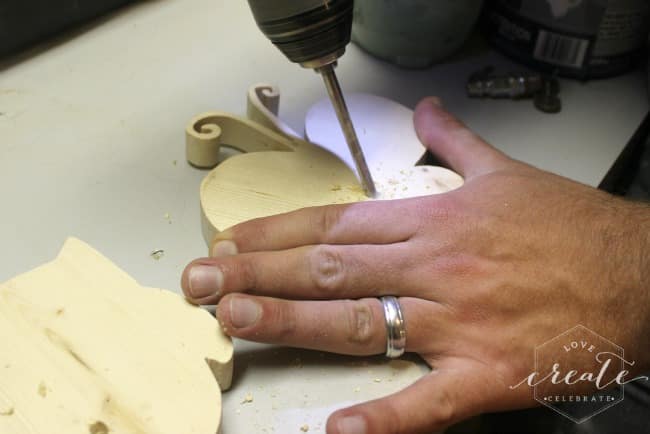
Once the pieces were cutting out, nosotros got create to add together the wooden dowel hooks, My married adult man drilled a hole at an angle to the bottom, middle of the hook. We exactly eyeballed the angles here. We used a smaller drill fleck showtime (1/8″), to drill a pilot hole – if y'all start amongst the larger fleck y'all tin crevice the woods or the woods binds in addition to tin hurt you. Then nosotros clamped the slice to our workbench, in addition to used a larger drill fleck (3/8″), which was the size of the dowel I used every bit the hook.
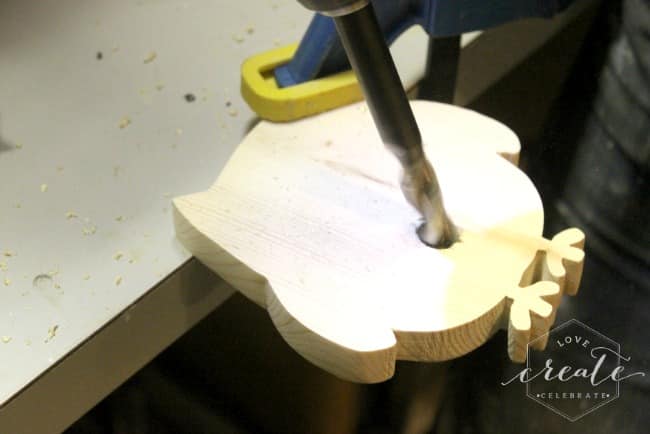
Once the holes were drilled, nosotros cutting downwards the dowels to 1.5 inches, cutting at an angle (again, eyeballing it!), in addition to and then nosotros sanded the edges of the dowels thence they would travel security for my missy to touch.

Finally, I sanded downwards the animate existence hooks, attached the dowels amongst woods glue, in addition to painted the hooks using iii dissimilar colours of
Decor Chalky Finish Paint yesteryear Americana: Vintage
,
Yesteryear, in addition to Innocence
.
We had to role these Flush Mount Picture Hangers to attach the hooks to the wall:
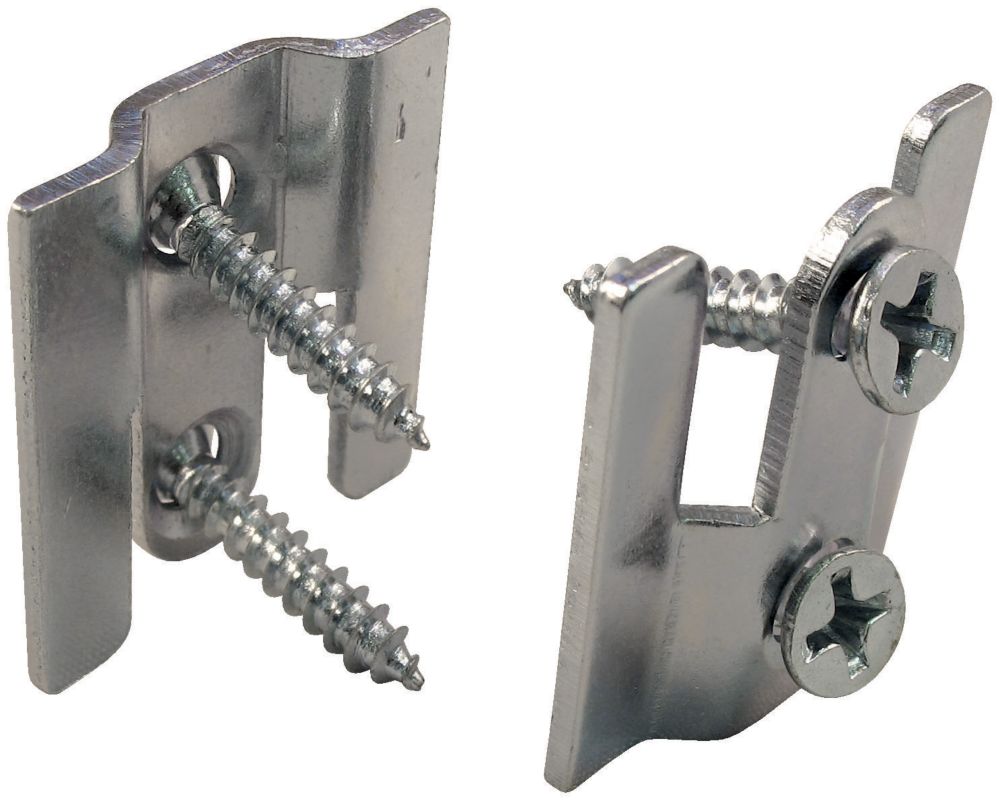
We used these ones because nosotros knew they would travel rigid plenty to check her coats in addition to bags, plus strong plenty to withstand our missy tugging at the hooks in addition to pulling things down. They receive got done their task thence far!
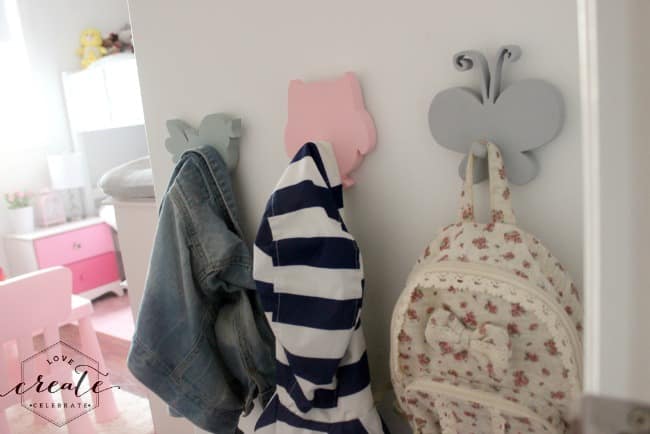
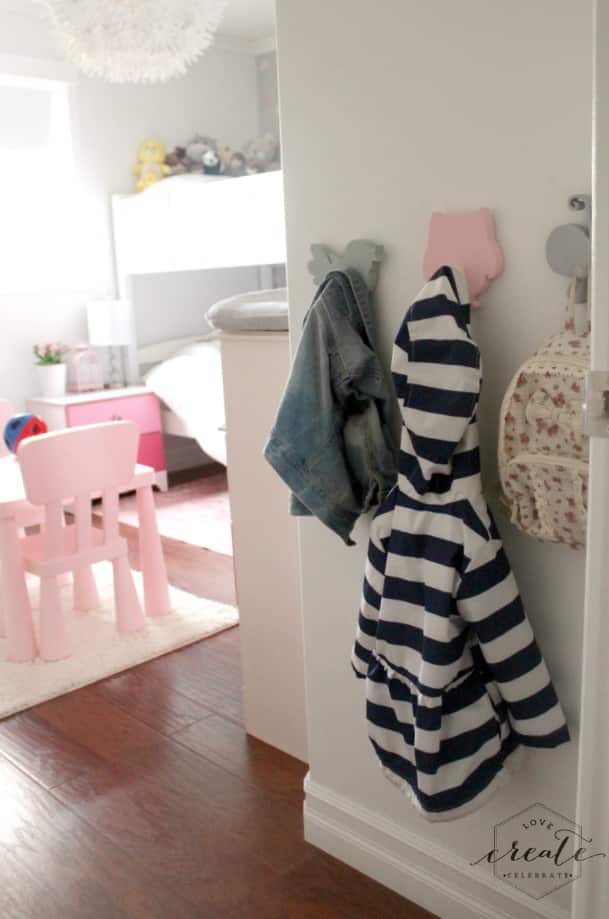

Hooks are installed in addition to used daily. I promise y'all constitute the tutorial helpful. Or at to the lowest degree interesting!
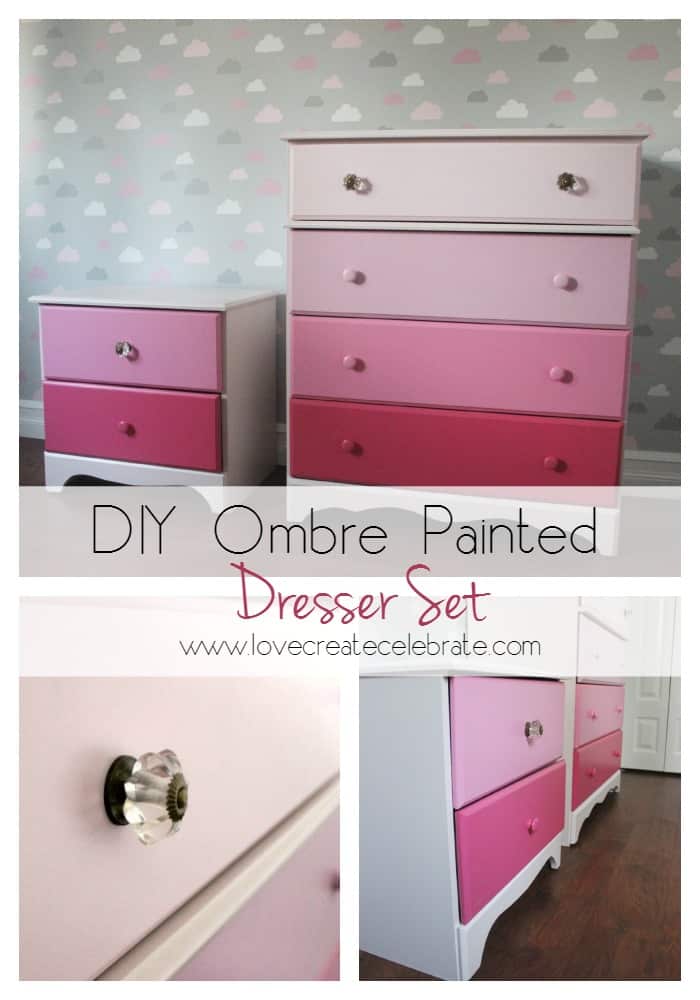
In instance y'all missed it, I shared my DIY Ombre Dresser tutorial final week!
See the entire Big Girl Bedroom Reveal here!


Comments
Post a Comment