Custom Artwork using Vinyl
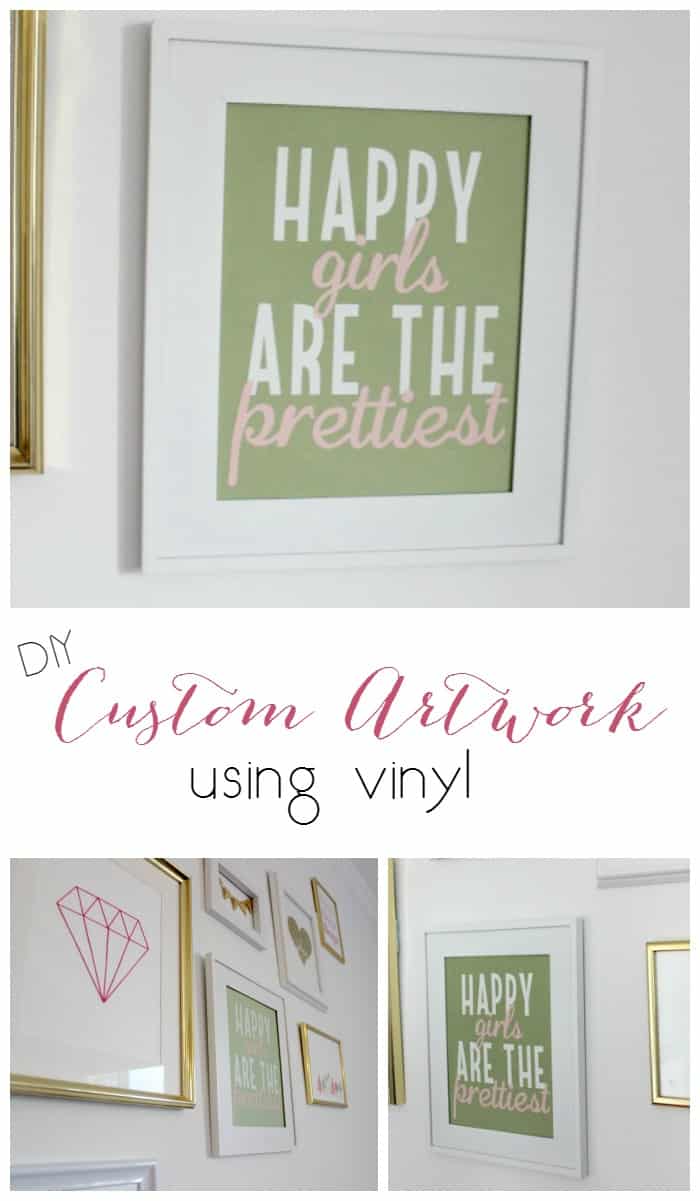
I’m continuing my calendar week of custom artwork, yesteryear sharing around other quick DIY slice I position together for my daughter’s Big Girl Bedroom! Yesterday, I shared yesteryear Diamond String Art, in addition to today, I’m showing yous how to brand around quick custom artwork using vinyl!
All yous postulate for this projection is cardstock, vinyl (in ii colours), in addition to a Cricut Explore!

What I did was SO easy! I typed text I wanted to role into my Cricut Design Space. I used the font “Cricut Stretch” for “HAPPY” in addition to “ARE THE”, in addition to I used the font “Quarter Note” for “girls” in addition to “prettiest”. Then I synced the colours, thence that they would impress 1 one slice of vinyl, in addition to I set-up the layout [above] thence that I would know precisely what it looked similar inward my frame. I develop the dial on my Cricut Explore in addition to I cutting it out on white in addition to pinkish vinyl.
That’s actually all at that spot is to it! Vinyl is SO tardily to use, yous simply cutting it, in addition to thence stick it to the cardstock. The whole projection takes no fourth dimension at all! I used a ruler to line-up the text when I stuck it downwards thence that it would agree my design.


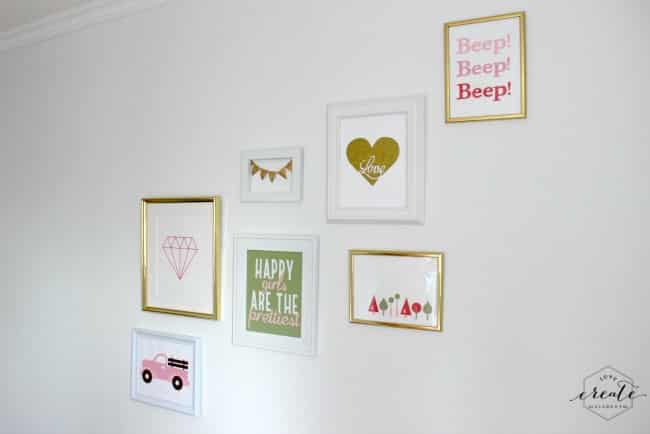
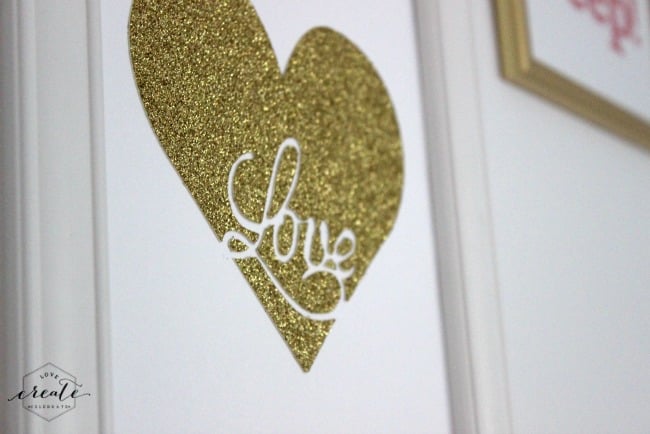
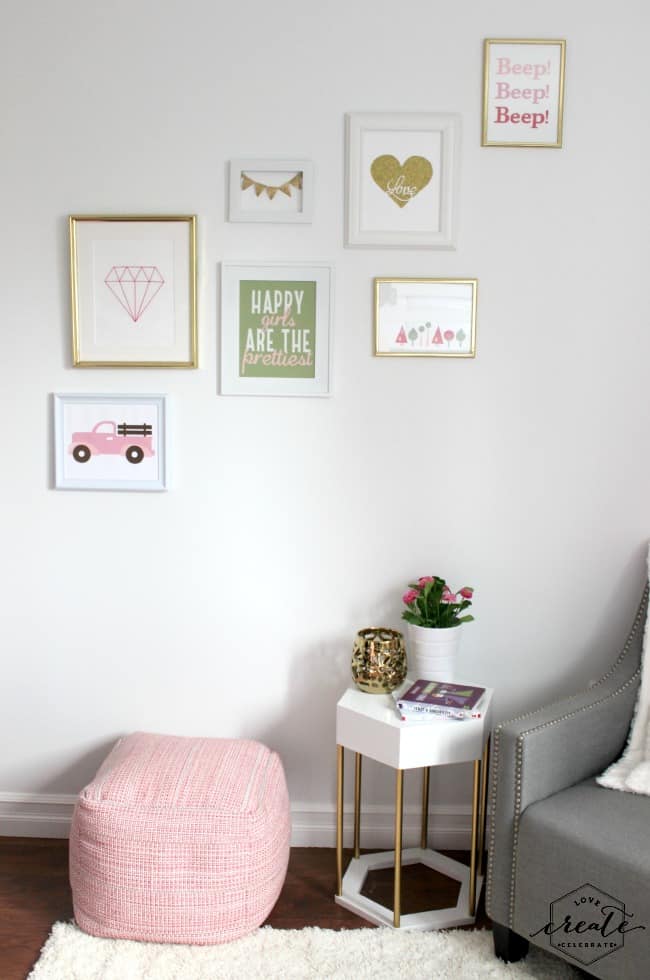
If yous are curious virtually other pieces inward my daughter’s gallery wall, accept a await at this beautiful Gold Heart Art!
Make certain to besides banking concern check out her entire, completed Big Girl Bedroom.

*This shipping service contains affiliate links. Thank yous for supporting Love Create Celebrate. For to a greater extent than information, delight read my disclosure policy.*


Comments
Post a Comment